Pattern construction for kimono and batwing sleeves
Deutsch

Content
You will find the construction of a basic block for dresses and many other model variants in our book Metric Patternmaking for Dresses and Blouses
Fitted Dress with Side Panel Raglan
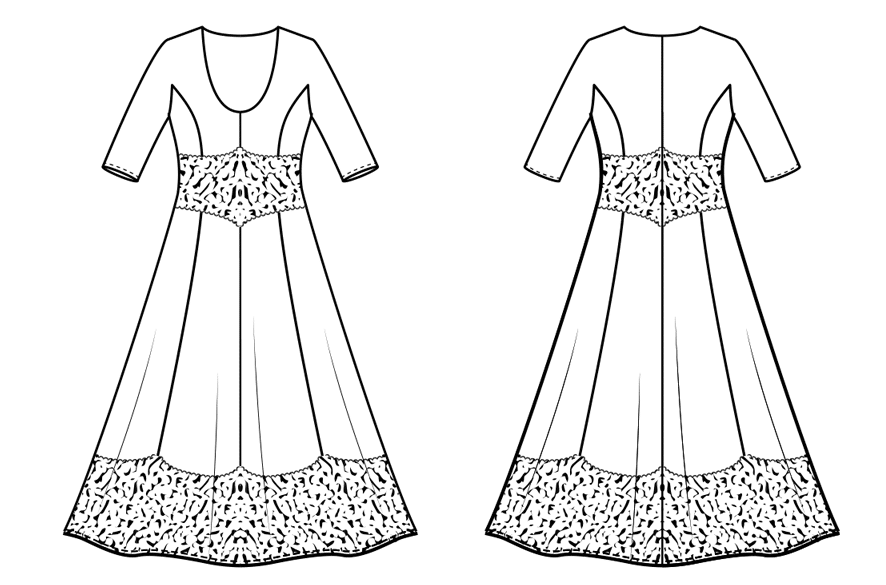
Design Template: Basic Dress Block in Size 40, matching One-Piece Sleeve with Overarm Seam
1 Front Sleeve-Bodice Combination:
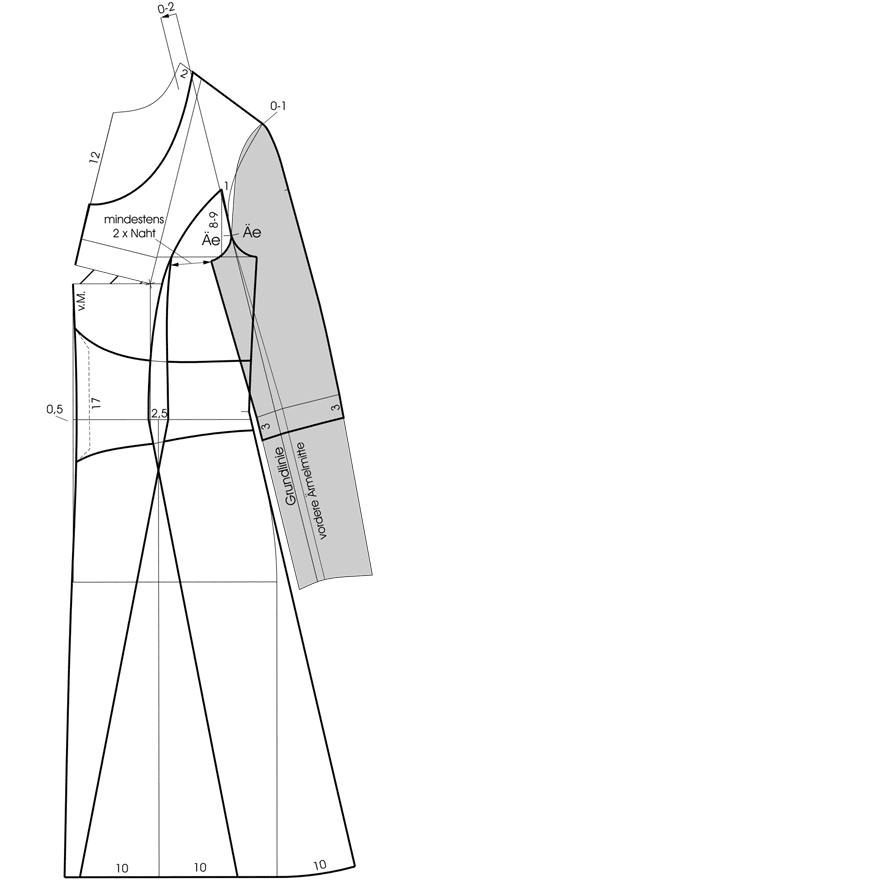
Use a basic dress block in size 40 (see measurement chart) and a matching one-piece sleeve pattern as templates. Set the length 58 cm below the waist. Relocate the bust dart temporarily to the centre front. Prepare the sleeve pattern for the sleeve-bodice combination. Mark the baseline on the front sleeve pattern and extend it approx. 20-25 cm upward. Measure 2 cm to the left at the upper end and draw a short, parallel line. The distance between the baseline and the auxiliary line (0-2cm) serves as a guideline for the raglan sleeve position. The neck point of the front pattern has to be placed between the baseline and the 2-cmline. Place the front pattern on the front sleeve with the front armhole notches touching.

Turn the front pattern so that the neck point is placed between the extended baseline and the 2-cm line. Lower the neckline 2 cm at the shoulder and 12 cm at the centre front. Draw the new neckline as shown in the illustration. Draw the princess seamline 1 cm away from the waist dart line. Mark 2.5 cm intake at the waist for contouring the seamline. Draw the princess seamline to the armhole approximately 8-9 cm above the chestline and end about 1 cm away from the basic armhole. Draw the armhole and sleeve curve from the front armhole notch to the princess seam. Important: The minimum distance between the sleeve and the princess seam must be at least twice as wide as the seam allowance. Lengthen the side panel seam to the hemline. Extend the hem at the side panel seam and at the sideseam as shown in the illustration. Set the sleeve length 3 cm below the elbow line. Draw the stylelines for the lace appliqué.
2 Back Sleeve-Bodice Combination:
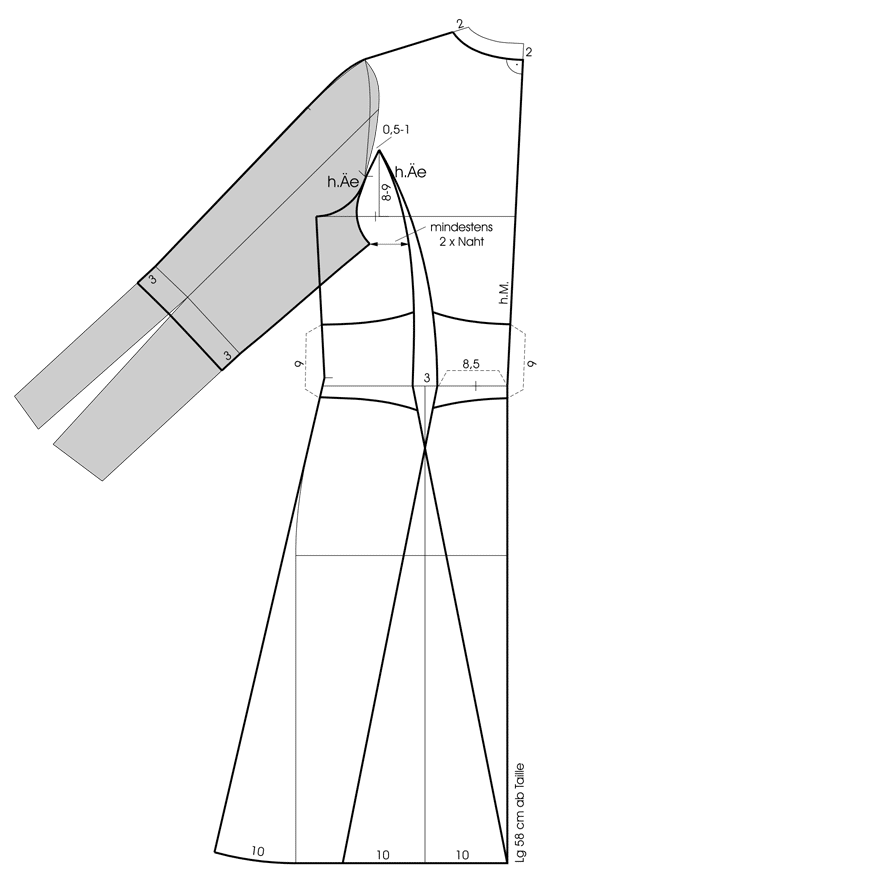
Place the back sleeve on the back pattern with the back armhole notches touching. Turn the sleeve so that it is placed with the same distance to the shoulder as in the front. Draw the seamline from the shoulder to the overarm seam. Lower the neckline 2 cm at the shoulder and at the centre back. Draw the new neckline perpendicular to the centre back. Draw the princess seamline 8.5 cm away from the centre back. Draw the princess seam to the armhole approximately 8-9 cm above the chestline and end 0.5 – 1 cm away from the basic armhole. Mark 3 cm intake at the waist for contouring the seamline. Draw the armhole and sleeve curve from the back armhole notch to the princess seam. Important: The minimum distance between the sleeve and the princess seam must be at least twice as wide as the seam allowance. Lengthen the side panel seam to the hemline. Extend the hem at the side panel seam and at the sideseam as shown in the illustration. Set the sleeve length 3 cm below the elbow line. Draw the stylelines for the lace appliqué.
3 Hemline Lace Appliqué:
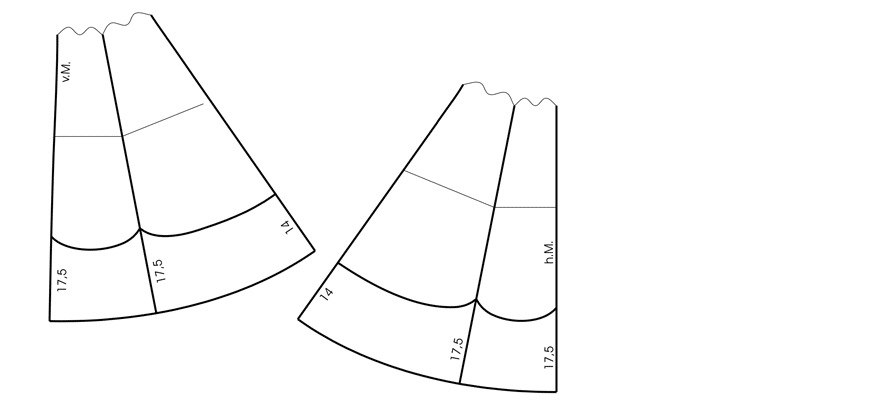
Trace the pattern pieces and join the lower parts together at the side panel seams. Blend the hemline and draw the stylelines for the lace appliqué as shown in the illustration.
4 Finished Pattern Pieces:
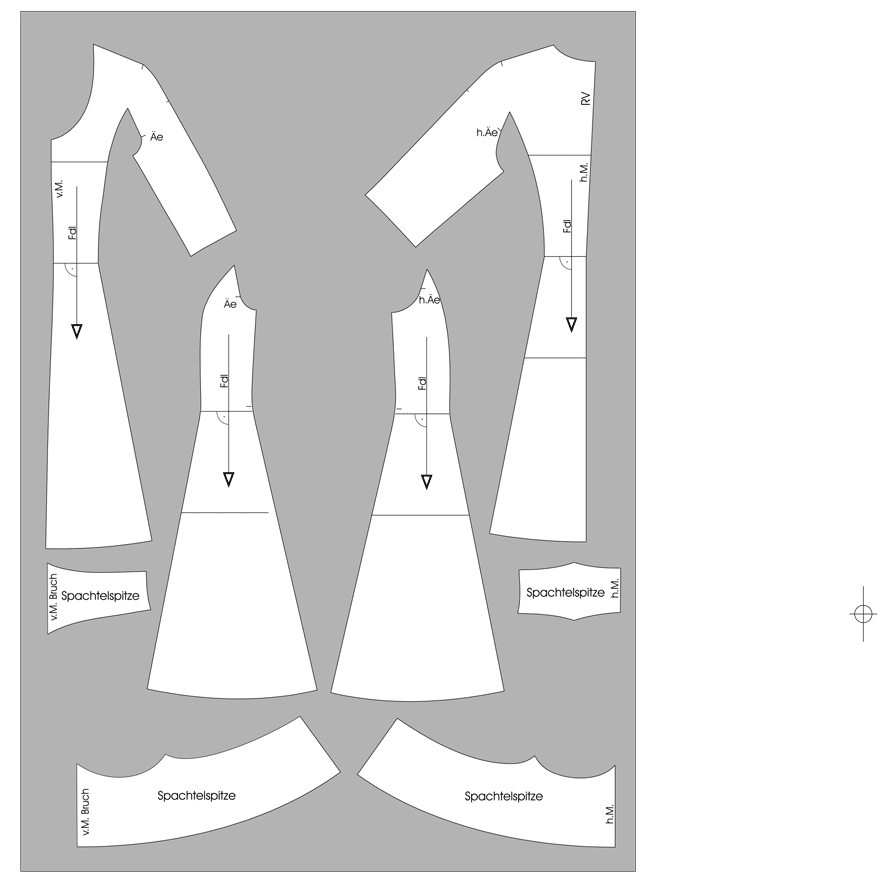
Trace all pattern pieces and complete all overlapping sections. Cut through the front pattern from the side panel seam to the bust point and close the bust dart. Blend the seamline. Close the waist darts on the lace pattern pieces. The lace is custom-made according to the pattern shape and then basted on the dress. Sew a zipper in the centre back seam. Blend all seamlines. Mark the grainlines.
Short Sleeve Top
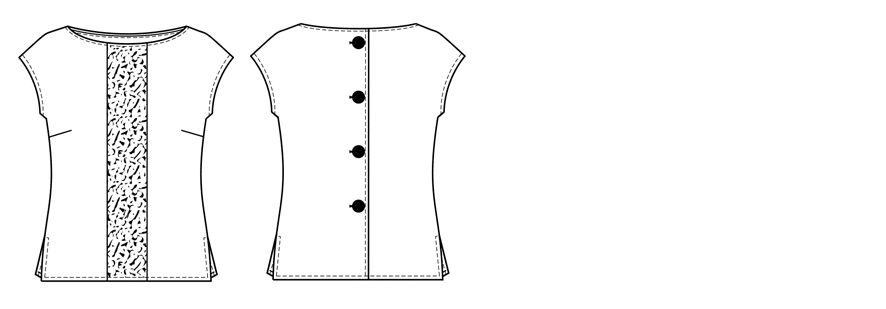
Design Template: Basic Dress Block in Size 40

Short Sleeve Tunic
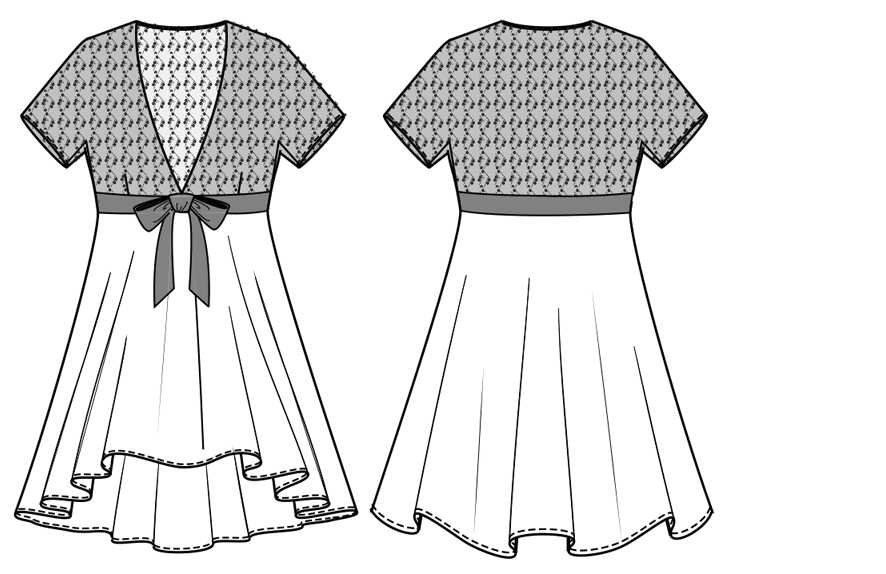
Design Template: Basic Dress Block in Size 40, matching One-Piece Sleeve

Batwing Top
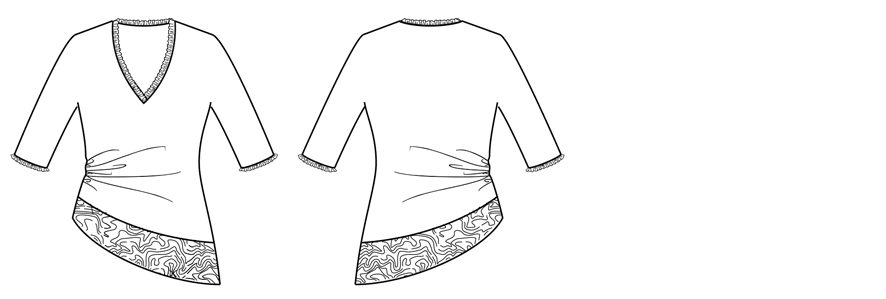
Design Template: Basic Dress Block in Size 40, matching One-Piece Sleeve


