Instruction Trimming Button
Deutsch
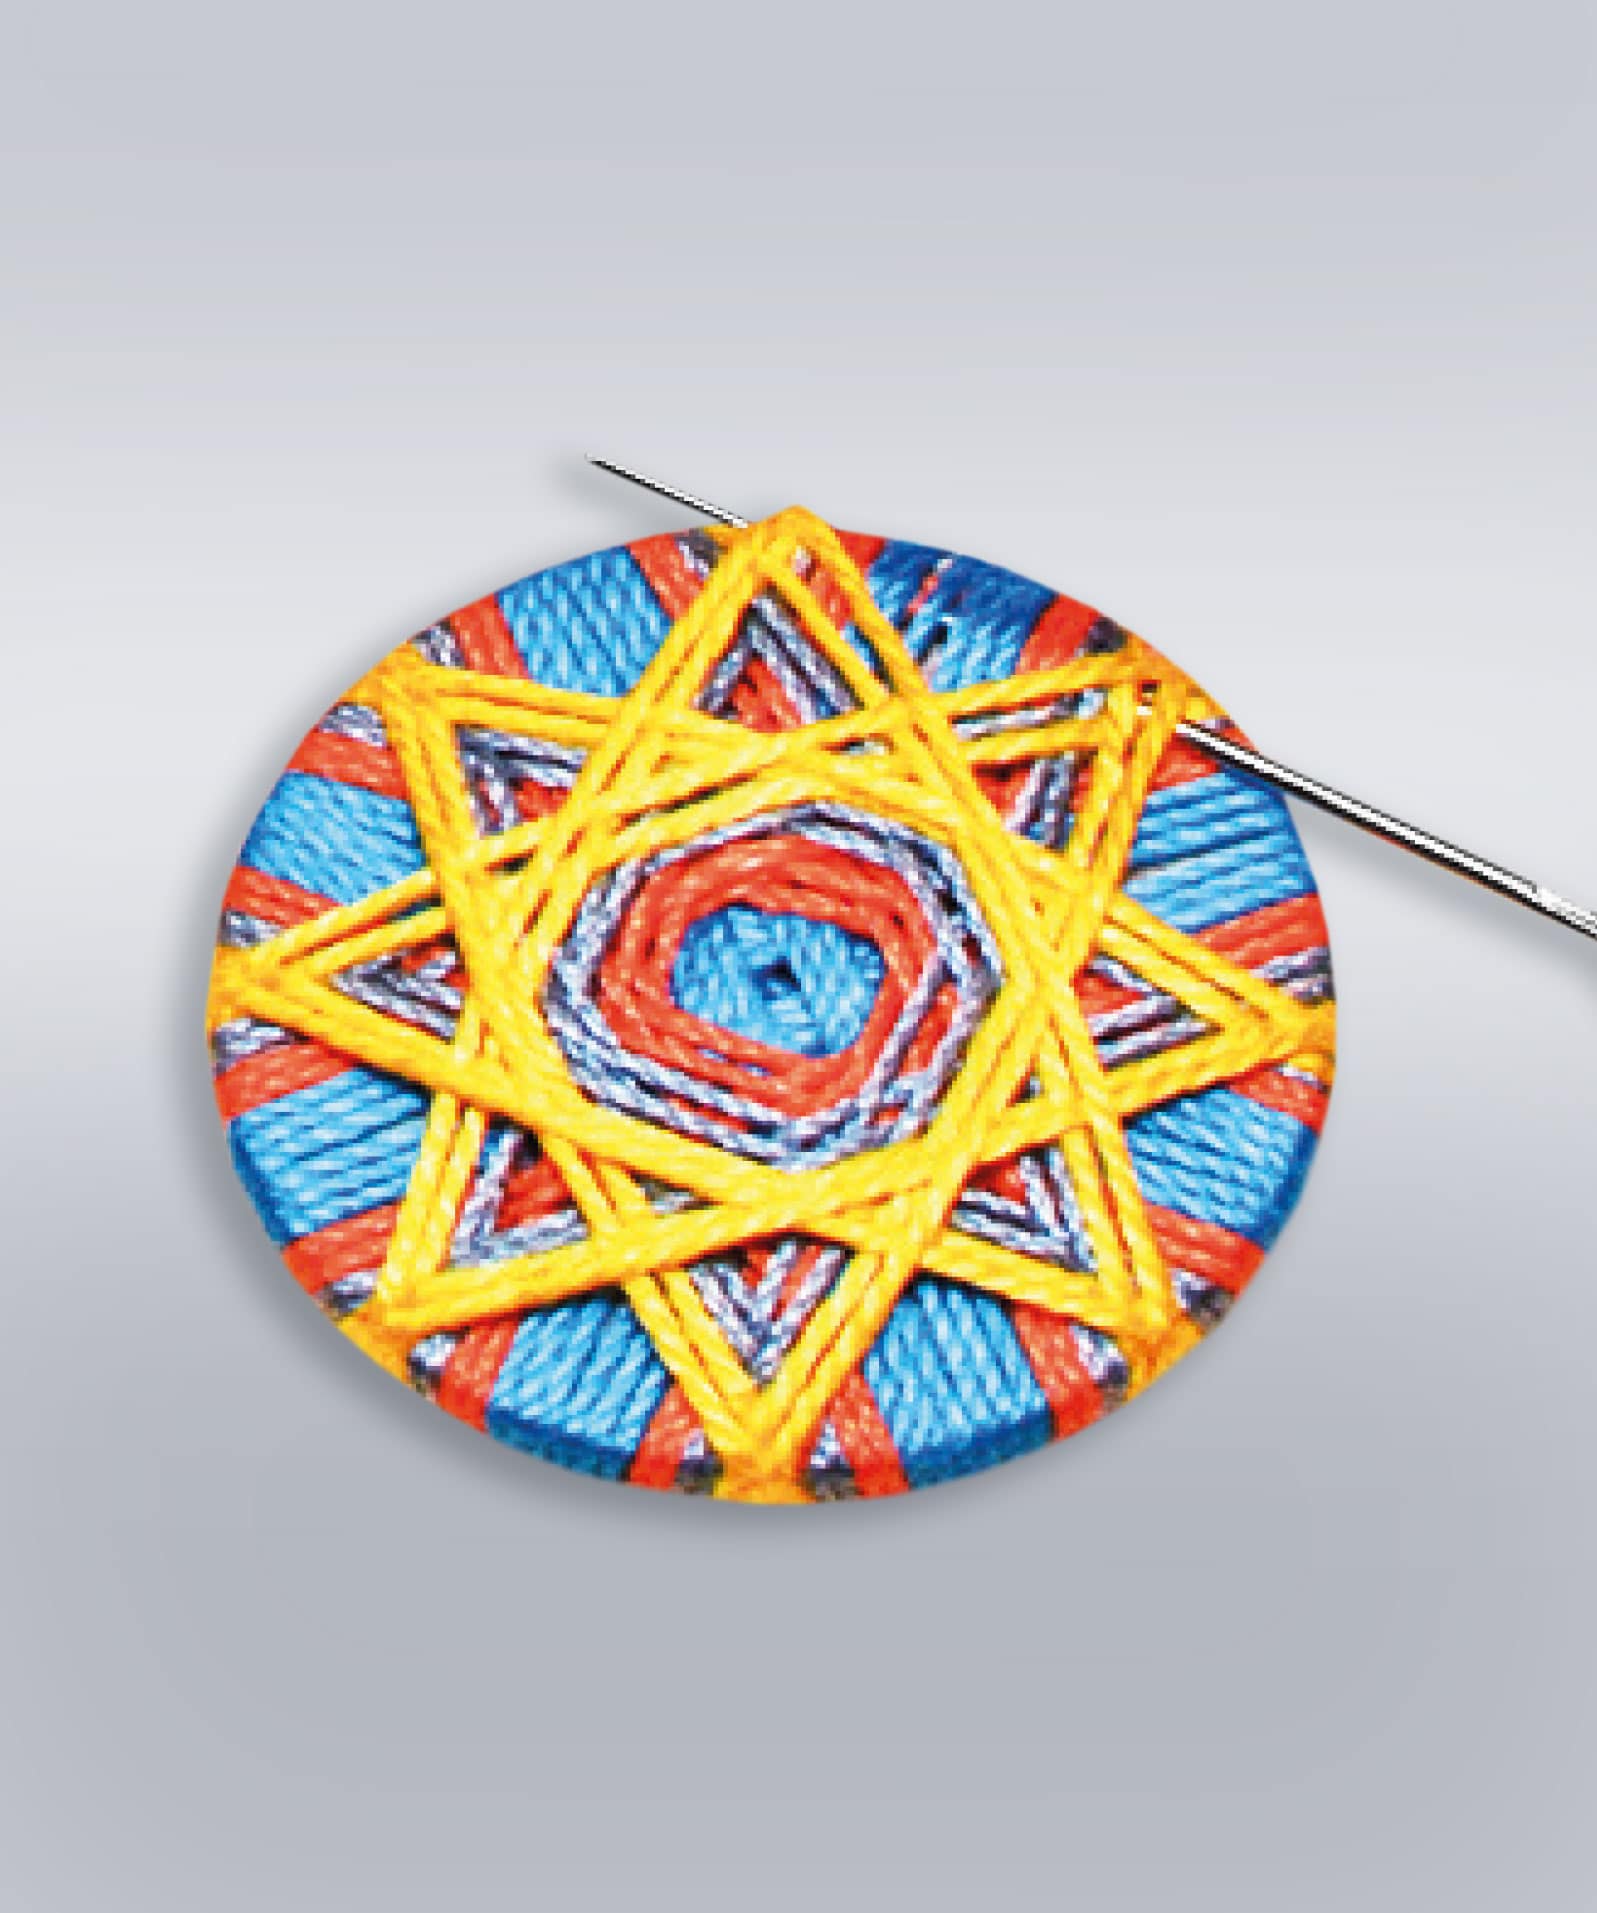
These are details that distinguish a fashionable garment. The button has a “carrying” role. In his buttoning manner, he holds skirt and blouse, trousers, vest and coat together. But it achieves much more,which you only notice when a button is missing. Because if there is no identical button in the sewing box or in the shop, the entire row of buttons should always be replaced if the appearance is impeccable. This is no problem at all for those who can produce the right button themselves with simple means. The experts of the traditional costume center of the district of Schwaben in Germany show how this can be done. From the “simple wagon wheel” to the rose embroidery on the “star button” (for the experienced), the examples of trimming buttons range, all of which, according to the costume manufacturer Monika Hoede, are, with skill and joy of design, excellently suited for do-it-yourself making.
Instruction Star Button
The star button can be easily reworked and yet is already very attractive! Although it may seem complicated to you, I recommend using the holding tool for the first buttons. Just follow the instructions carefully, and the first button will work. You can find the complete article in the Damen-Rundschau 7/8.2018.
Material
· Button form
· Cotton yarn in 2-3 colours
· Needle with matching eye
· Holding tool
· Scissors
Instruction
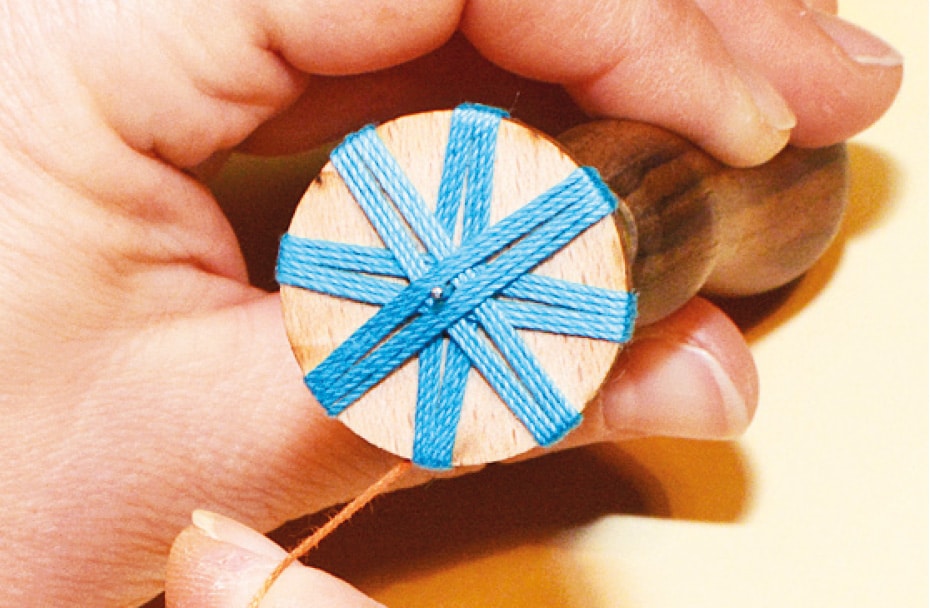
Step 1: Create a basic framework of four tours on the button form. The star will have eight points. Stitch the thread so that the star can be wrapped in a different colour. Thread the thread onto the needle and sew the beginning on the underside of the button. Bring the thread to the front towards you.
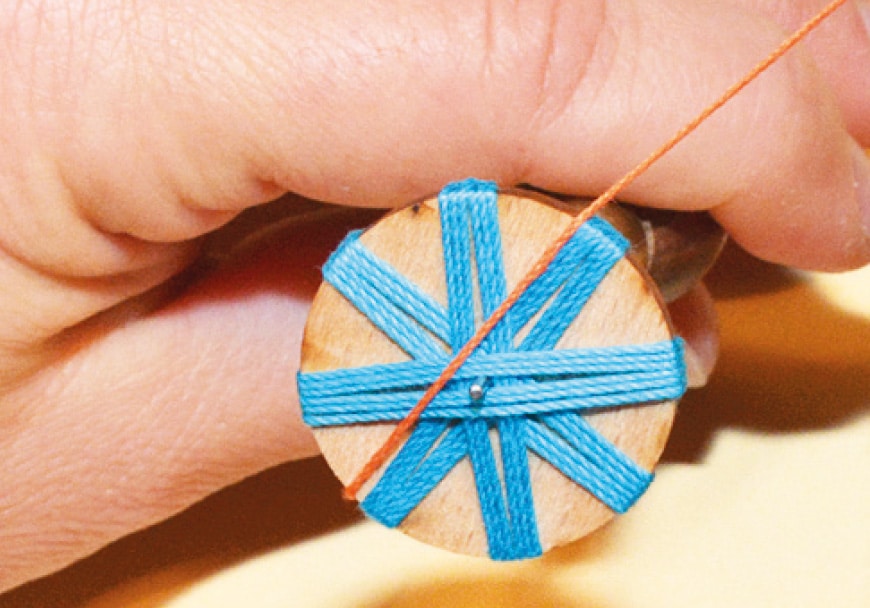
Step 2: Wrap backwards on the top of the button to the left of a tour and bring it forward again on the bottom, to the right of the holding bar.
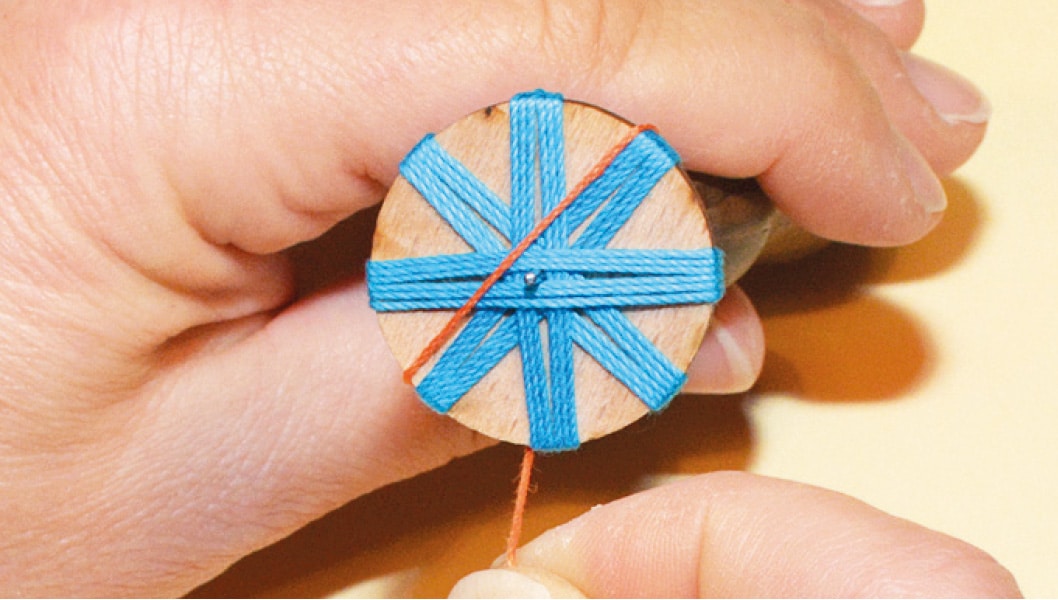
Step 3: Turn the button for the second or next winding one eighth and turn it to the right by one segment. This time, the thread should not lie around the thread rod, therefore turn clockwise. An eighth turn is not much: you just turn one segment further! Place the winding on the top of the button to the left of the tour, under the button to the right of the holding bar.
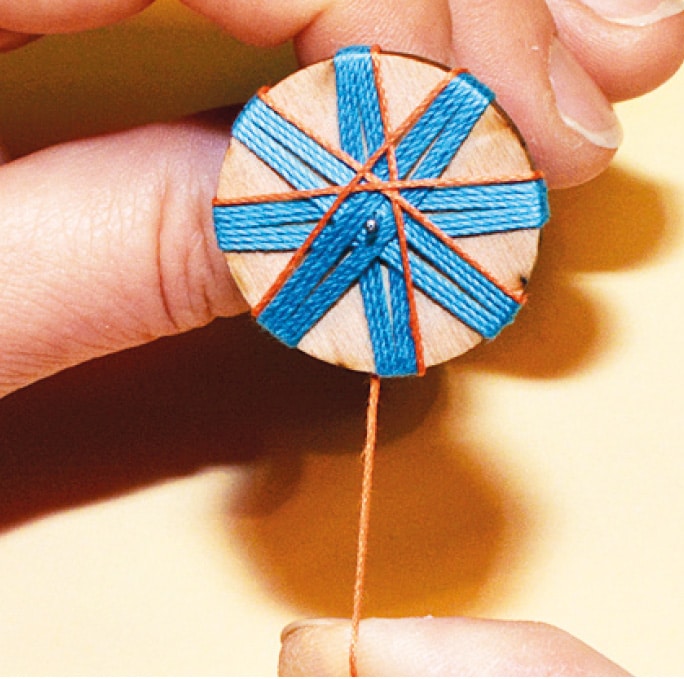
Step 4: From the fifth winding onwards, winding is carried out parallel to a tour where a star winding has already been carried out on the other side.
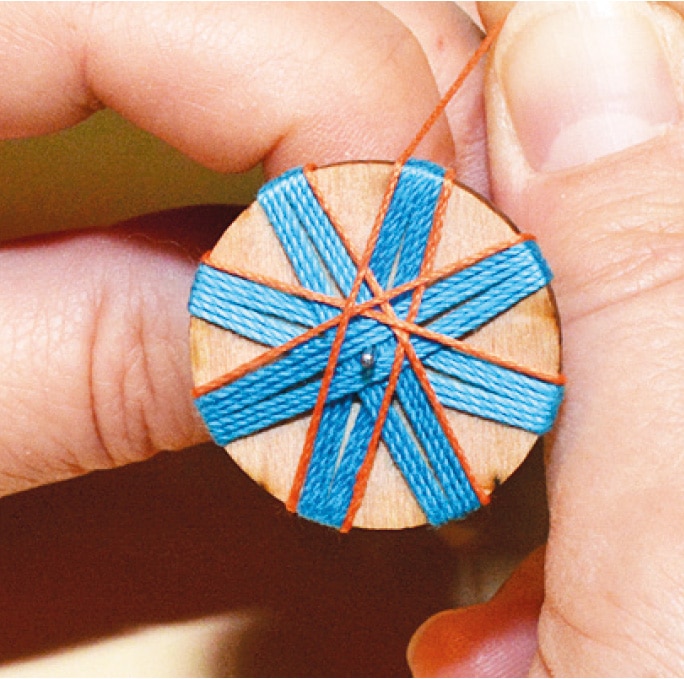
Step 5: Attention! You always wrap to the left of the respective tour. By turning the knob, the tours are framed on both sides by the contrasting threads of the star wrap.
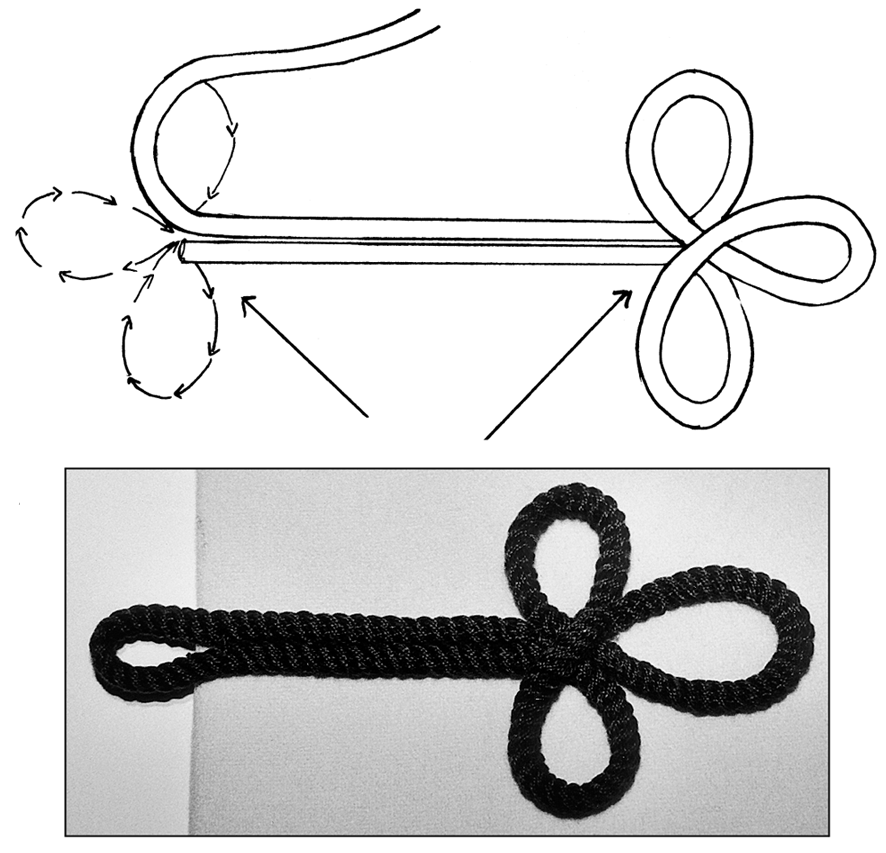
Here you will find instructions for the manufacture of a Trimming Toggle Closures
More about the manufacturing of trimming buttons and twist buttons can be found in the book:
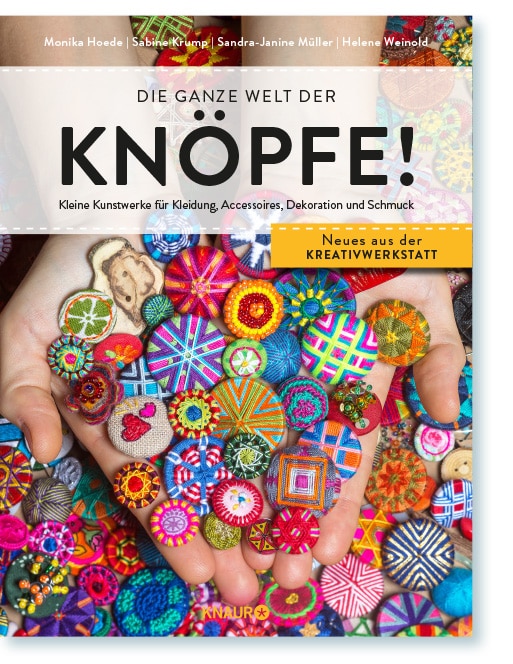
Four skilled button makers show their creations for imitation here. Using various techniques, button shapes are stitched with yarns, woven around, wrapped and braided. This is how trimming buttons are created. Thread buttons are made from aluminium rings and cotton crochet yarn. There are also variations with fabric and yarn, crochet buttons or those with a crochet flower, but also buttons made of milk, wood and resin.
(only german speaking)
Die ganze Welt der Knöpfe
Neues aus der Kreativwerkstatt
127 Seiten, 16,99 € | ISBN 978-3-426-64651-9


