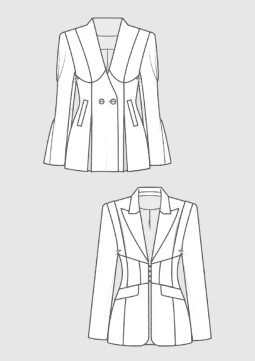
Tutorial: How to Sew a Piped Pocket
Deutsch
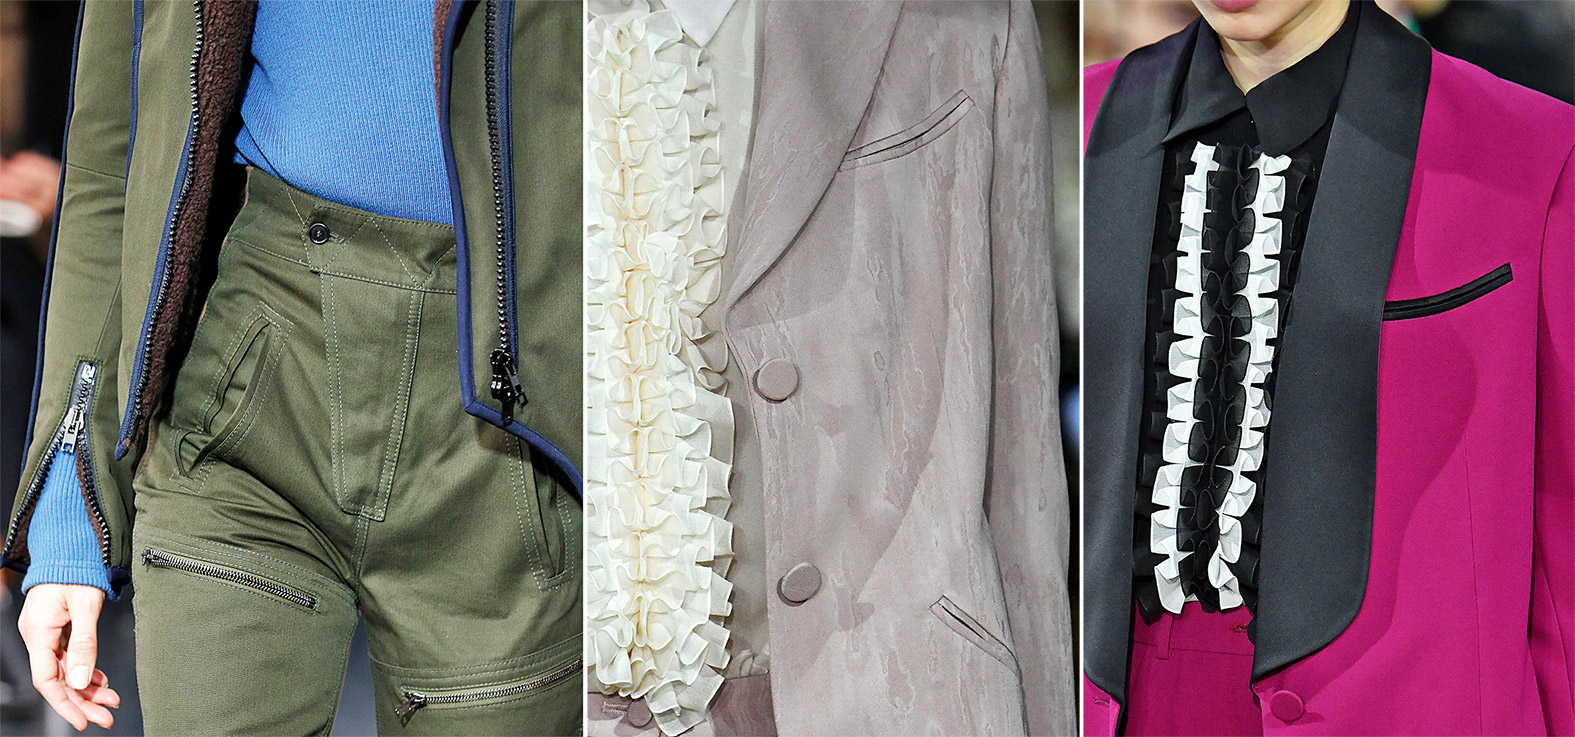
In the piped pocket, the opening in the pocket bag is reinforced at the edges with a so-called piping (welt). A distinction is made between the one-sided piped pocket, also called welt pocket, and the two-sided piped pocket. A piping can be sewn from the same fabric of the model or as a contrast with another fabric. The piped pocket can also be made with a contrasting thread, a zip or a button with a loop. You can sew it as a pocket on blouses and jackets or as a back pocket on trousers. Here you can find a tutorial for sewing a piped pocket with pointed corners and one made of striped fabric. This article is an excerpt from the Damen-Rundschau 4.2018.
Content:
- Sew piped pocket with tapered corners
- Sewing a Piped Pocket from Striped Fabric
Sew piped pocket with tapered corners
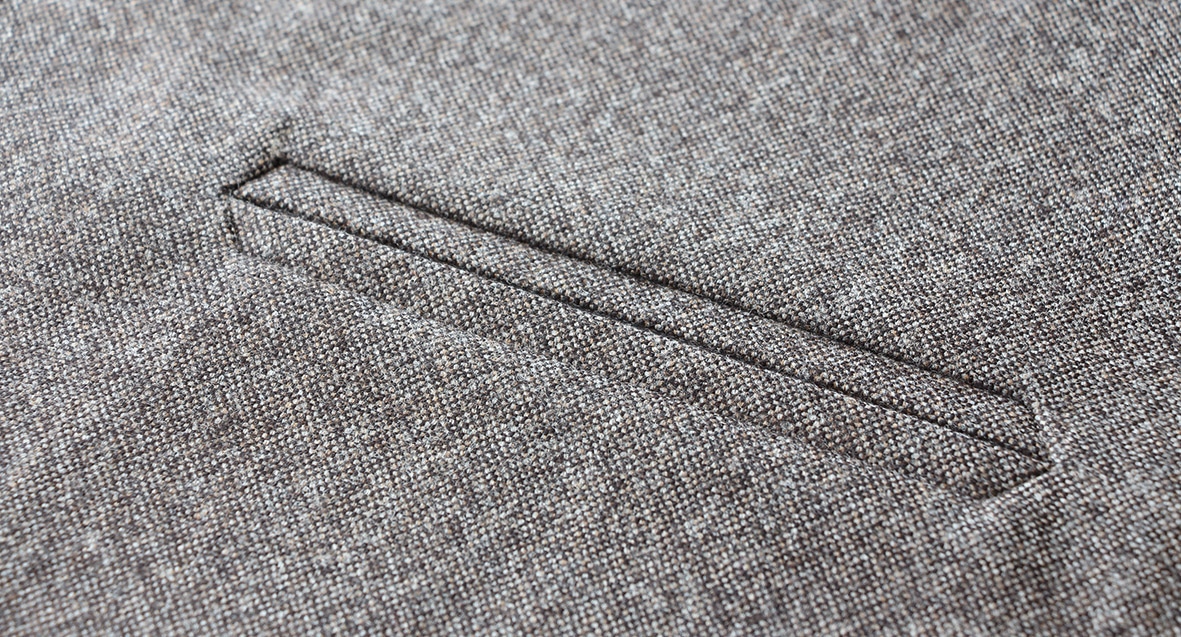
- This piped pocket is a pocket with a creative detail. The tapered corners make the piped pocket a little more sophisticated. But it can also be sewn the simple way, with normal corners.
Sewing instructions
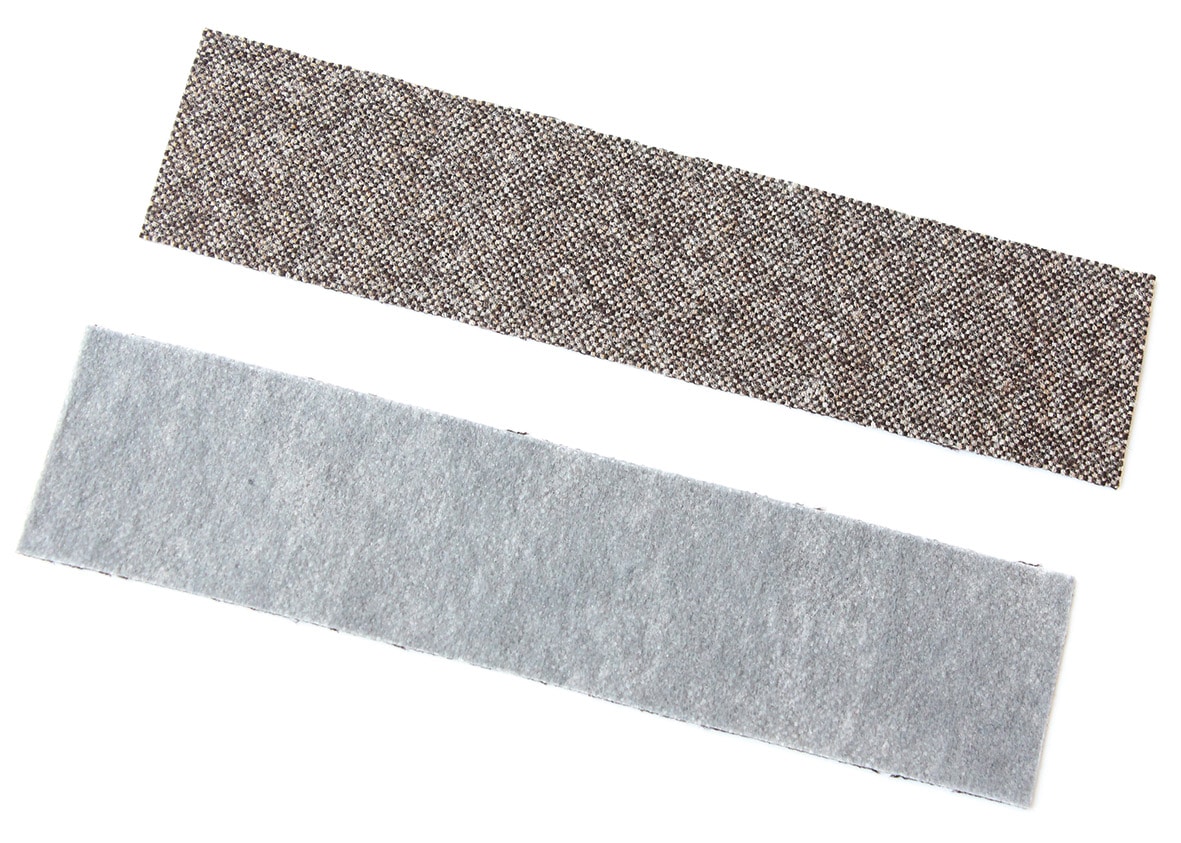
- 1. Here the finished length and width of the piping strip should be determined beforehand. Cut two strips of fabric in straight gain lines, each about four times the finished piping width and the length of the opening plus five piping widths.
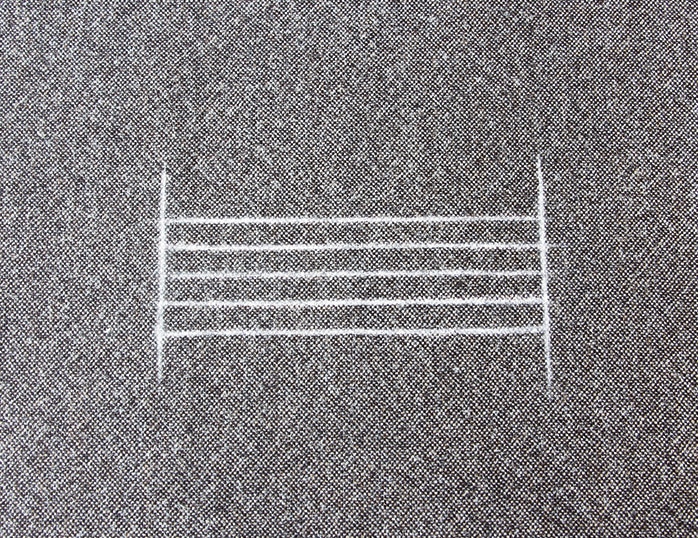
- 2. On the right side of the fabric, draw in the length of the tuck without lace. Draw two parallels (twice the piping width) above and below the tuck line.
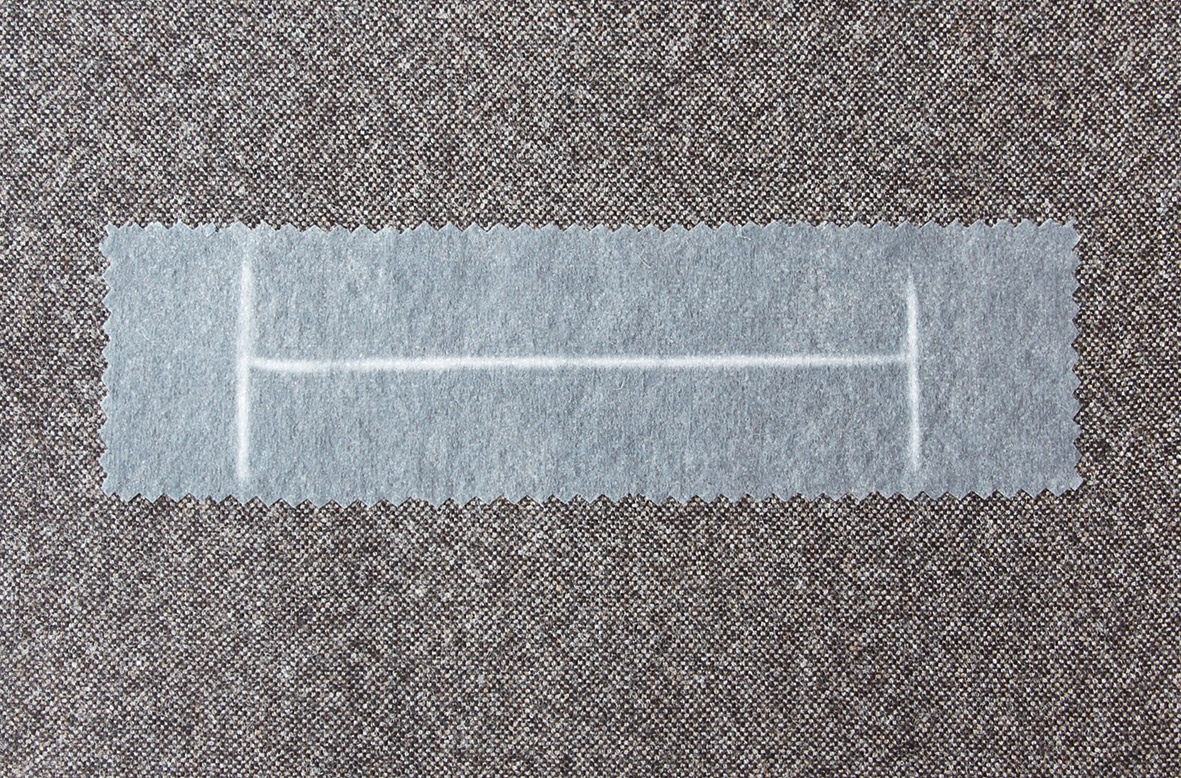
- 3. When sewing the pattern, it is important that we fix both the piping strips and the place where the pocket is sewn on and cut in with an insert that matches the fabric.
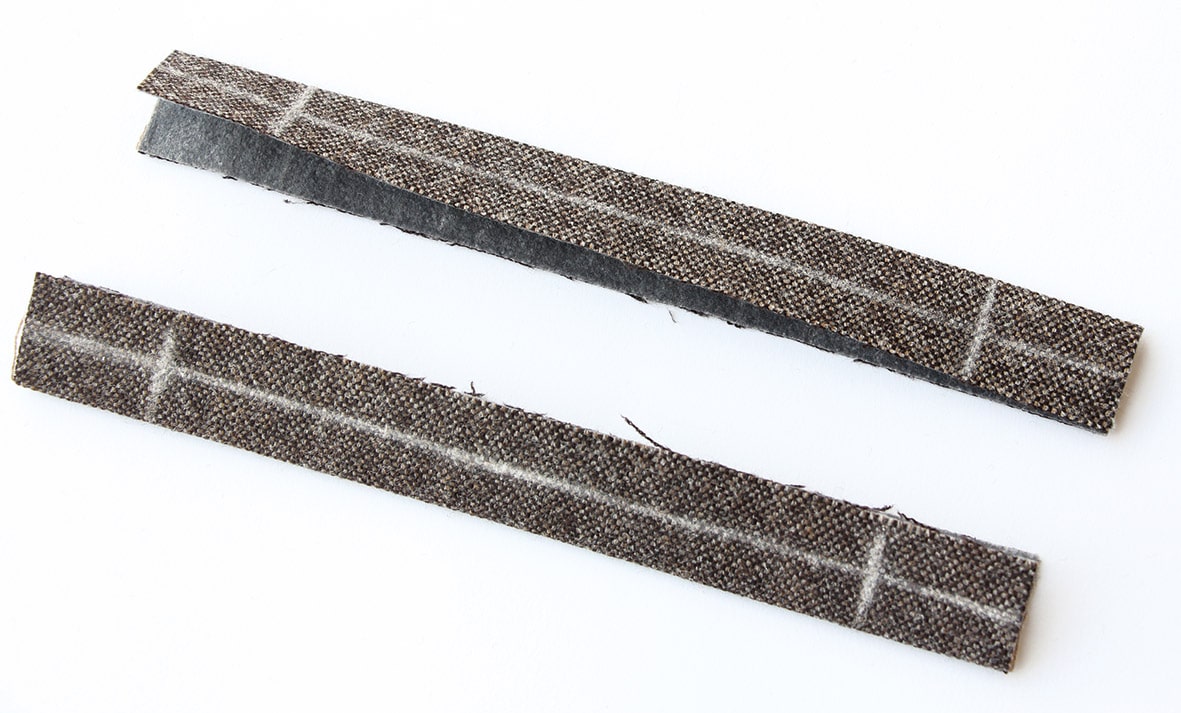
- 4. Press the strip in the centre into the fold and mark the finished tuck length and piping width without points in the centre of the strip lying in the fold.
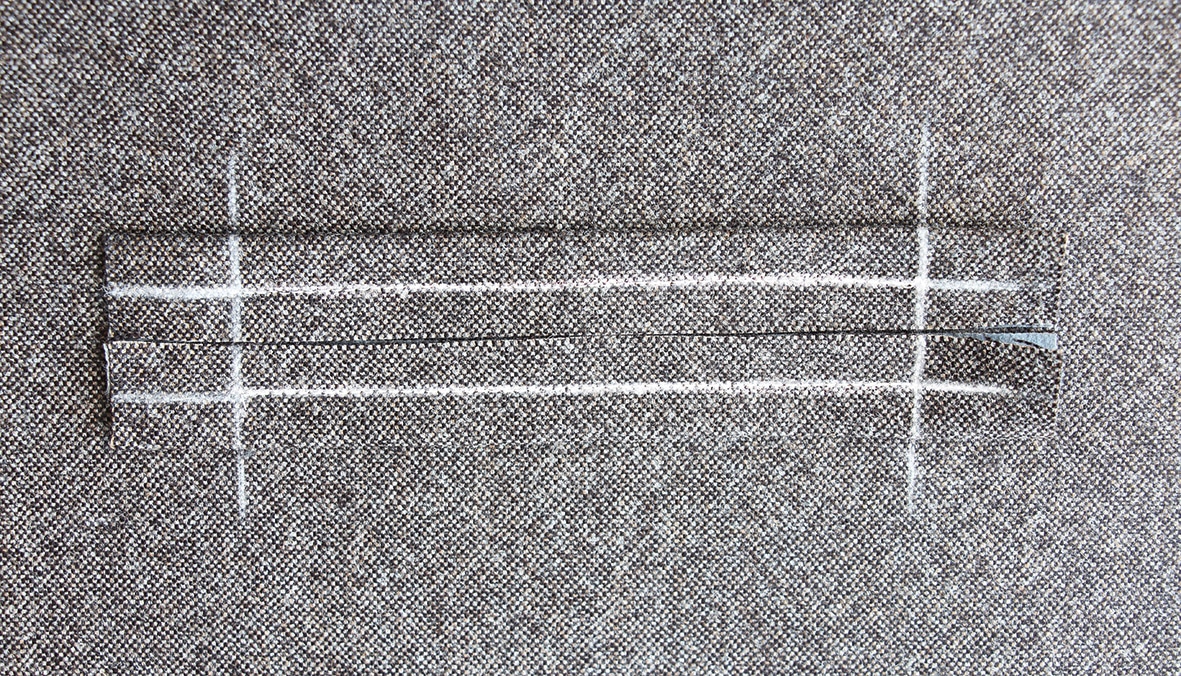
- 5. Now join the piping with the broken edge to the upper and lower line and stitch it on in the centre. The exact length and distance of both stitched seams should be checked before cutting.
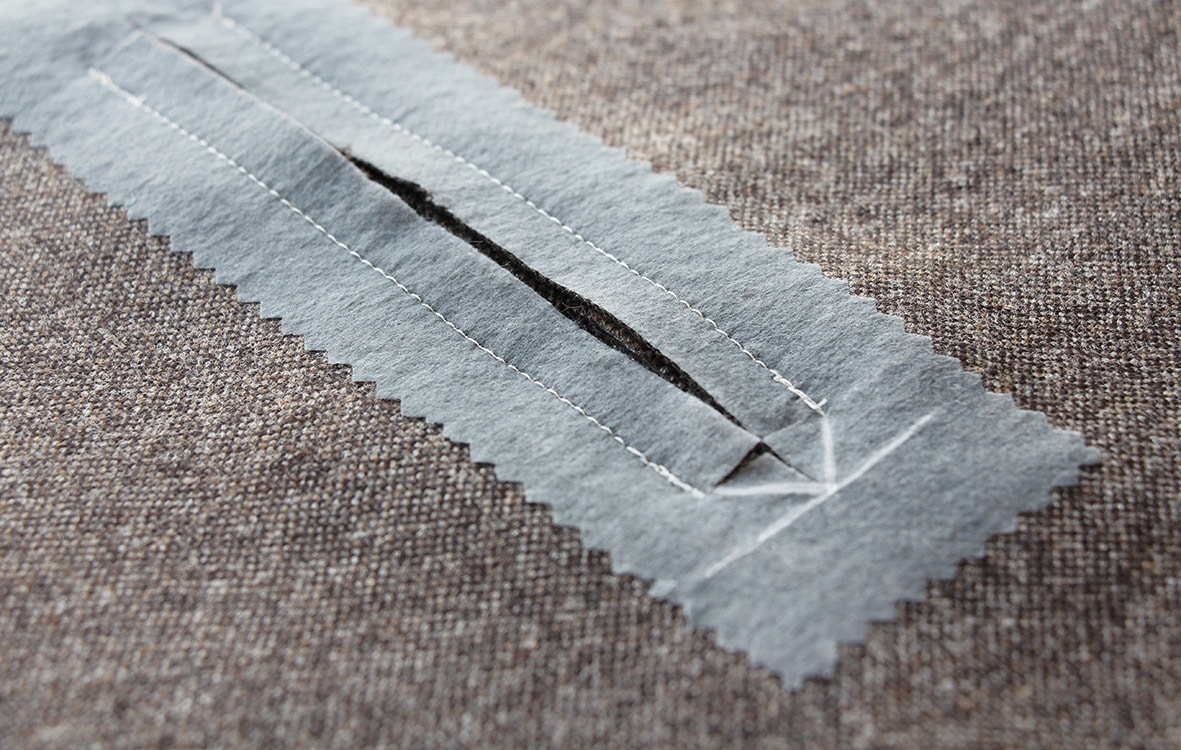
- 6. Now draw in the points on the back. The centre line is continuous from tip to tip, cut the short cross lines to the corners so that two small triangles are created.
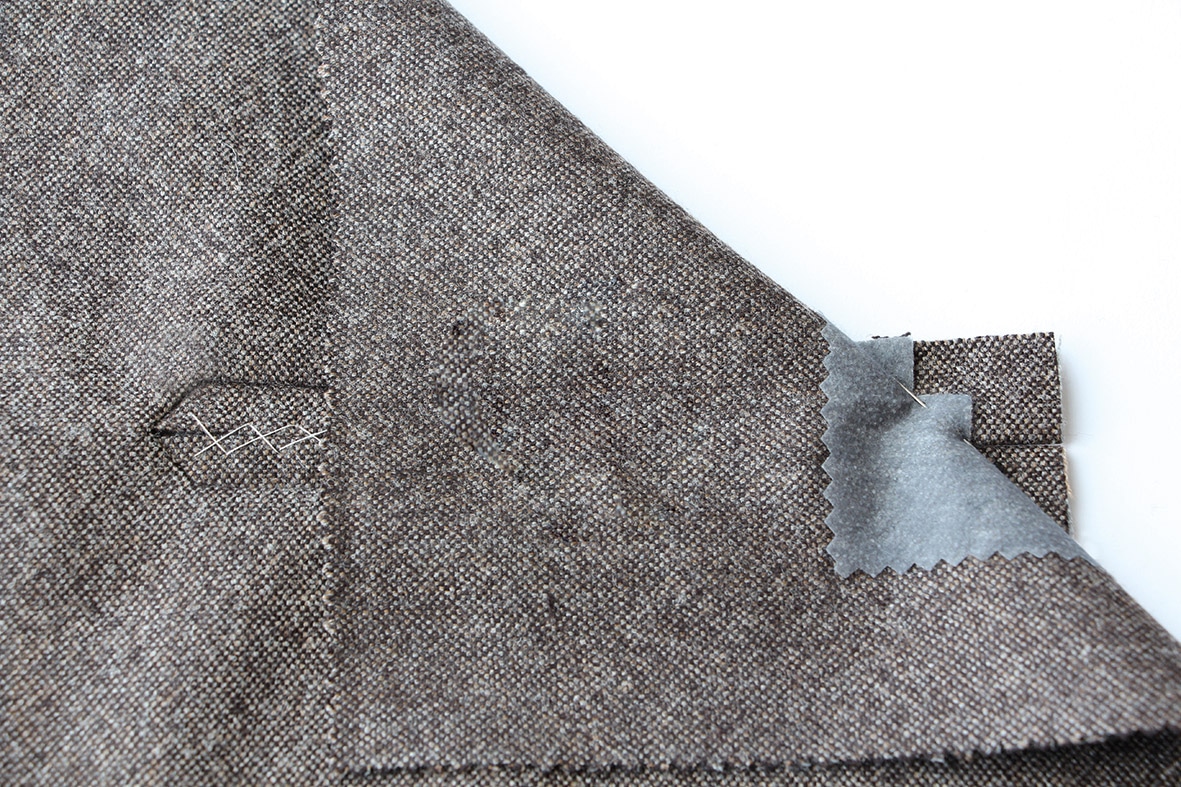
- 7. After pulling the piping through, baste it together from the right and pin the short corner tucks from one notch corner to the tip of each piping and topstitch firmly. This gives you exact lines and corners.
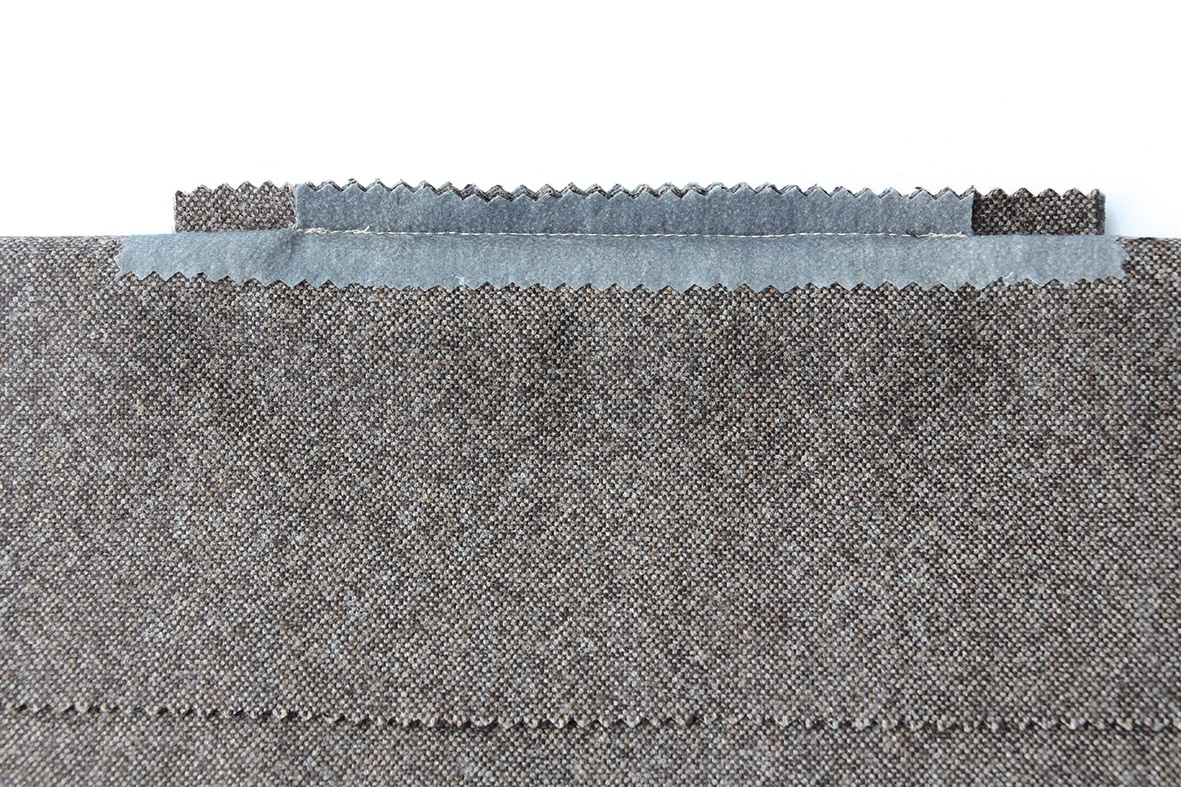
- 8. On the reverse side, the piping tucks can be graduated. It is recommended not to leave the opening open all the way to the corners, but to sew a piece closed. The pocket bag can be sewn on in the usual way.
Paspeltasche aus Streifenstoff nähen
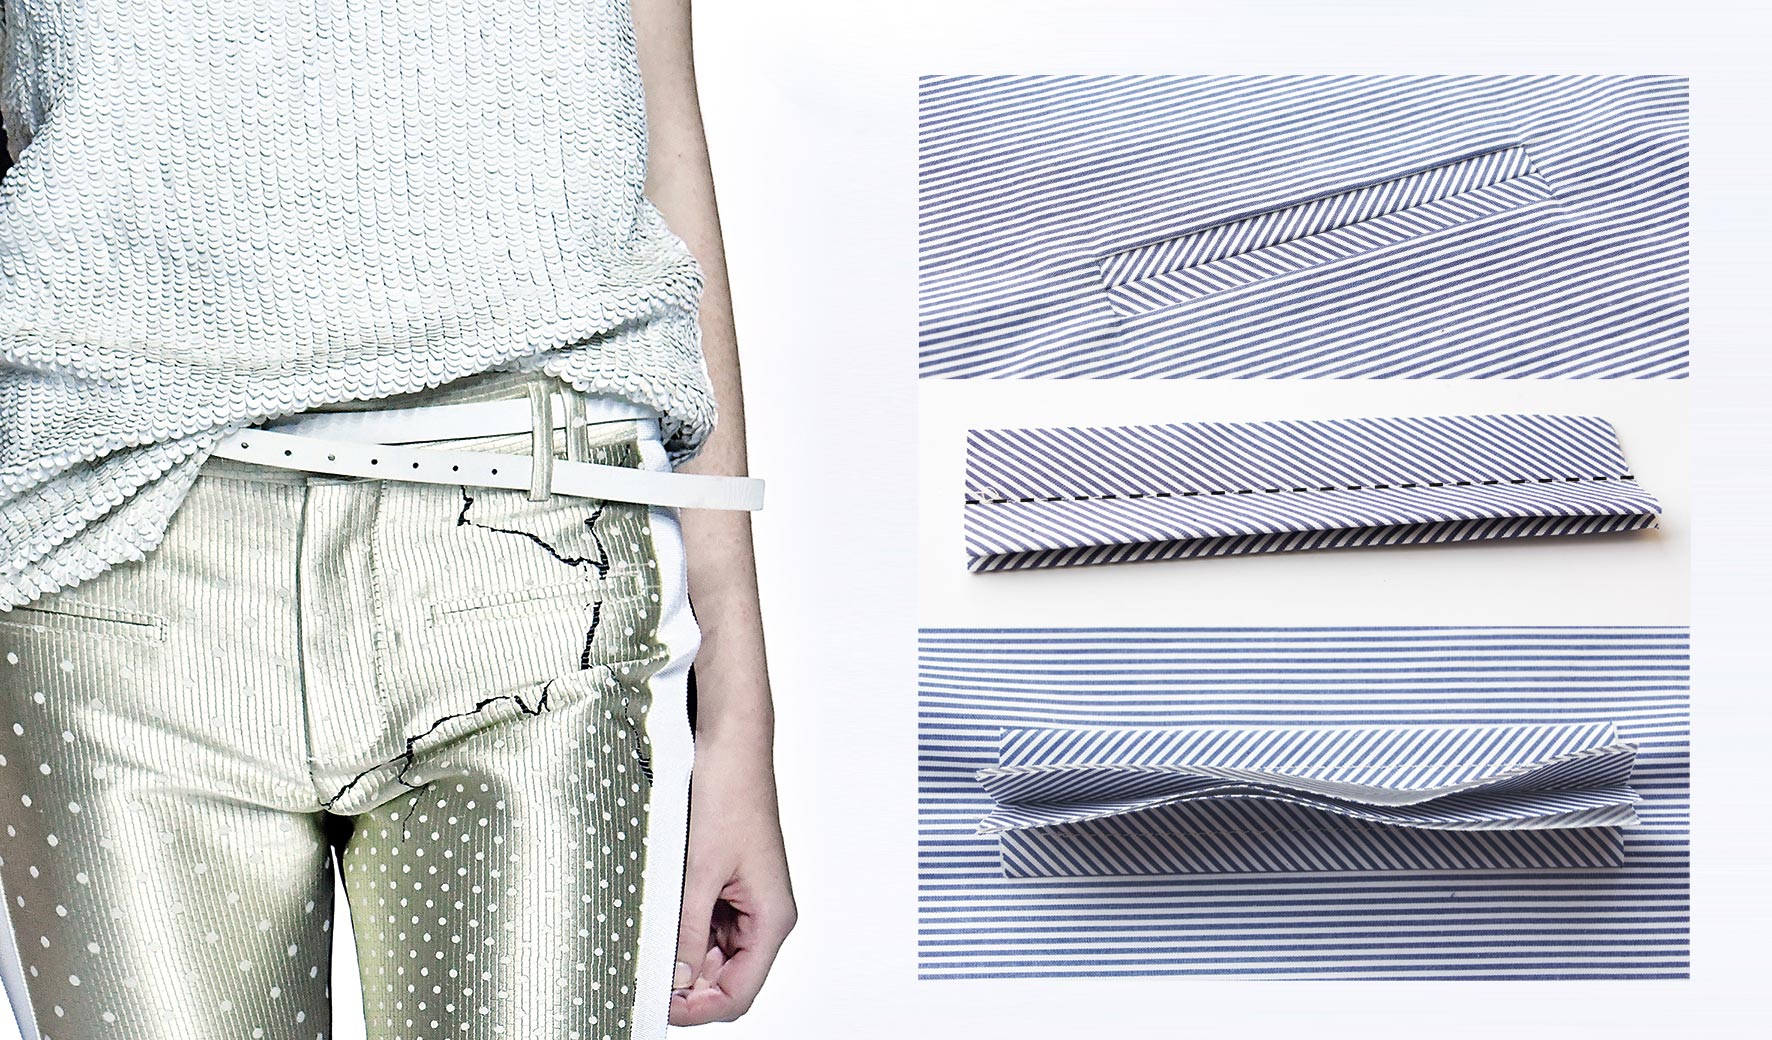
The narrow, long stripes make this pocket shape look very fine and chic. The following processing option is for piped pockets that are to match in the fabric pattern, but can also be used with plain, patternless fabrics.
Sewing instructions
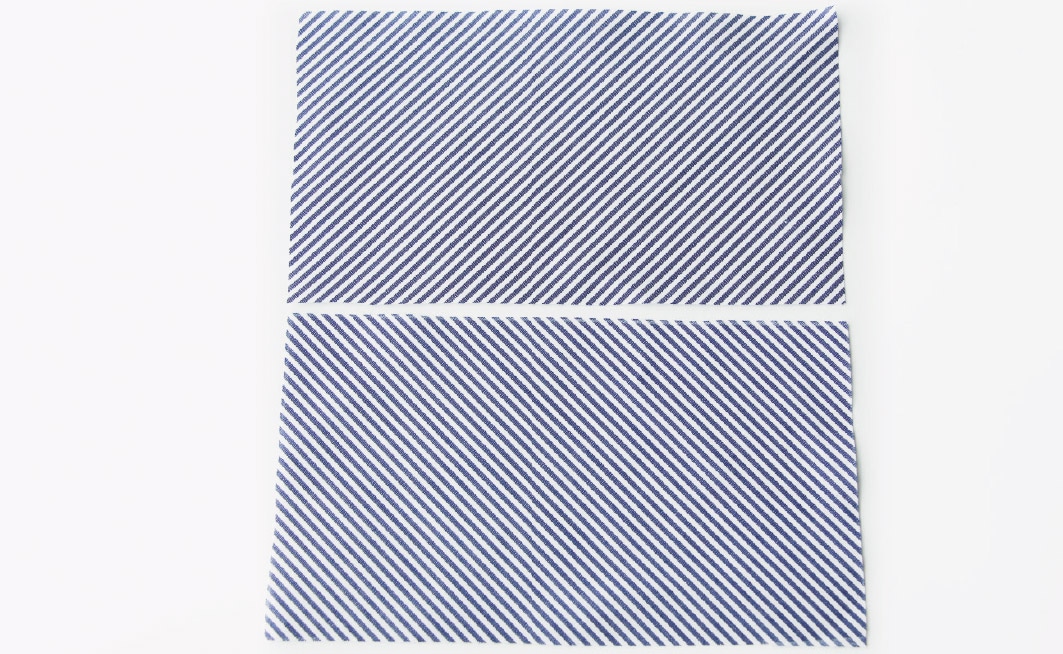
- 1. The finished length and width of the piping strip should be determined beforehand. Cut two strips of fabric in the opposite strip run, each about 9 times the finished piping width. When sewing the bag, it is important that we fix both the piping and the place where the bag or pocket is sewn on and the opening is cut in, with an insert that matches the fabric. (Here: H180)
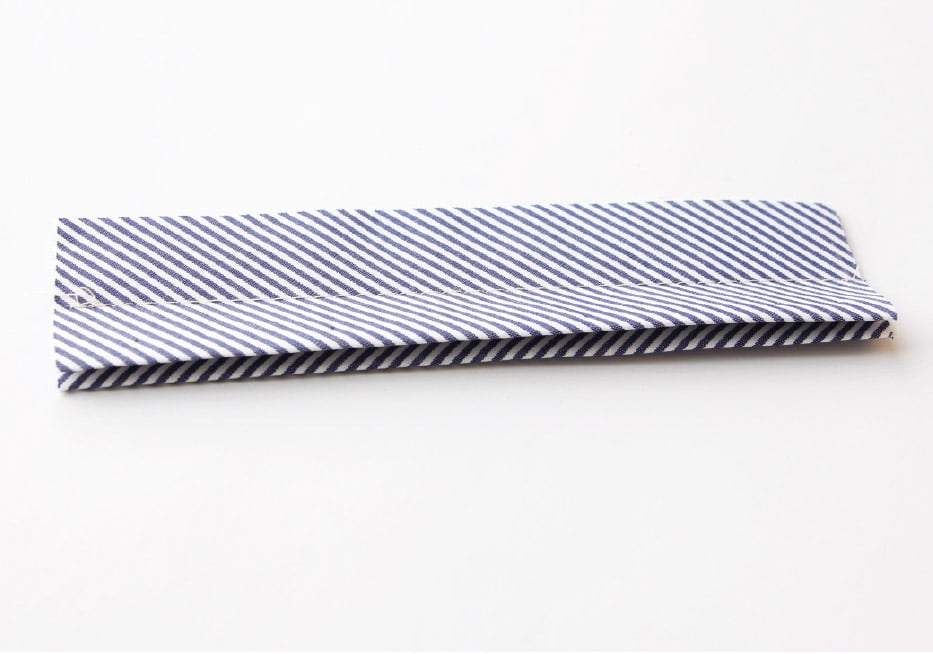
- 2. Iron both pipings in the centre of the fold and topstitch them together with a large stitch two piping widths from the fold edge. Make sure that the pipings meet exactly at the fold and the stitching line.
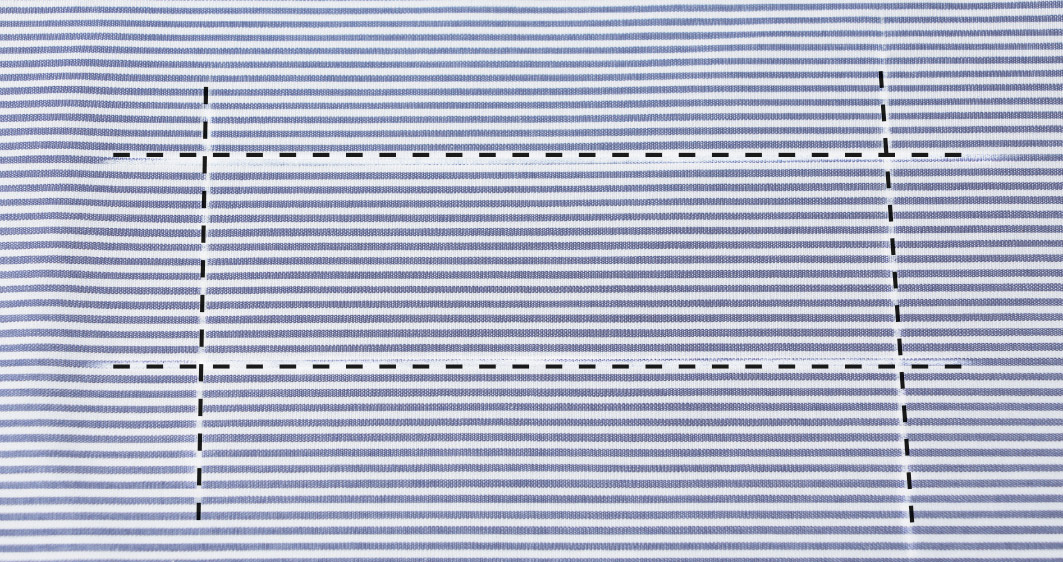
- 3. Mark the position of the pocket on the right side of the fabric. Mark at four piping widths. Tailor’s chalk or basting thread are recommended.
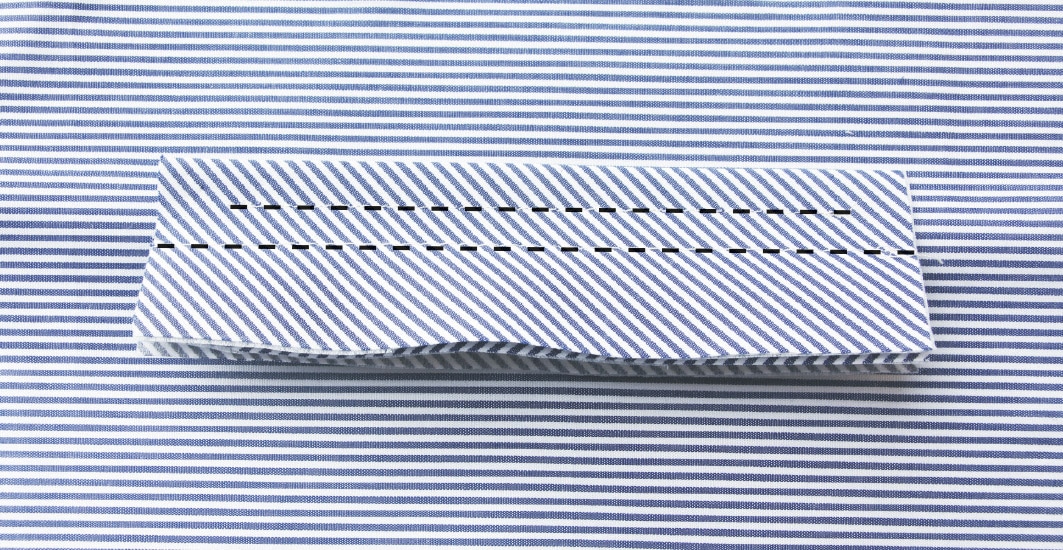
- 4. Press the piping strip apart at the seam, lay it flat with the broken edge against a marking line and topstitch it in the centre.
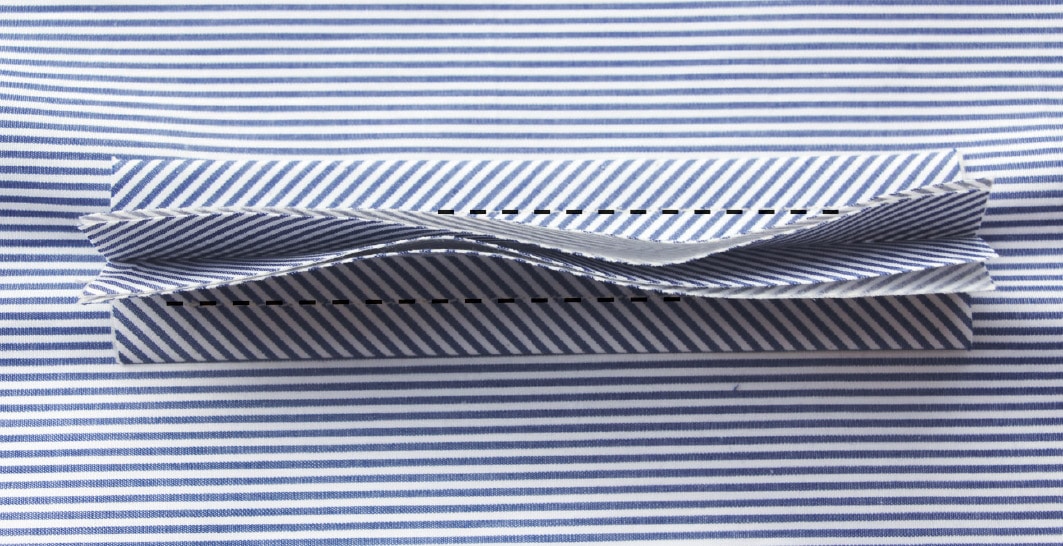
- 5. The fabric piece is folded back and the second piping is stitched on.
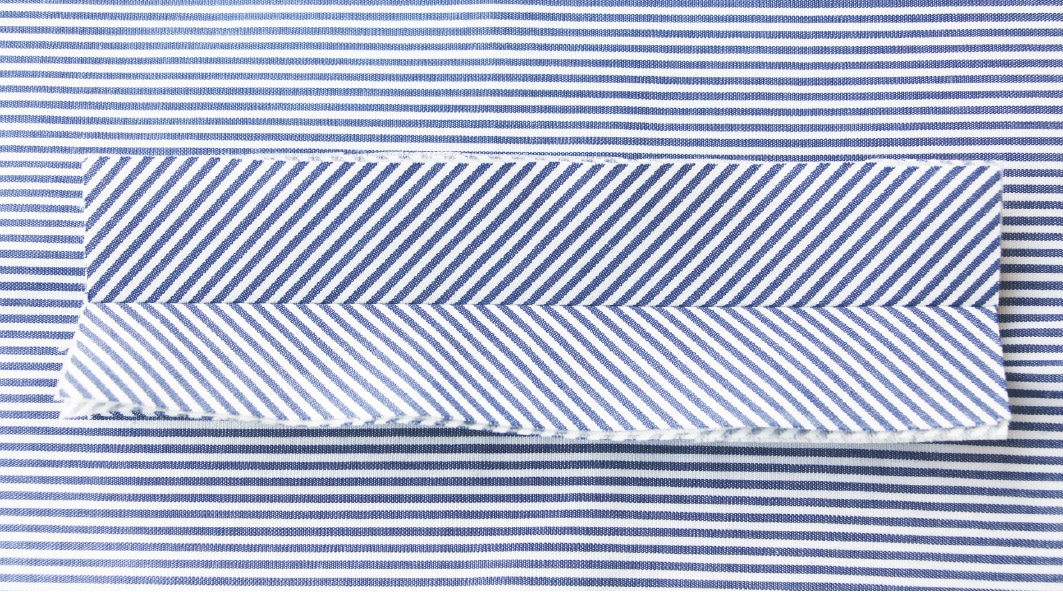
- 6. The piping is sewn on correctly when the strips of piping fit exactly on top of each other, no slants form and the ends end at the same height.
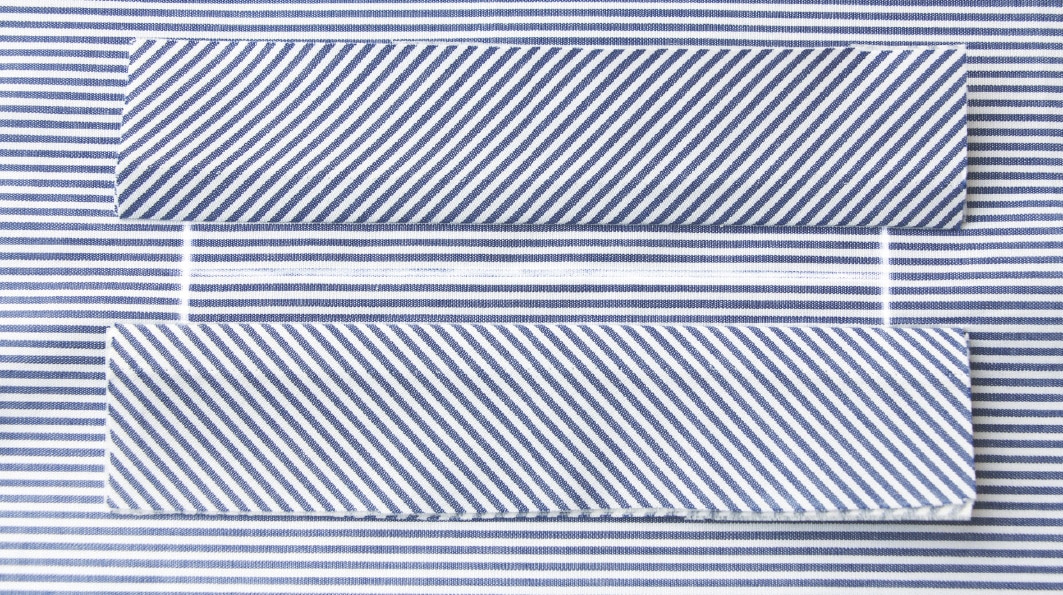
- 7. The piping sewn together with large stitches is separated here and it can be cut in the middle of the two quilted distances: in the corners at a 45 degree angle just before the last stitch without damaging the seam.
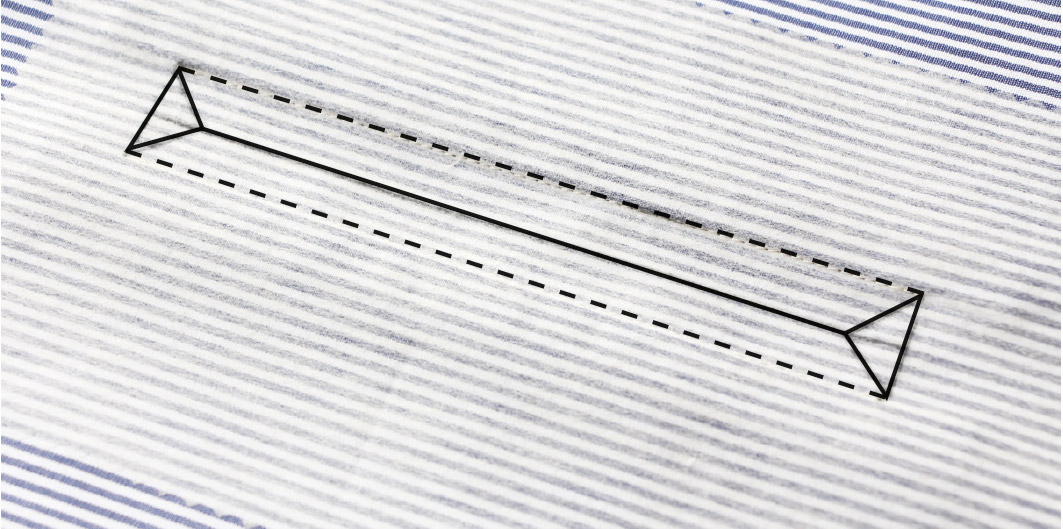
- Figure 8 shows the incisions from the back. The corners can be sewn in place after the strips have been pulled through. It is important that the piping ends are at the same height so that the corners are perpendicular.
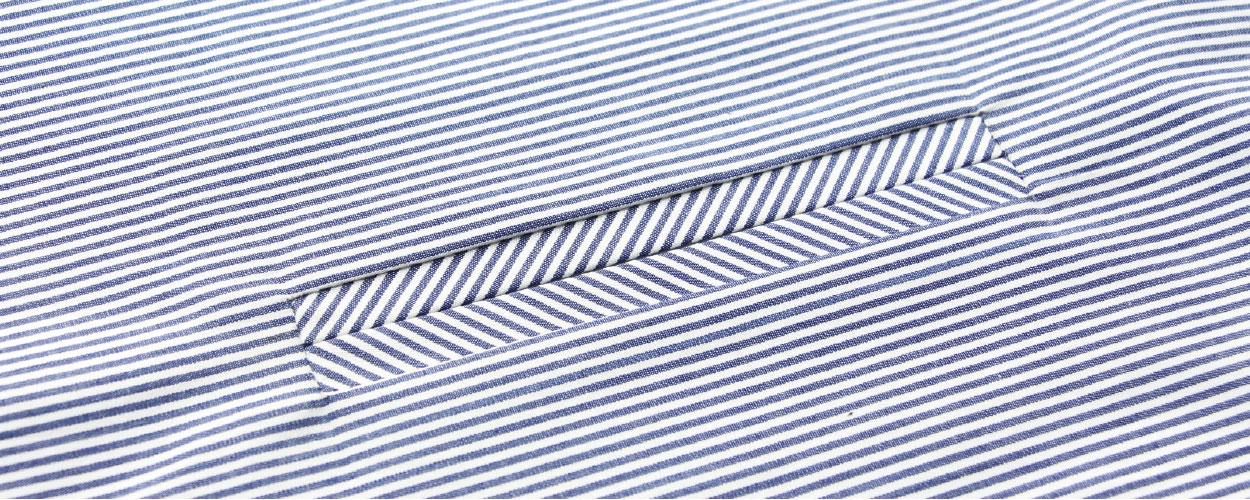
- Iron the piped pocket flat and sew on the pocket bag as usual.
You can find more instructions and patterns for sewing garments with piped pockets in our online shop.


