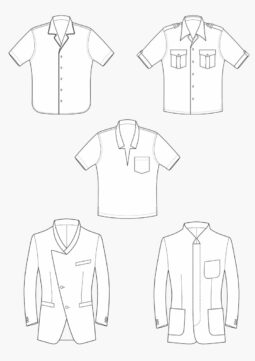
Lapel drafted on the break line
Deutsch

Lapel and shawl collars are drafted either on the break line or directly on the joined front and back pattern. Which option is to be preferred, depends on the desired collar type and the distance to the basic neckline. Dabei sind folgende Kriterien ausschlaggebend:
-
Width of the collar and the lapel
-
Width and shape of the neckline
This article is an excerpt from the reference book Metric Patternmaking for Jackets & Coats
When is a lapel or shawl collar drafted on the break line?
-
For lapel and shawl collars with no more than 7 cm collar fall at the centre back.
-
For close-fitting necklines which are lowered no more than 0 – 1 cm at the shoulder.
Pattern constructions for lapels drafted on the break line can be found in the article > Breites Revers mit Rückenanlage konstruieren
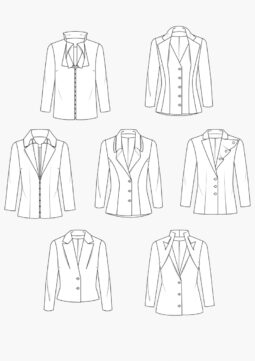
Pattern constructions for lapels on a Ladies Jacket
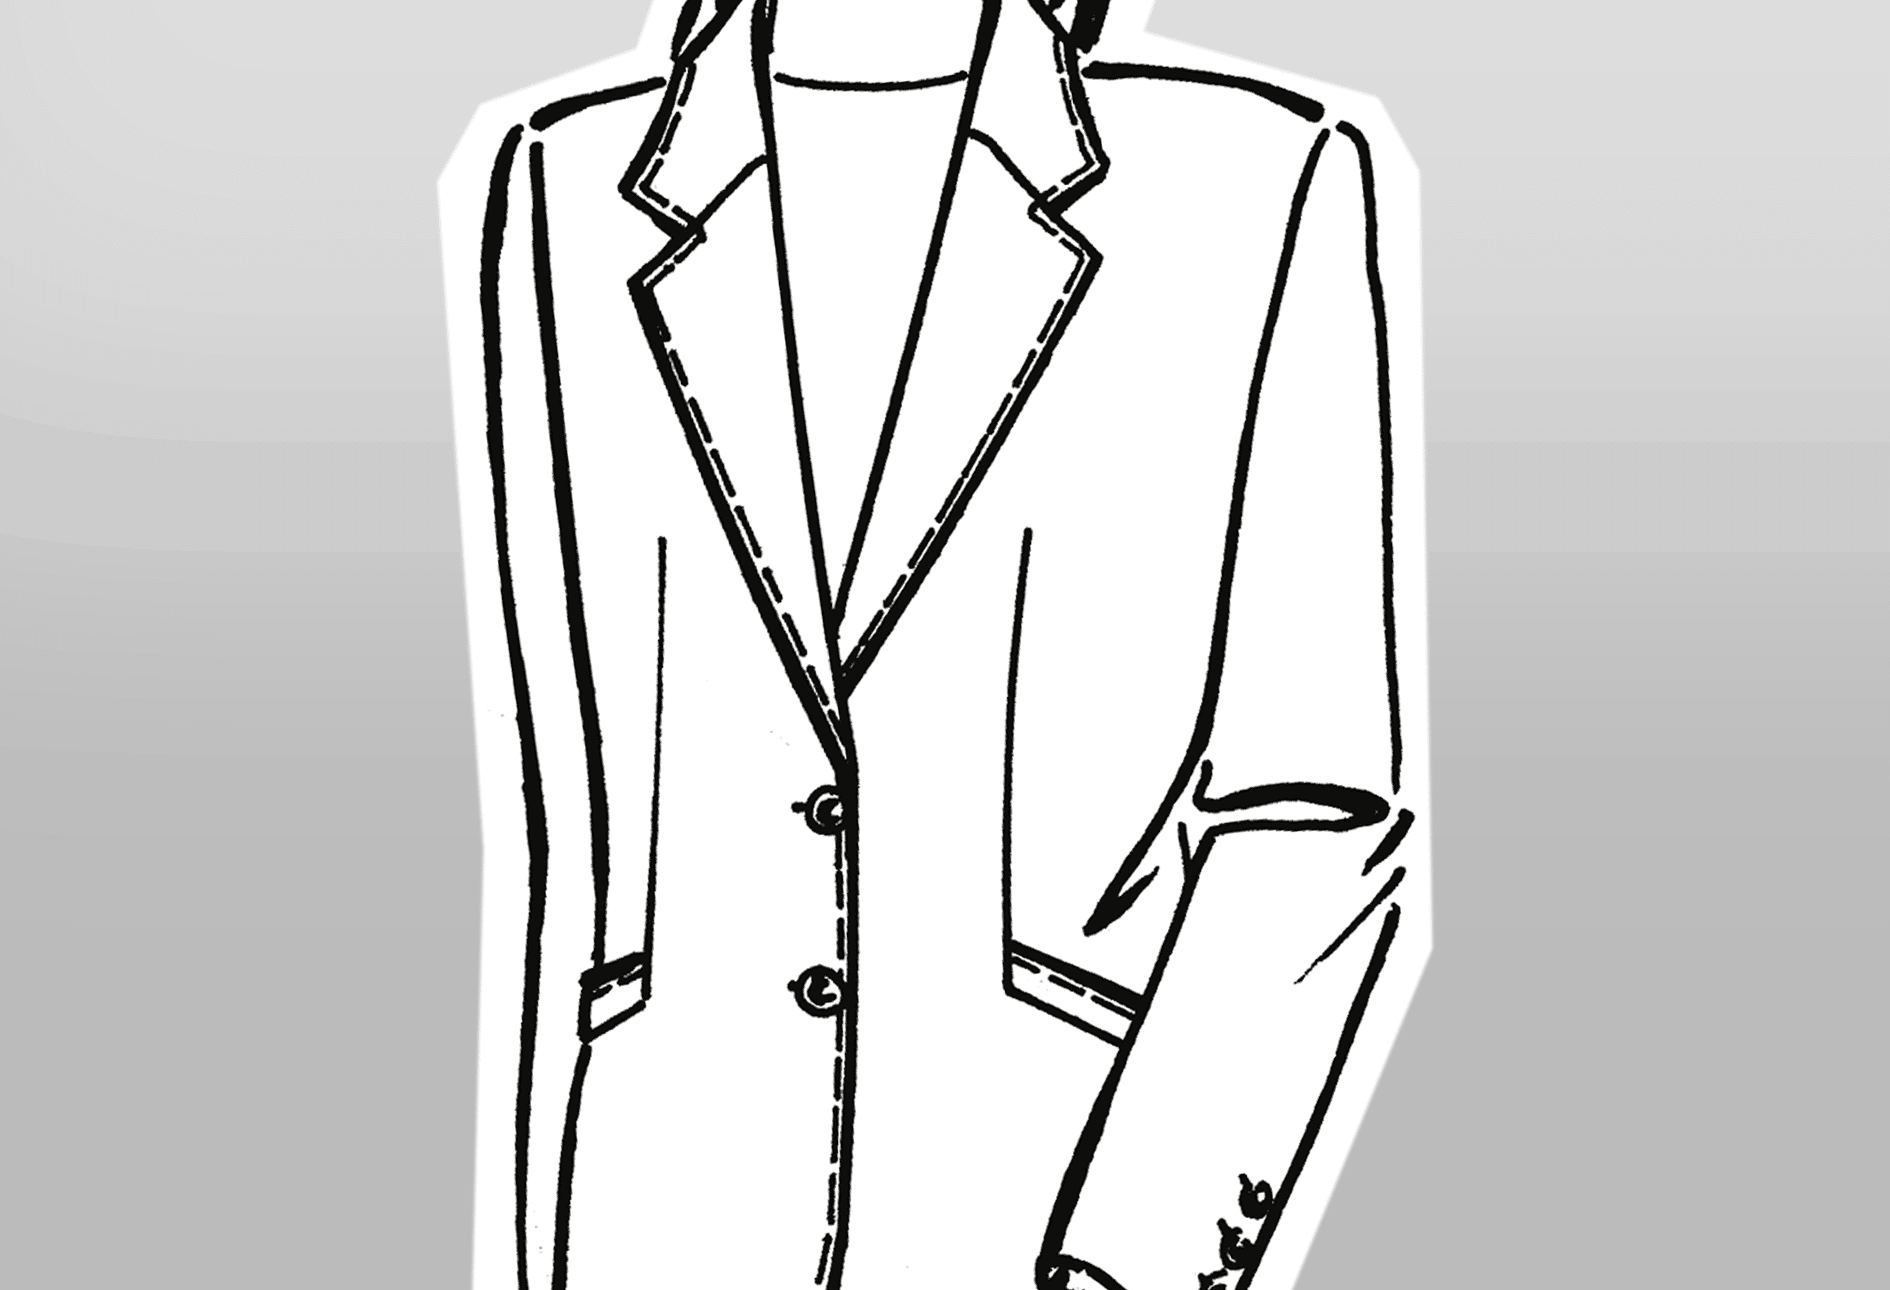
Semi-notch lapel collar
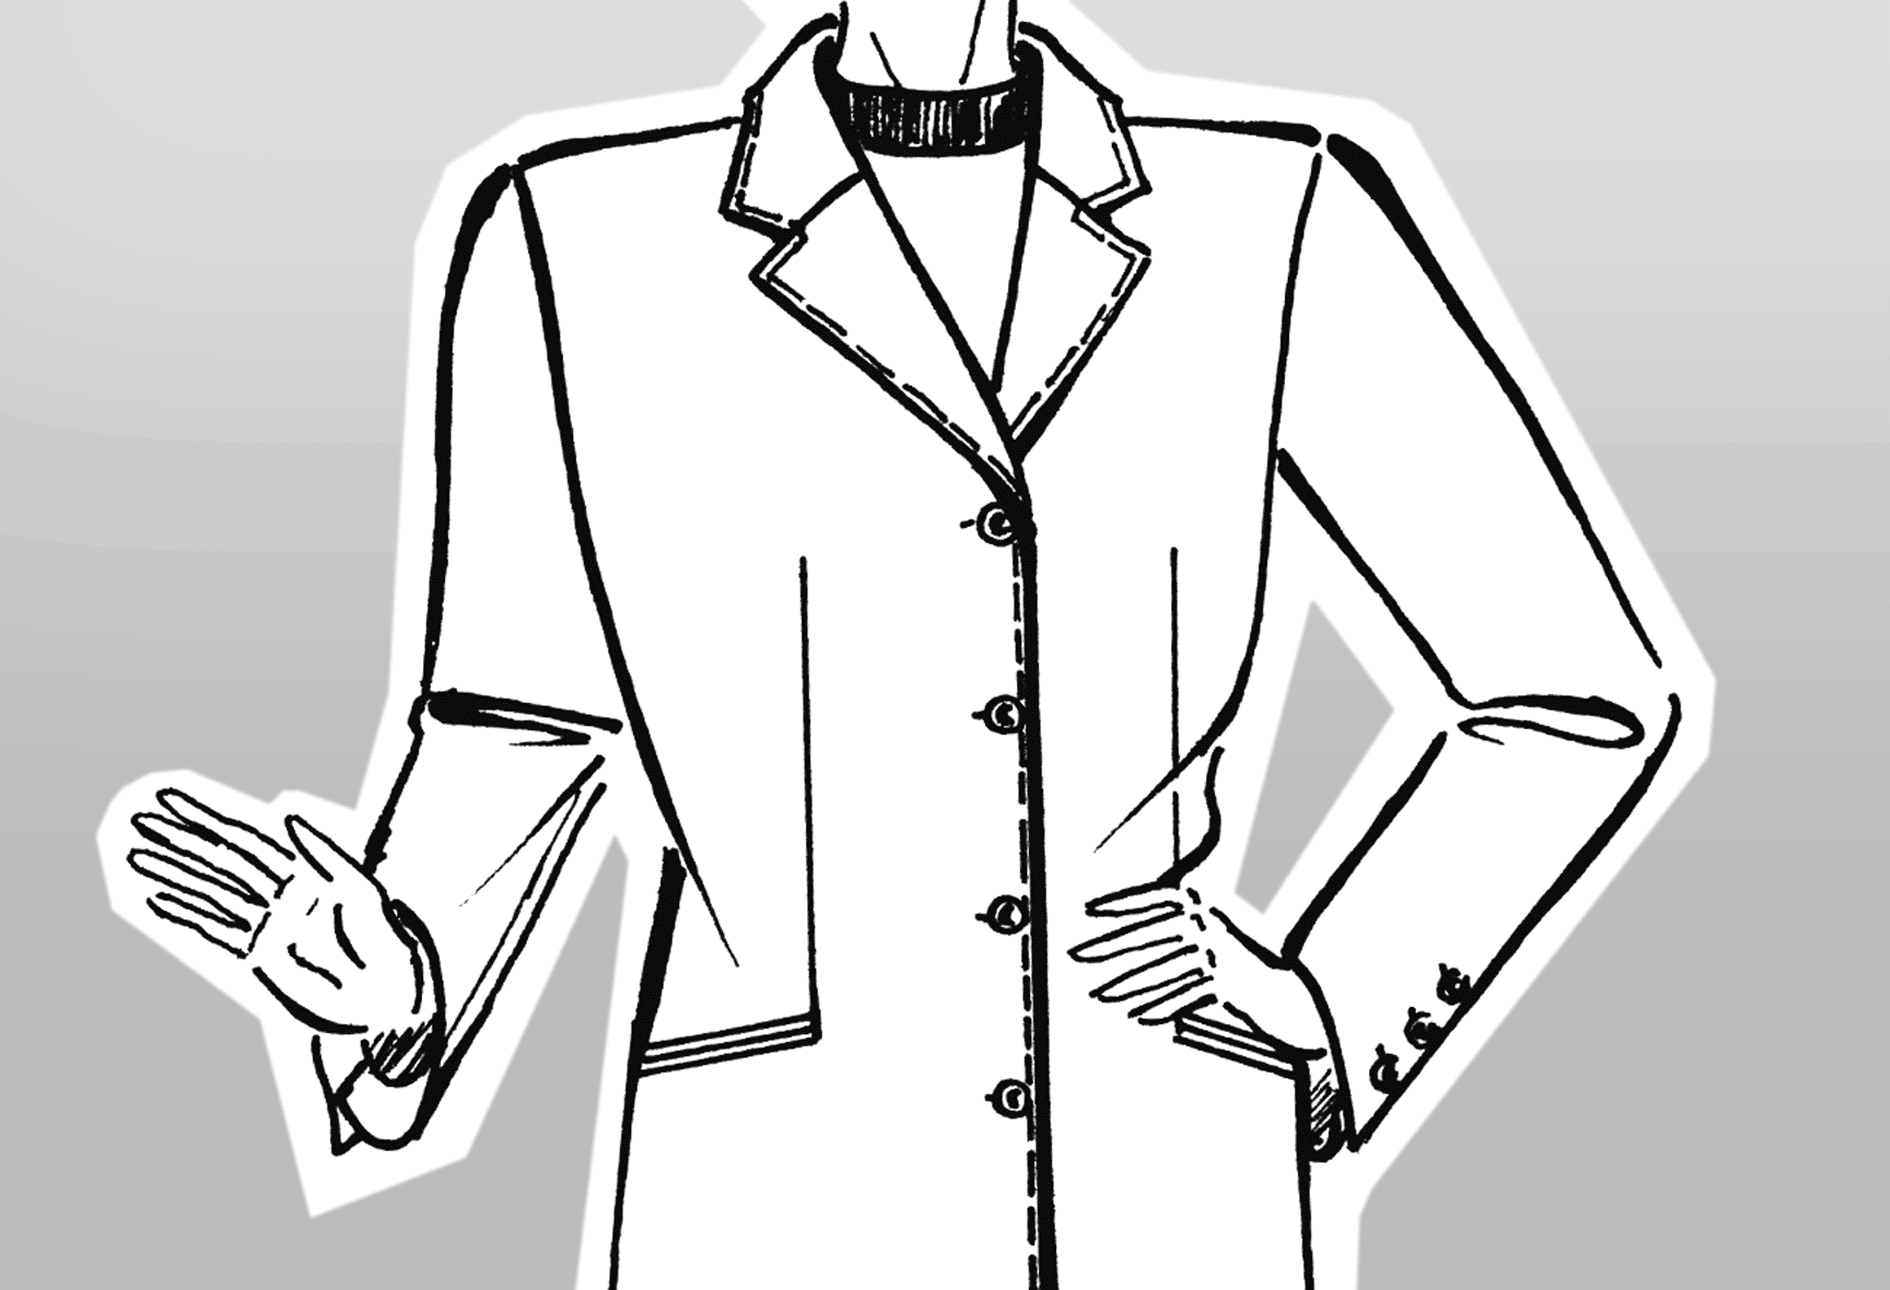
The construction of this basic lapel collar is shown in detailed step-by-step illustrations. It is the basis for all other lapel and shawl collars that are drafted on the break line.
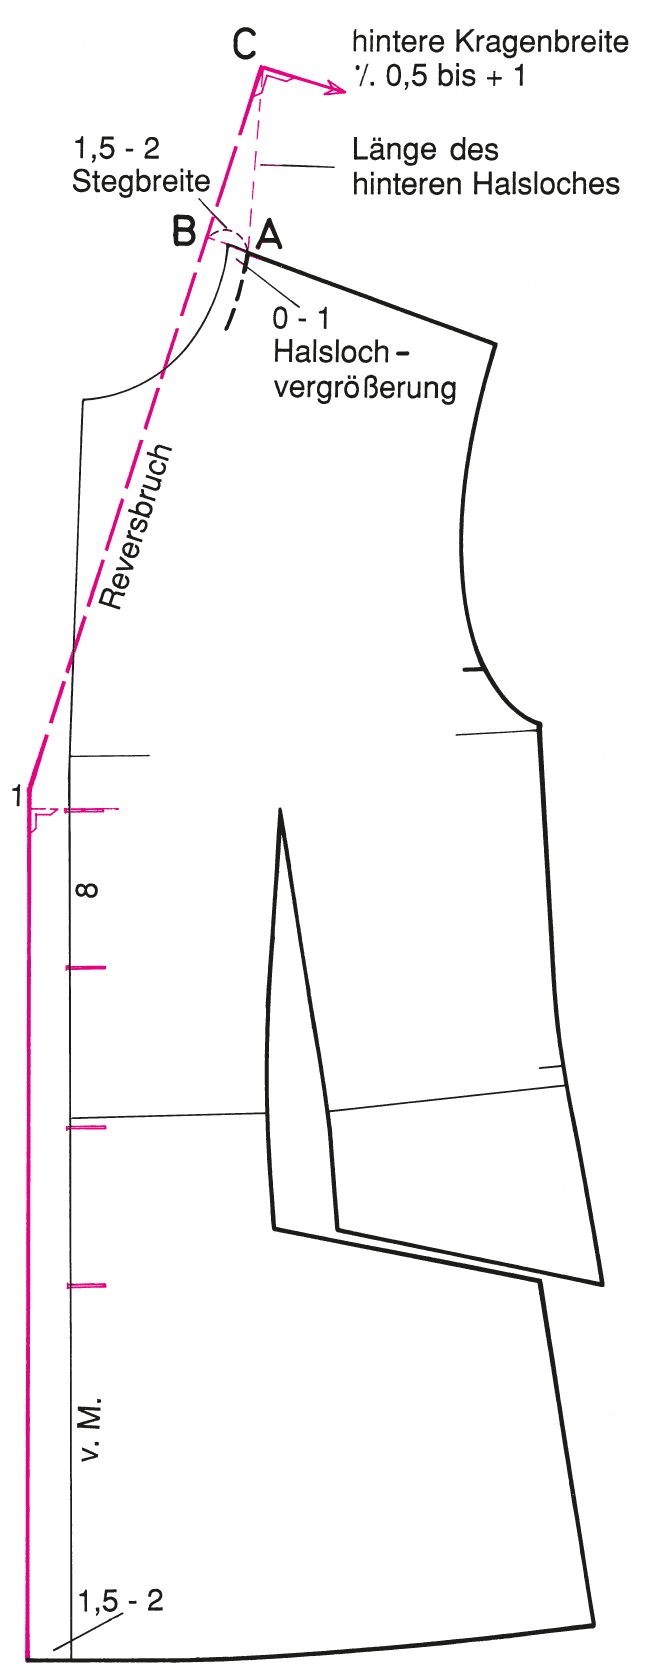
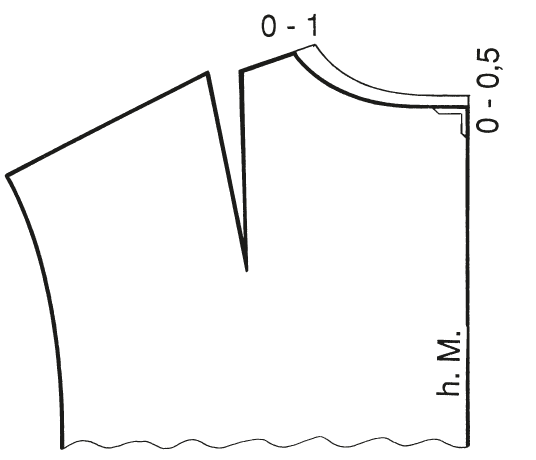
Lower the neckline 0 – 1 cm at the shoulder and 0 – 0.5 cm at the centre back (approx. half of the amount at the shoulder) How much the neckline is lowered depends on the desired fit of the collar; close to the basic neckline or away from the basic neckline. Mark the upper buttonhole. Add the overlap for the buttonstand. Mark the break point for the lapel 0 – 1 cm above the upper button. A–B Measure 1.5 – 2 cm (here: 2 cm) for the collar stand. Draw the break line to this point.
A–C Transfer the length of the back neckline. Square out to the right from point C and measure the desired back collar width (collar fall) minus 0.5 to plus 1 cm (here: 5 cm). This distance indicates the length of the outer edge of the collar. A low-turning lapel needs less length at the outer edge than a high-turning lapel. For detailed illustrations see figures 1, 2 and 3.
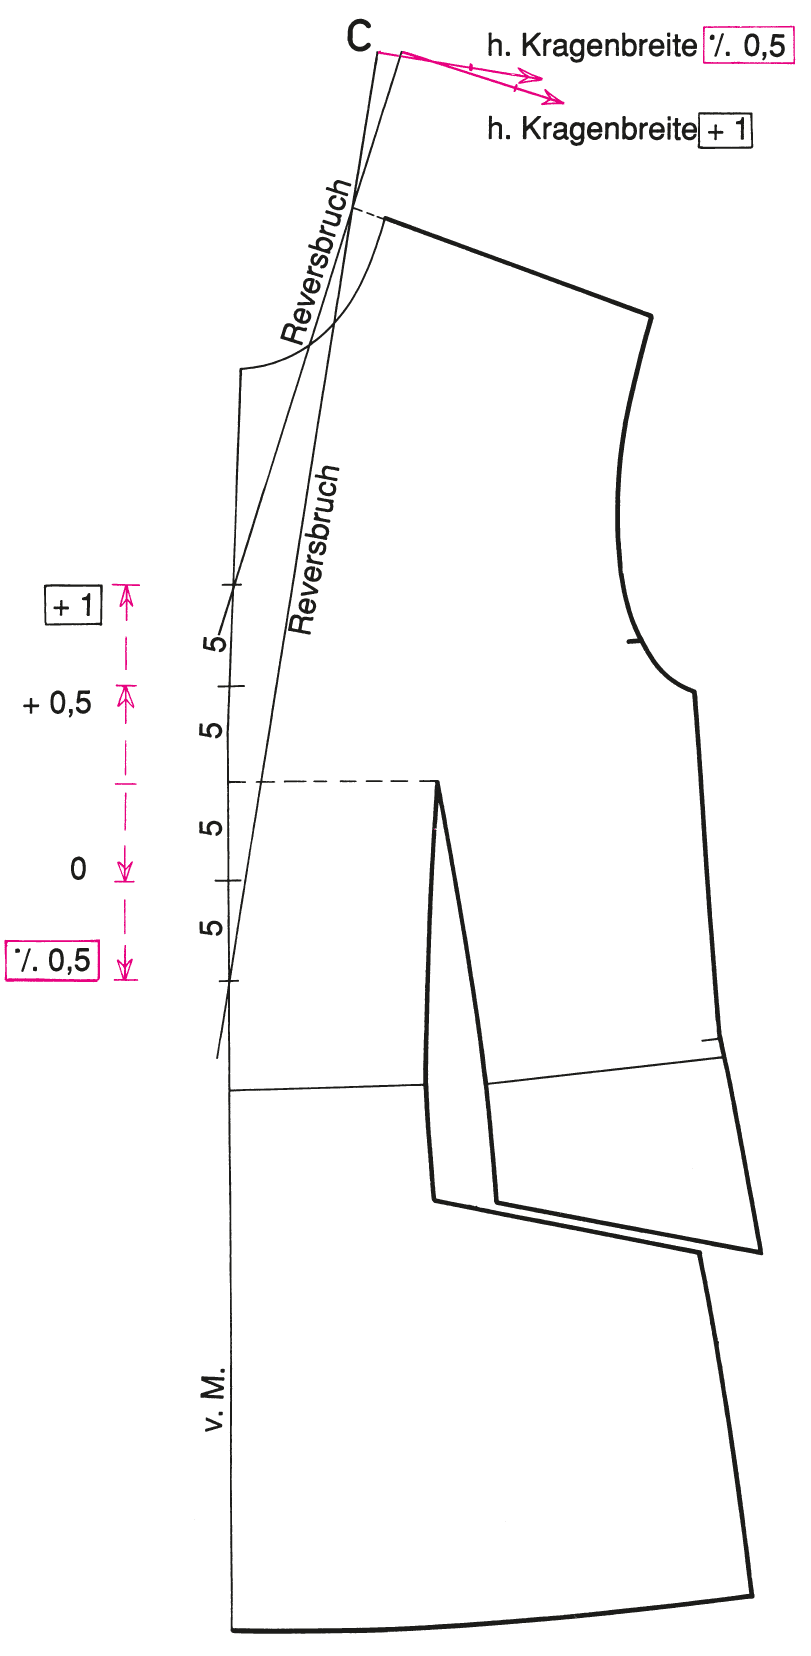
The distance from point C on the perpendicular line indicates the length of the collar edge. Measure the desired collar width plus 0.5 – 1 cm if the break lines of a lapel or shawl collar overlap above the bust line. If the break lines at a lapel or shawl collar overlap below the bust line, measure the desired collar width minus 0.5 – 1 cm. A low-turning lapel needs less length at the outer edge of the collar. The perpendicular line starting at point C is therefore shorter. The picture shows different variations for the lapel and the collar. A fitting of the collar on the dress form is nevertheless essential, since already slight differences change the fit.
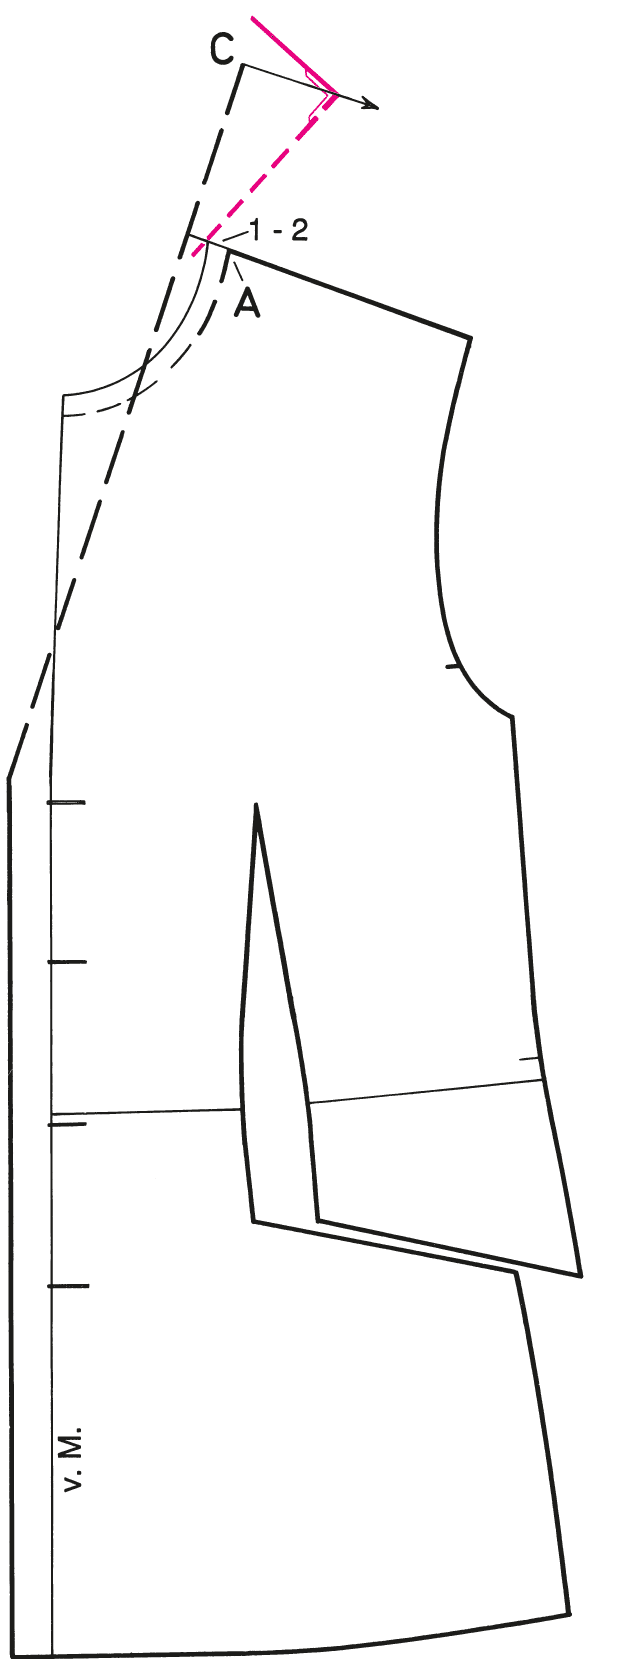
Measure 1 – 2 cm (here: 1 cm) from the lowered neckline to the left and draw an auxiliary line for the position of the collar neckline and the centre back of the collar. The distance between the auxiliary line and the neck point is another aspect that affects the length of the collar edge and the position of the centre back. If the line ends 2 cm away from the neck point, the collar receives more length at the outer edge. A longer outer edge is required for short, wide lapel collars and designs with shoulder pads (see figure 99). For a smaller lapel 1 – 1.5 cm is sufficient (1 cm without shoulder pad, 1.5 cm with shoulder pad).
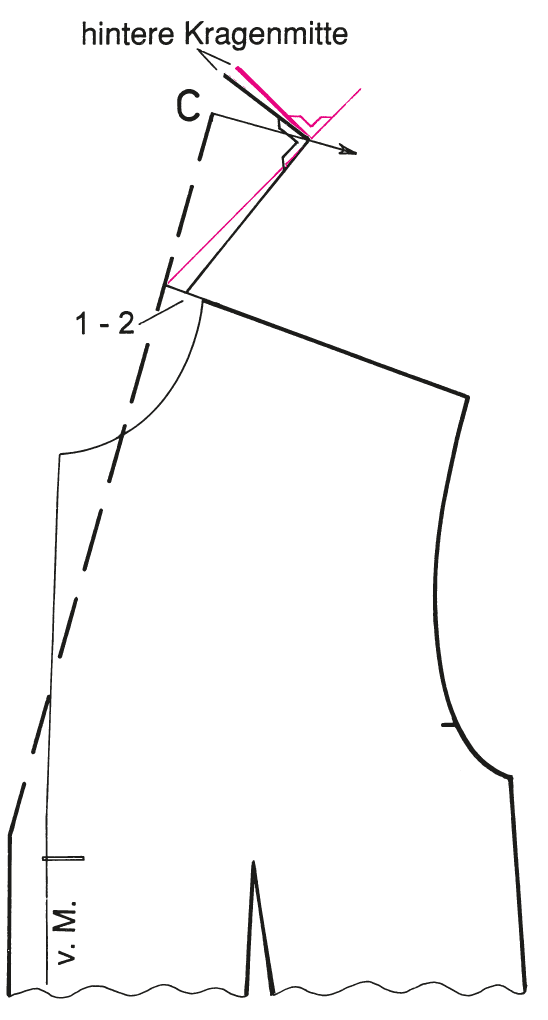
This illustration shows the changing positions of the collar back for different positions of the auxiliary line. The collar is sometimes given more and sometimes less length at the outer edge.
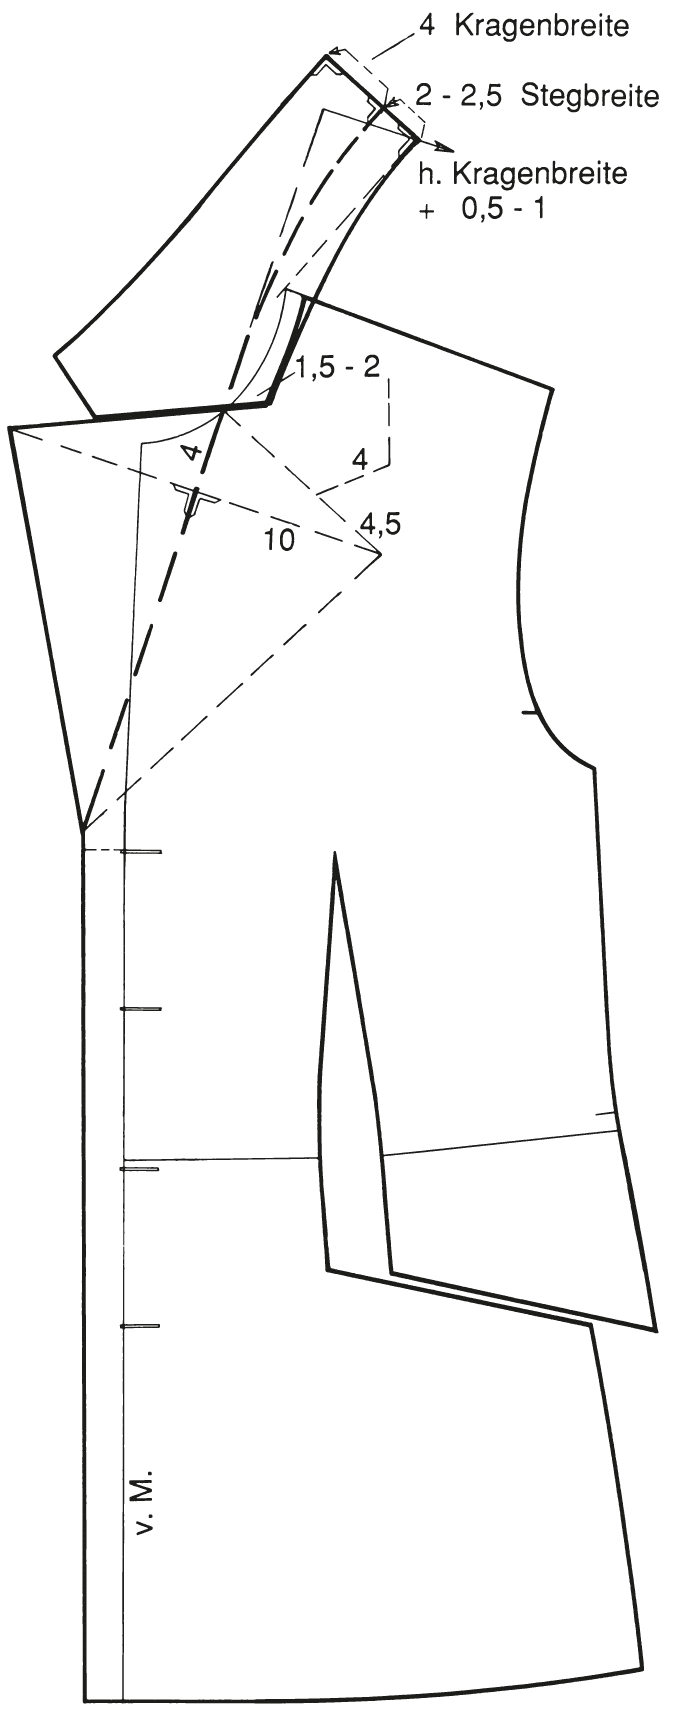
Draw the shape of the lapel and the collar first on the front pattern, then transfer the seam lines to the left side of the break line. Lengthen the gorge seam approx. 1.5 – 2 cm – depending on the width of the collar stand over the break line and draw the neckline up to this point. Draw the collar line to the neckline. The collar line and the neckline overlap. Measure the collar fall and the collar stand at the centre back of the collar (the back collar stand is 0.5 cm wider than at the shoulder). Square out from both points. Draw the roll line and the styleline for the collar as shown in the picture.
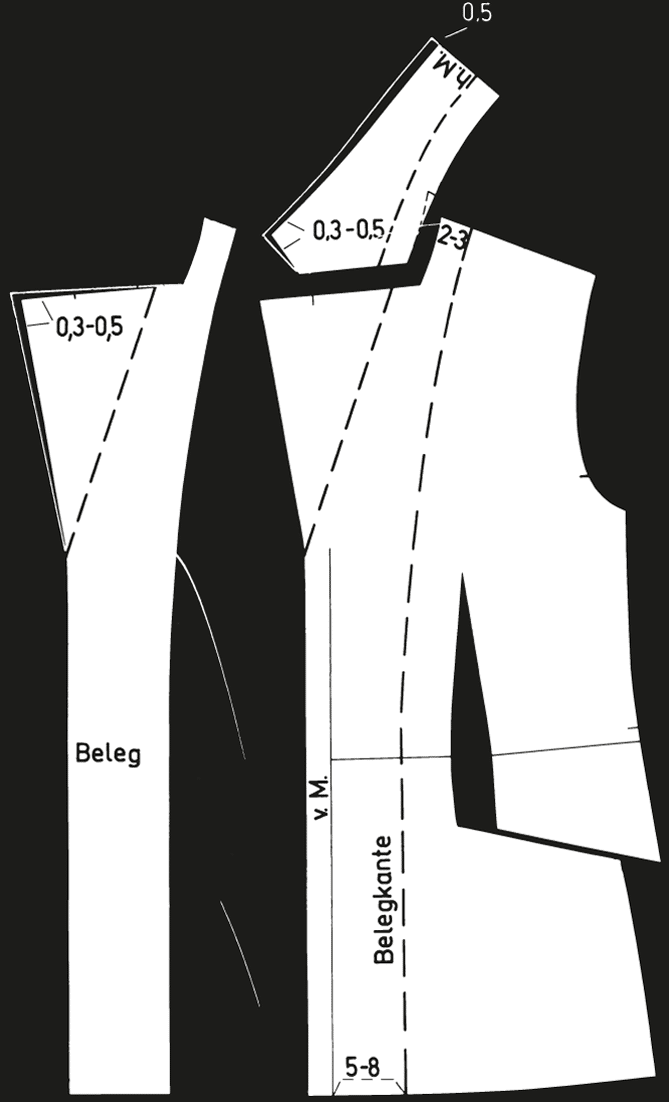
Separate the collar from the front pattern and complete the missing part at the overlap of the neck point. Compare the collar length with the neckline and adjust the length at the centre back of the collar if necessary. Draw the facing seam in the front pattern. Trace a copy of the front facing. Add the necessary roll width to the outer edge of the top collar and the lapel (0.3 – 0.5 cm depending on the fabric). In general, the top collar is cut in the fabric fold unlike the undercollar which is designed with a seam at the centre back and cut on the bias grain. Depending on the fabric pattern the top collar is sometimes also cut on the bias grain (e.g. for plaids or stripes).
Low-turning lapel collar
Convertible collar
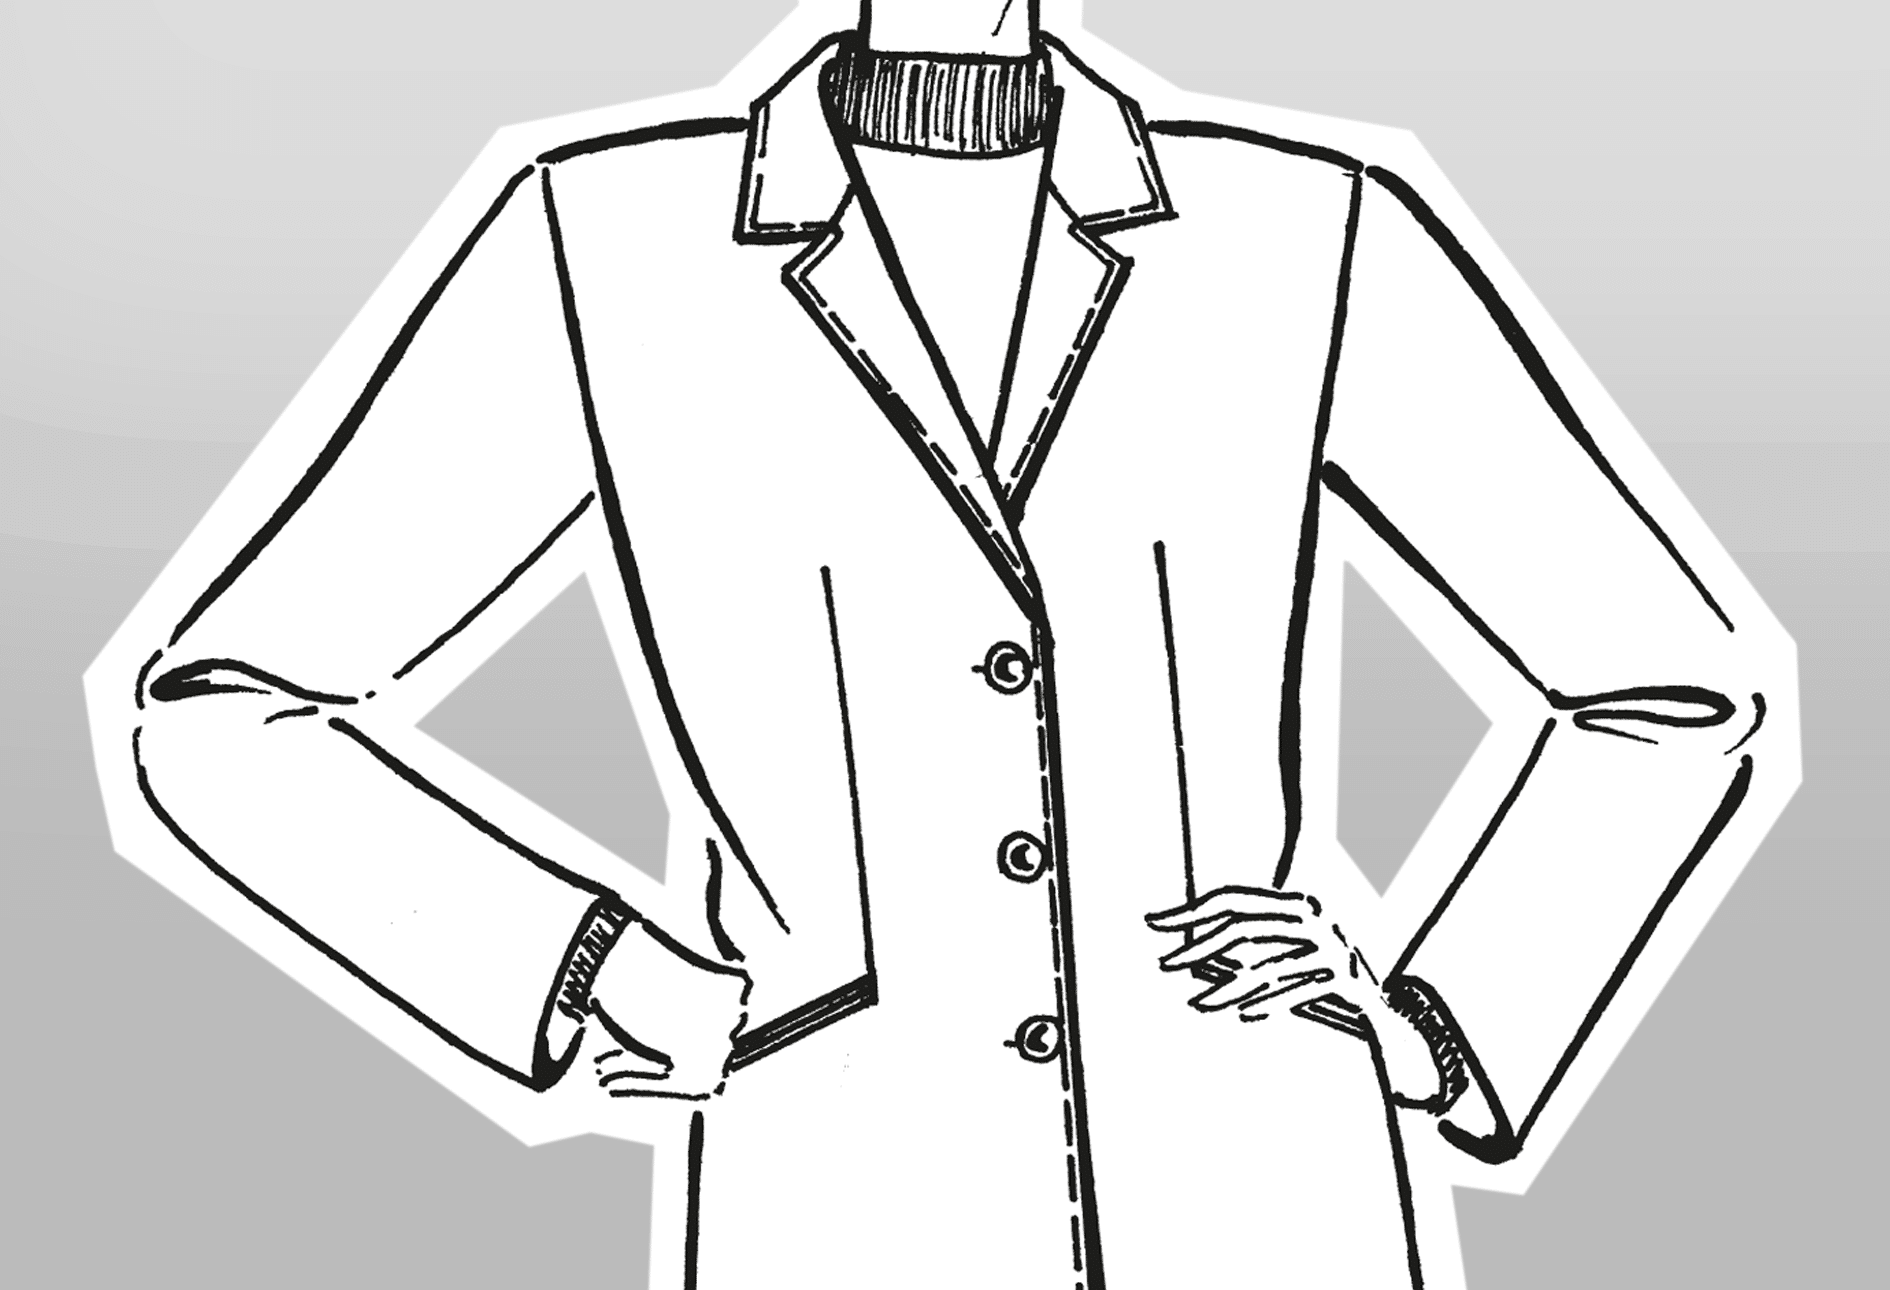
Double-breasted peak lapel collar
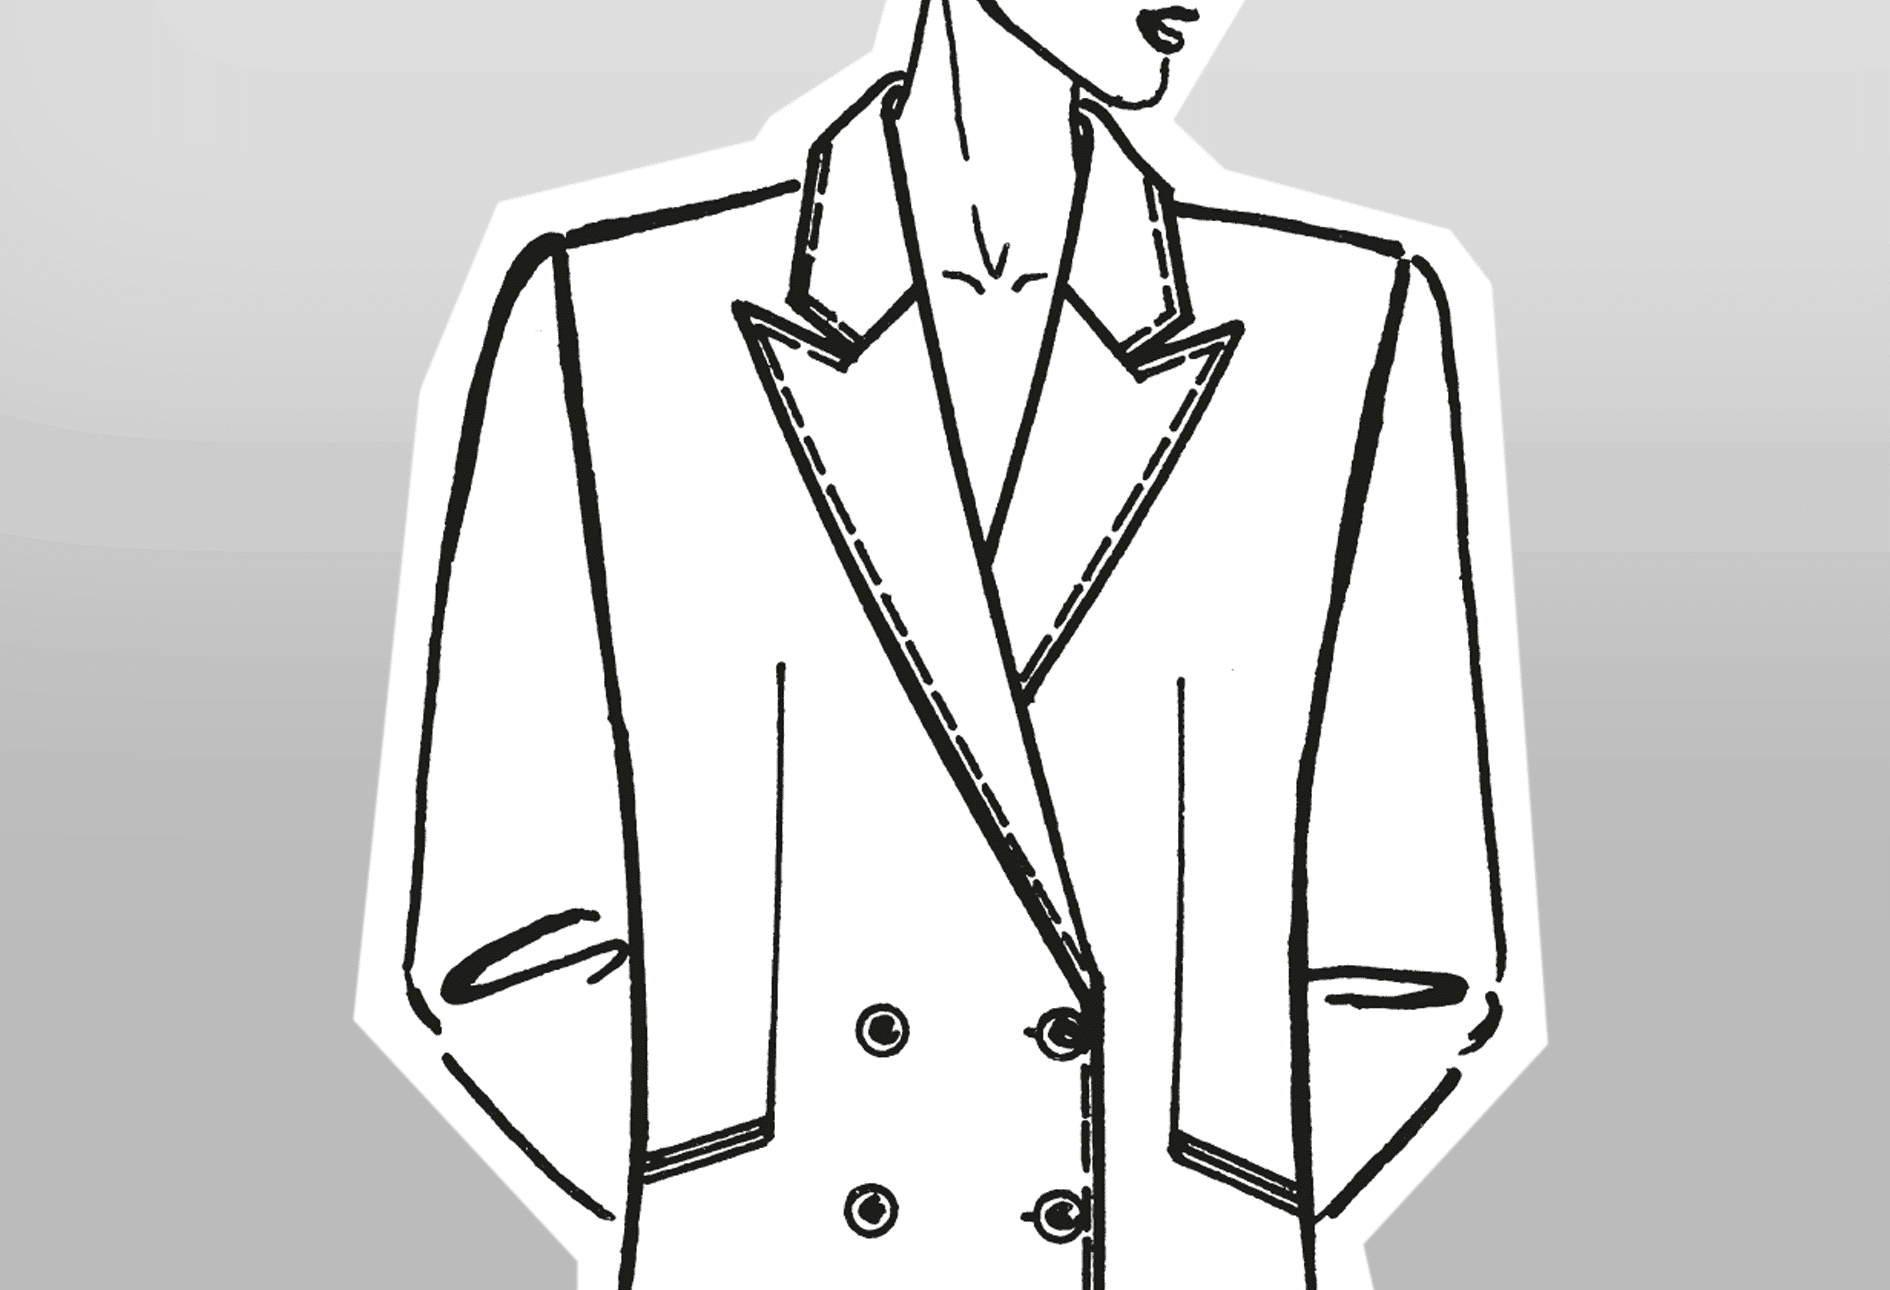
Double-breasted shawl collar
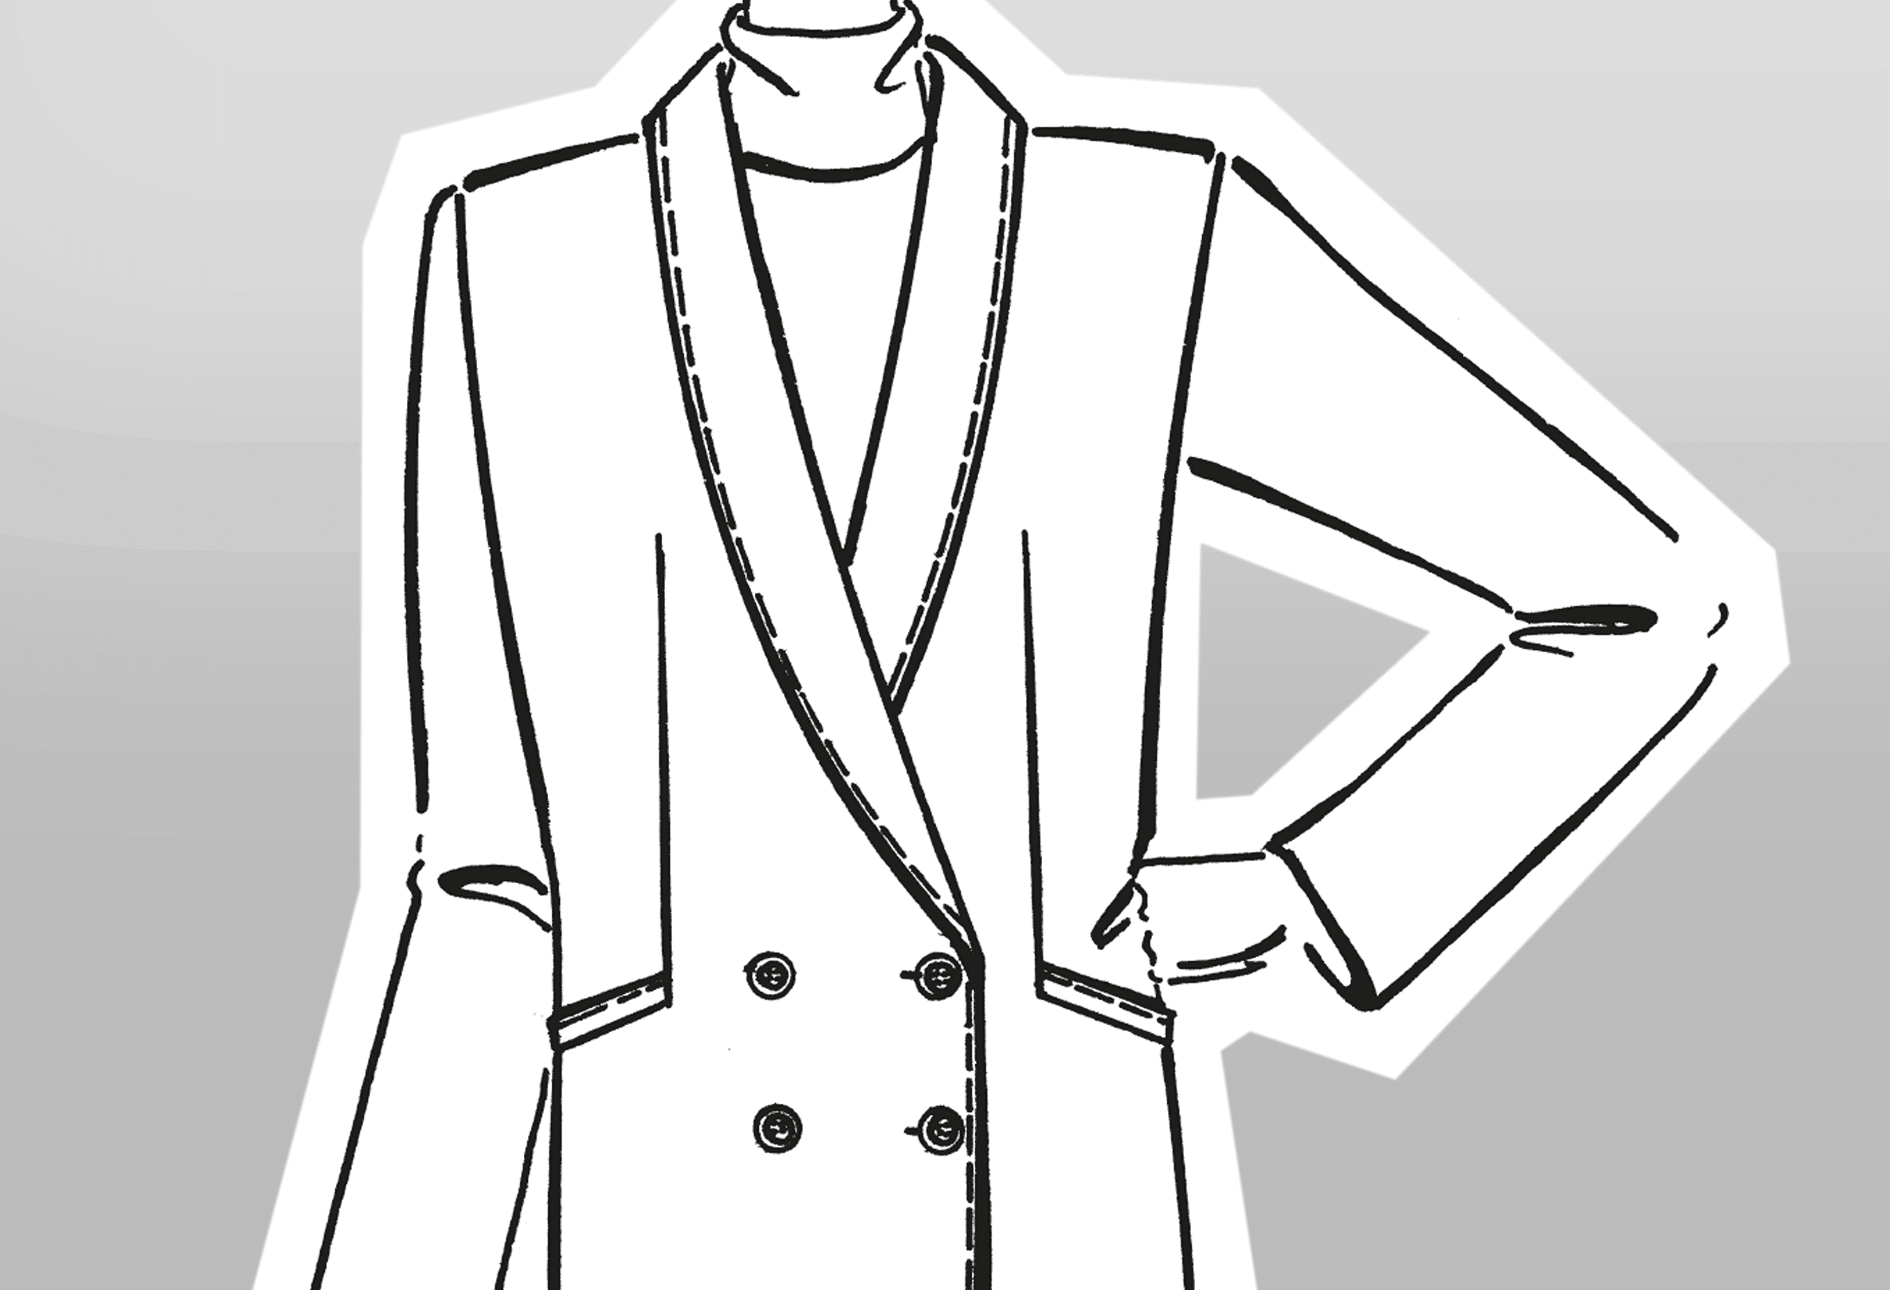
Rounded peak lapel collar with neckline dart
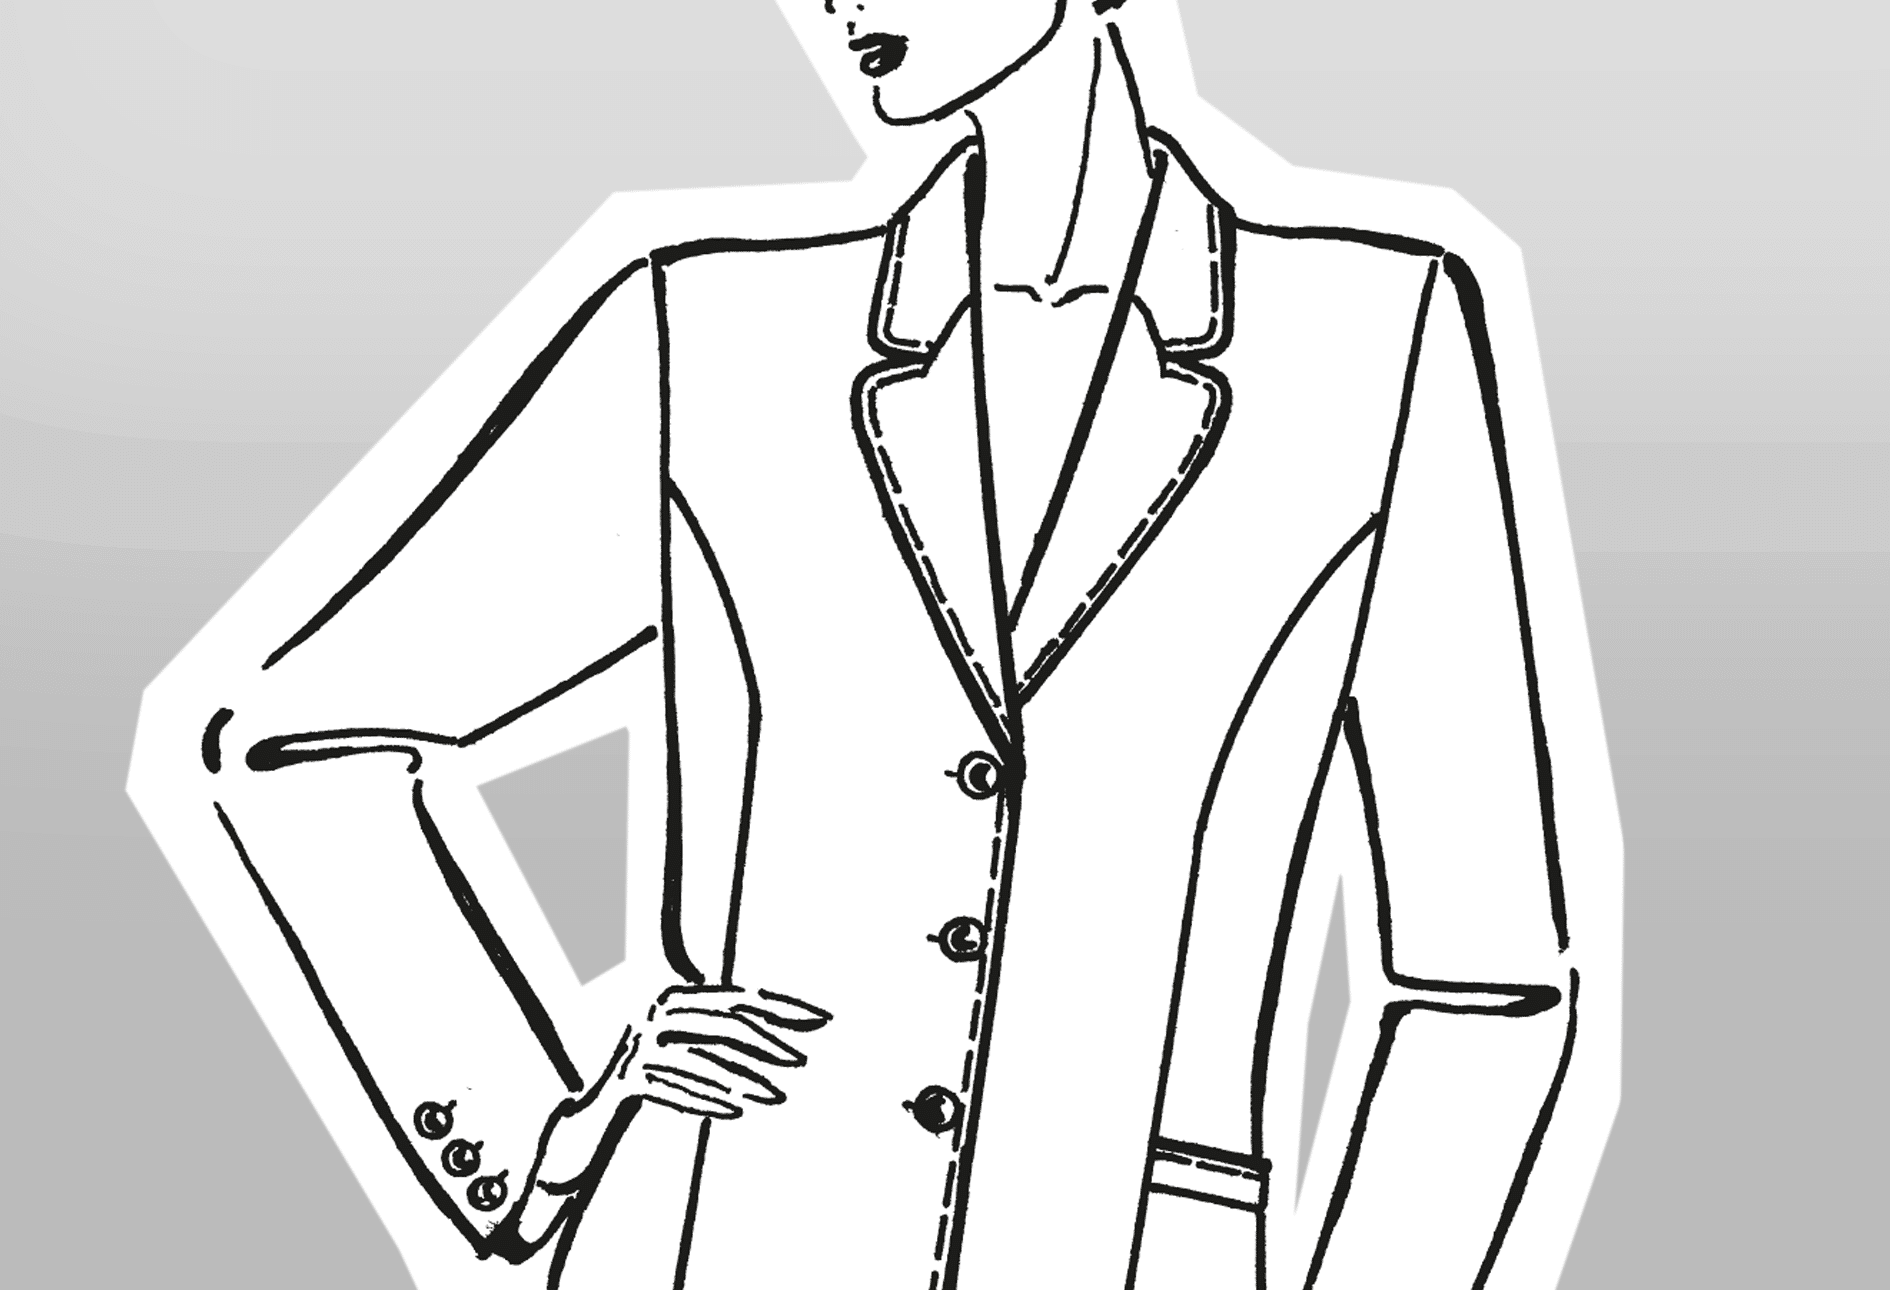
Short, wide lapel collar
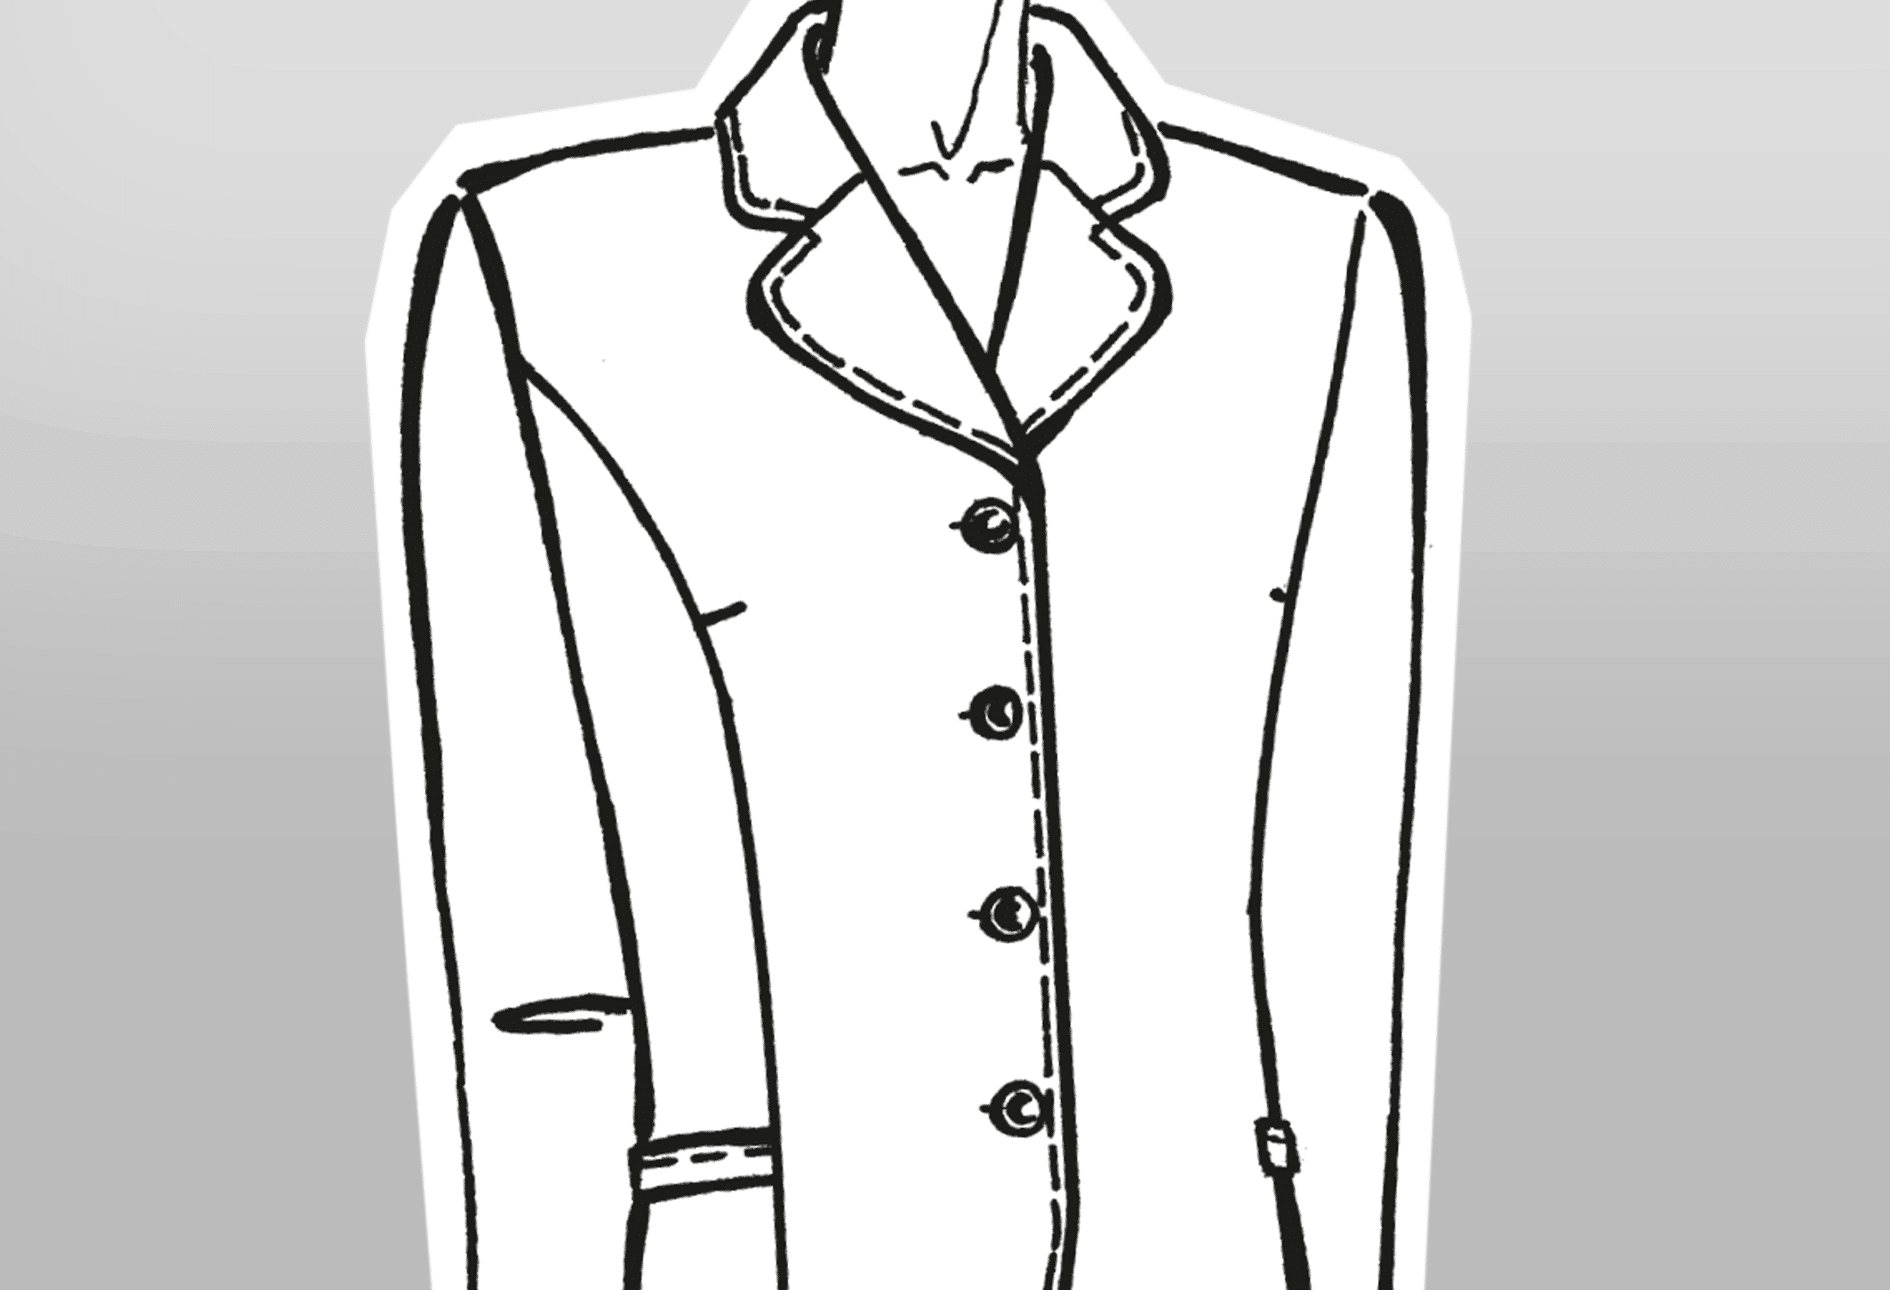
Shawl collar with built-up effect
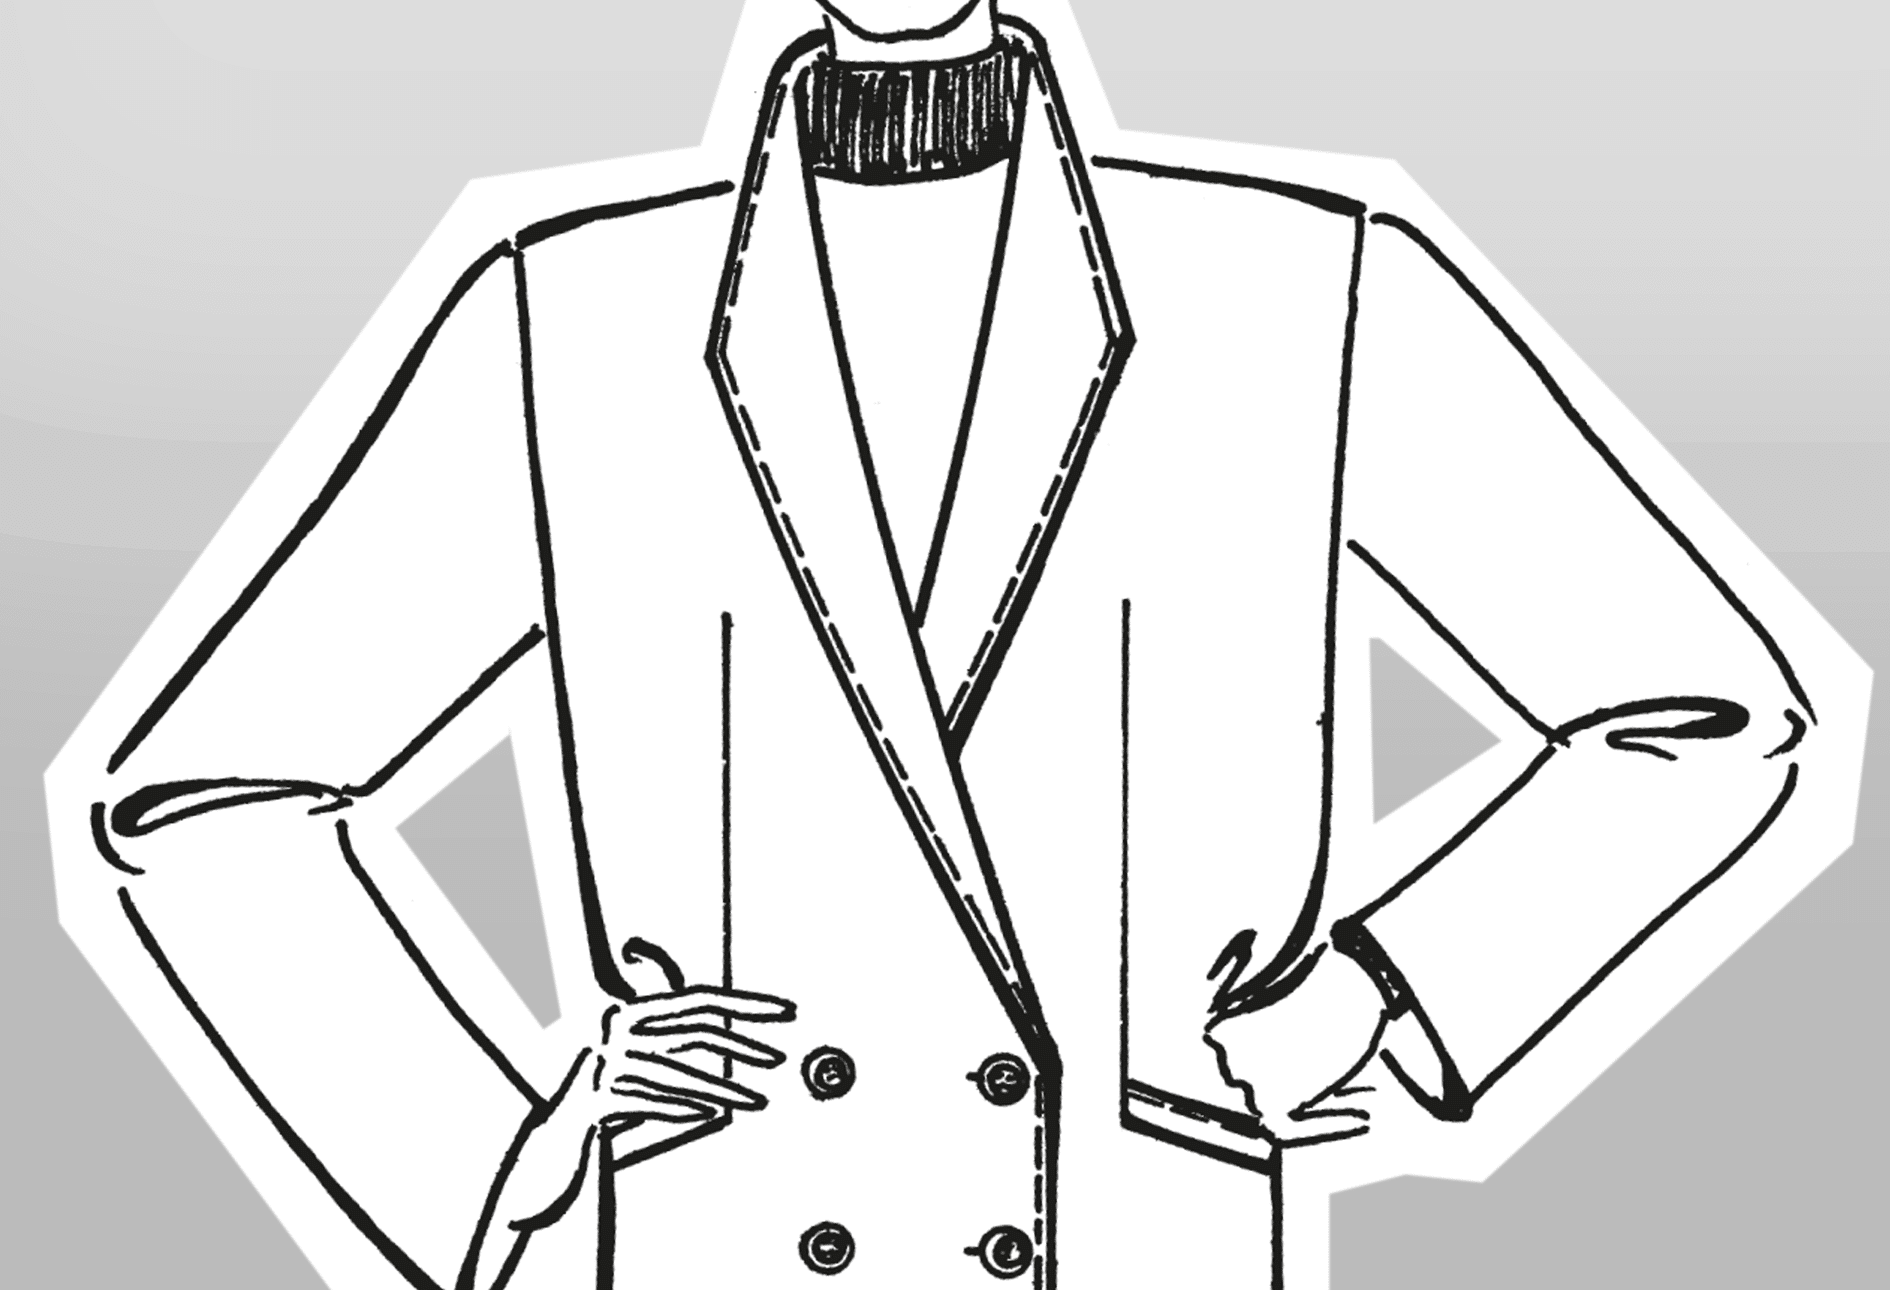
Further instructions for pattern construction and finished patterns for women’s fashion can be found in our online shop.


