Pattern Construction for Stand-up Collar
Deutsch
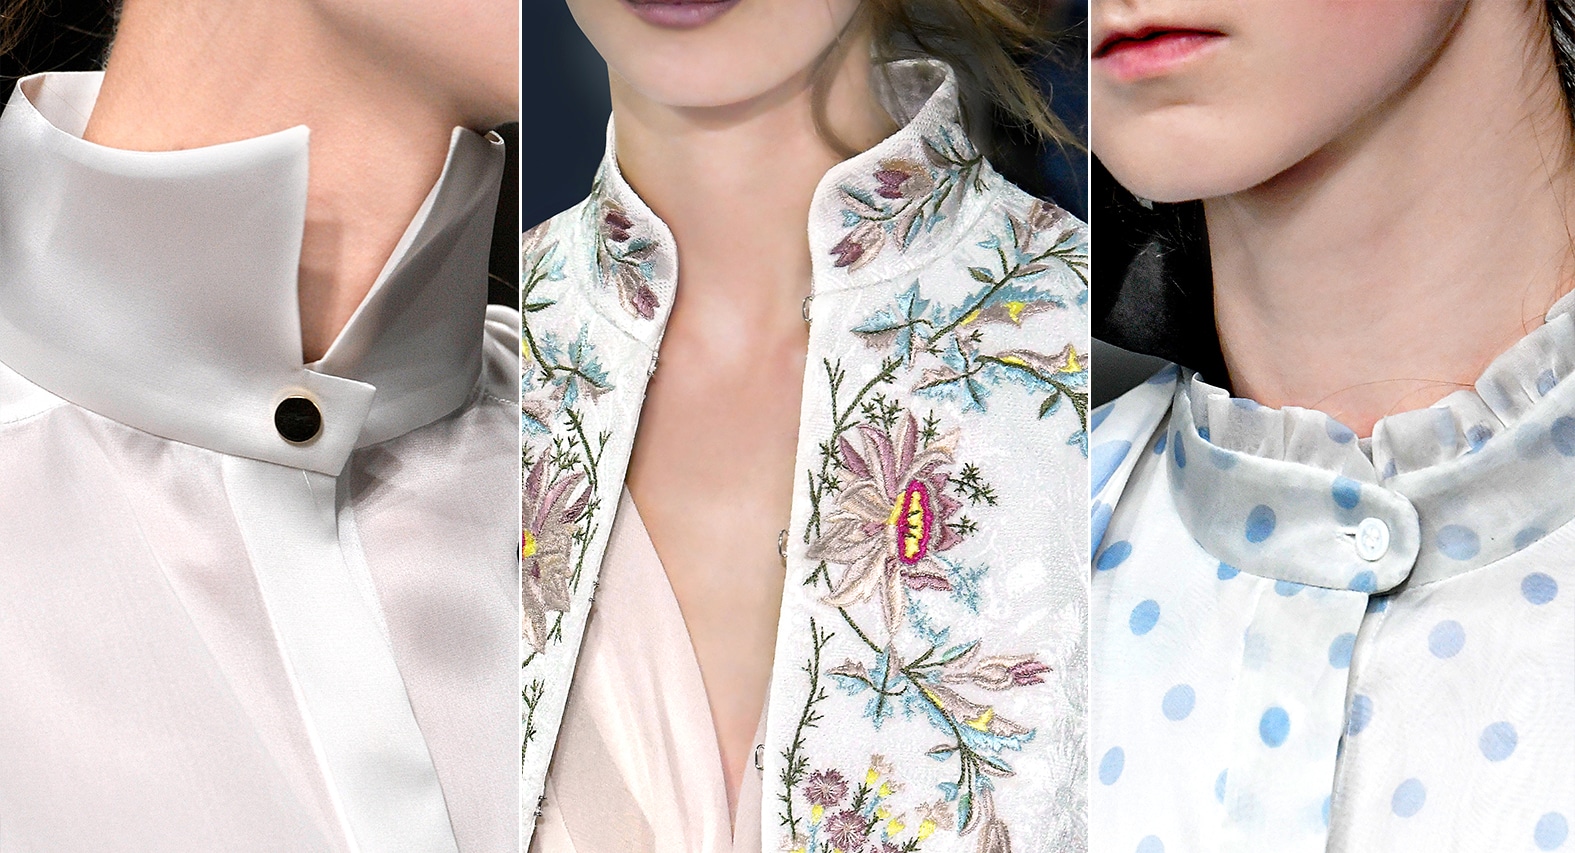
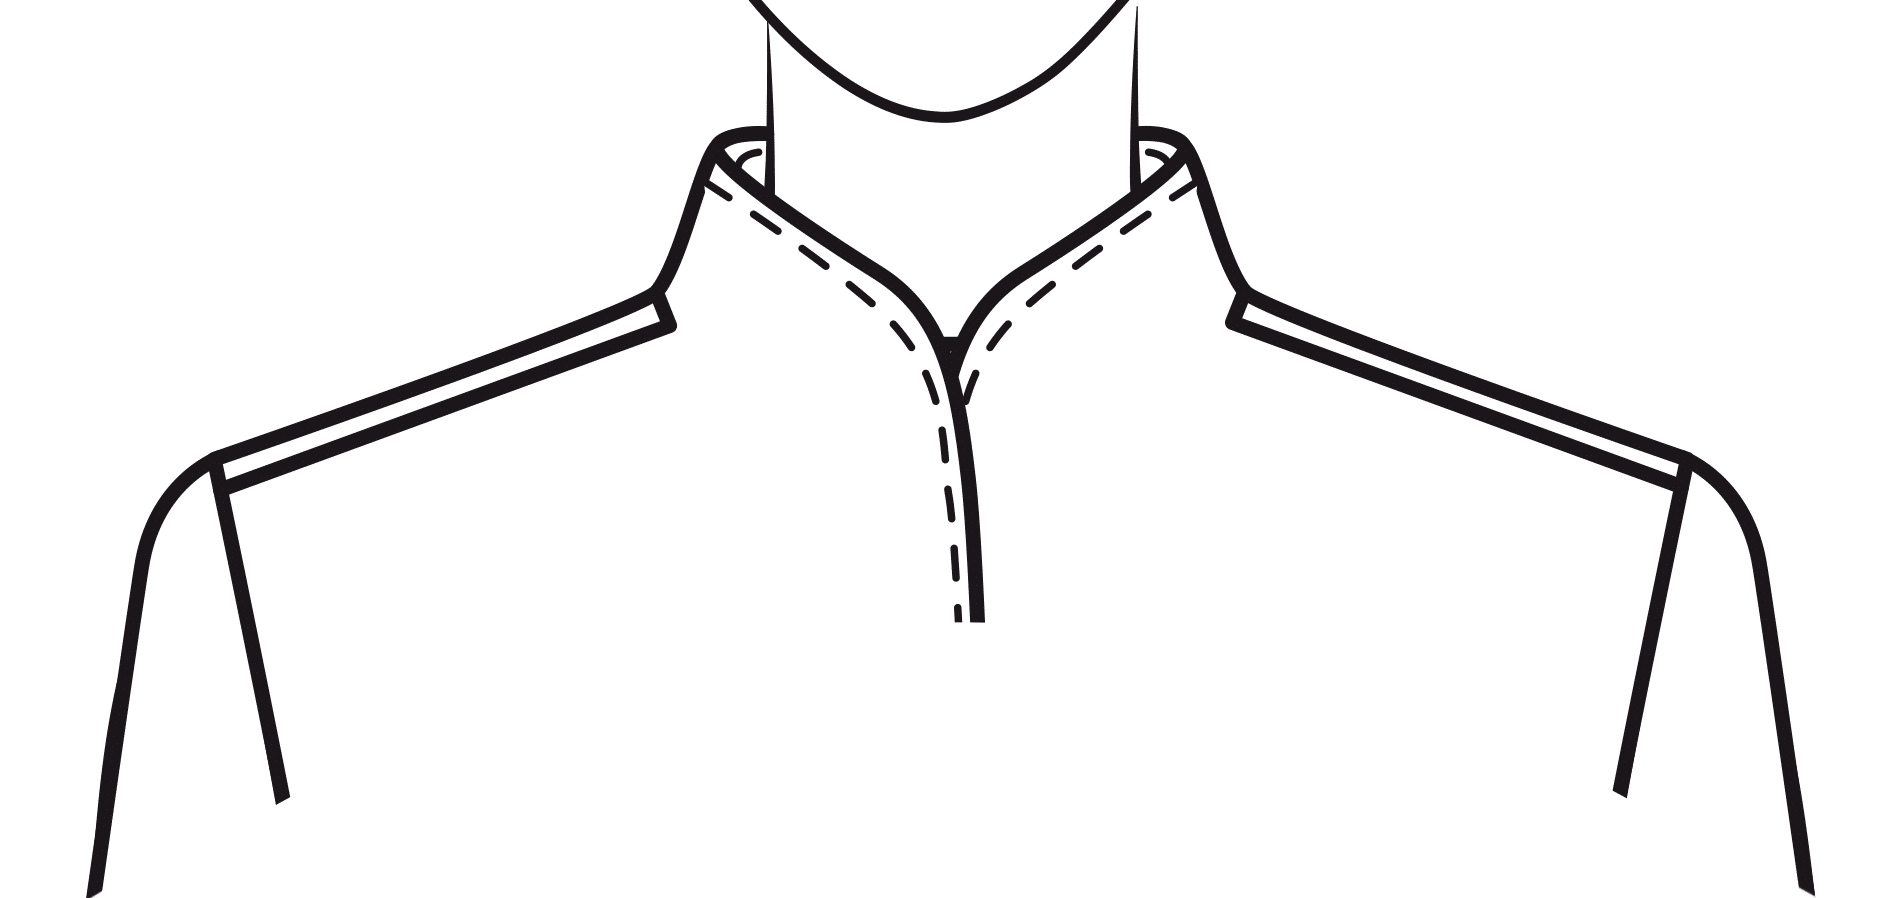
Depending on the length of the upper edge, a stand-up collar can be developed either close to or away from the neck. A collar shape close to the neck can be achieved by increasing the front edge of the collar. This reduces the length of the upper edge. A collar shape away from the neck can be achieved by increasing the centre back of the collar. This gives the upper edge more length. Always compare the lengths of collar line and neckline.
You can find this and other collar constructions in the reference book “Hardcover Book: Metric Patternmaking for Jackets & Coats”.
Collar 1 – Mandarin Collar
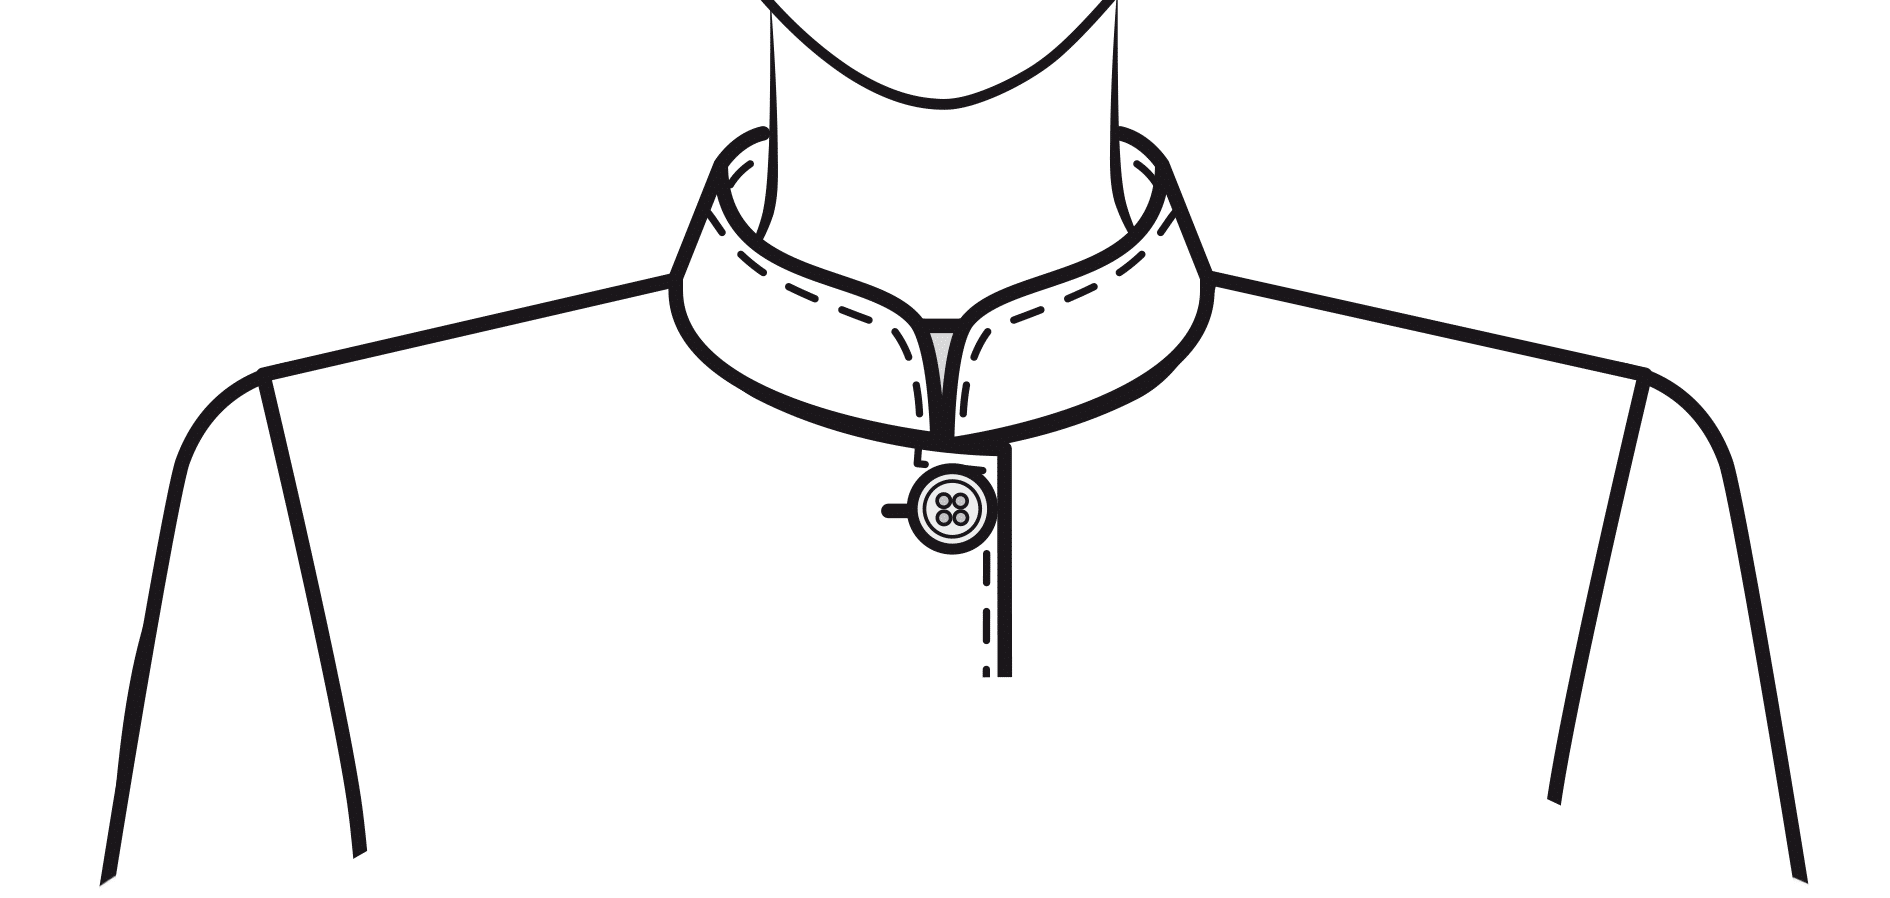
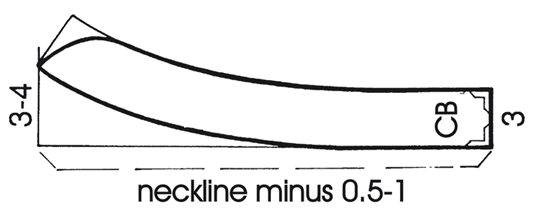
Lower the neckline 0 – 1 cm at the shoulder, 0 – 0.5 cm at the centre back and up to 2 cm at the centre front. Increase the front edge 3 – 4 cm and draw the curved collar line as shown in the picture.
Collar 2 – Broad Collar Close-Fitting To The Neck
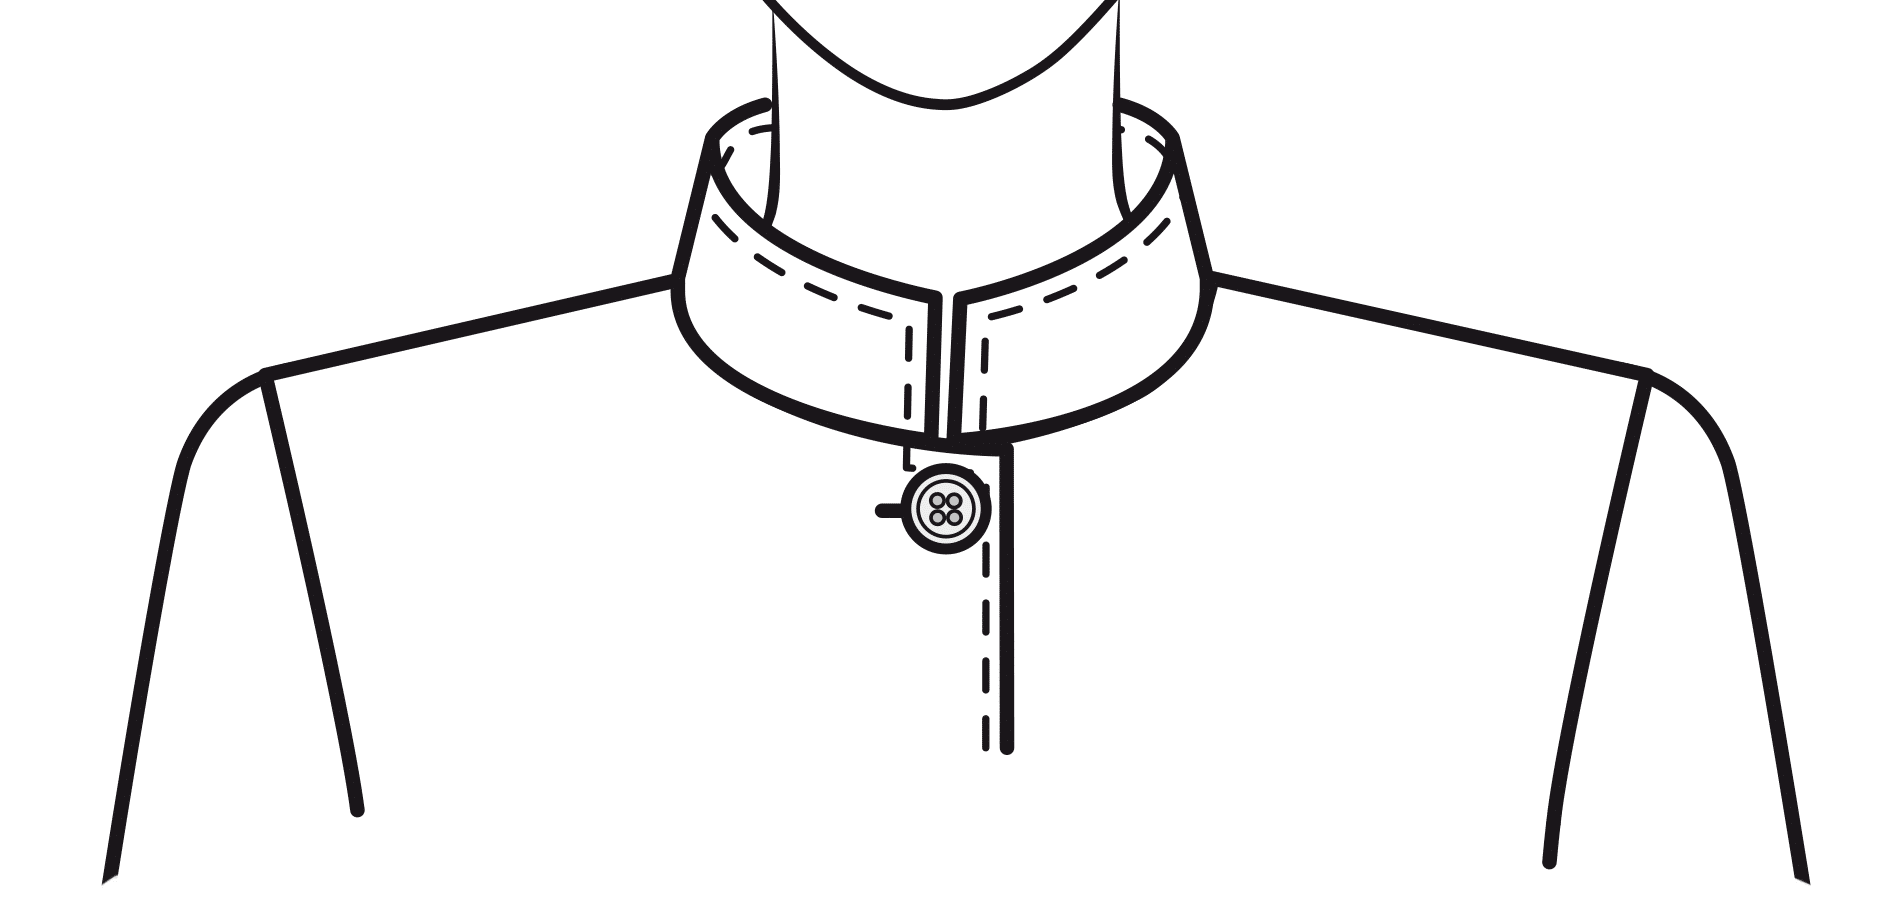
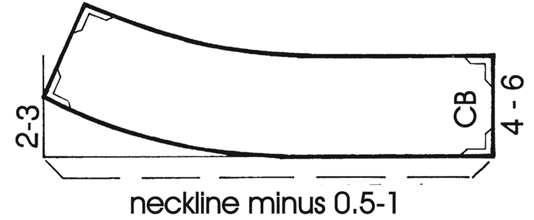
The increase at the front edge determines the fit at the neck. 2 – 3 cm increase is appropriate since this stand-up collar is broader than the Mandarin collar in construction 1. Lower the neckline 0 – 1.5 cm at the shoulder, 0 – 0.7 cm at the centre back and up to 2 cm at the centre front.
Collar 3 – Standing Straight Collar
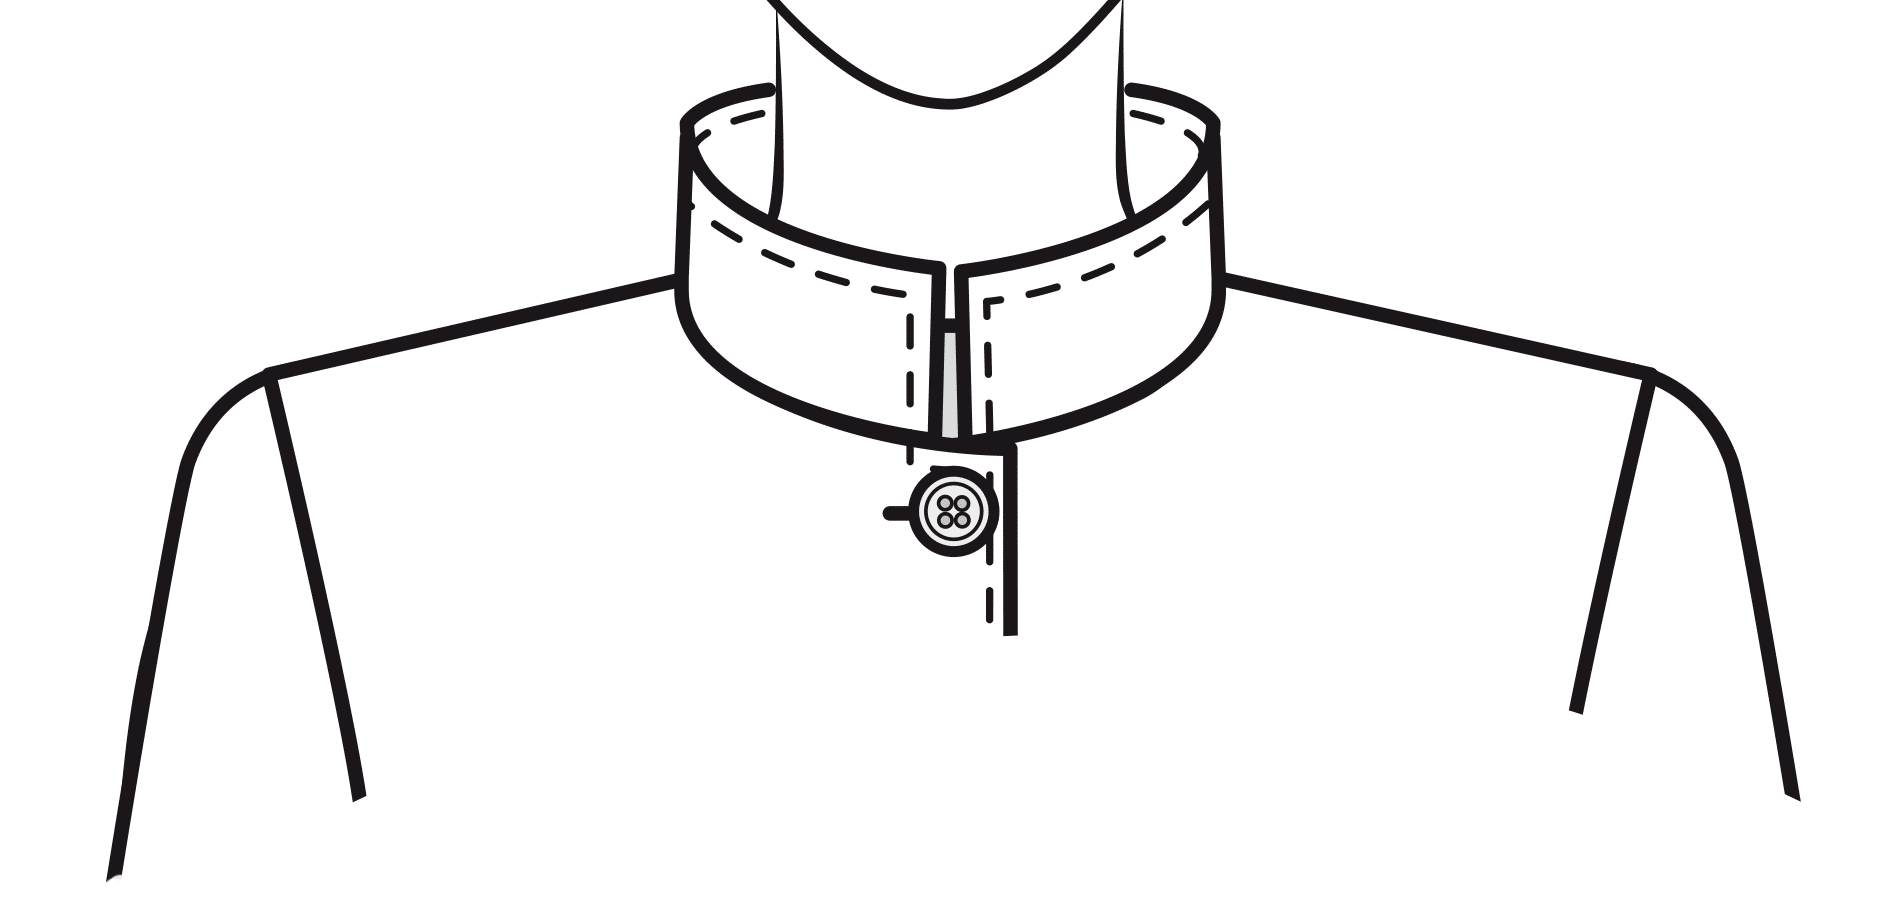
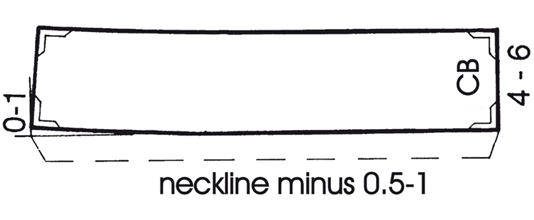
The front edge is slightly increased so that the collar shows a better fit at the centre front. Lower the neckline 0 – 1.5 cm at the shoulder, 0 – 0.7 cm at the centre back and up to 2 cm at the centre front.
Collar 4 – Straight Collar Standing Away From The Neck
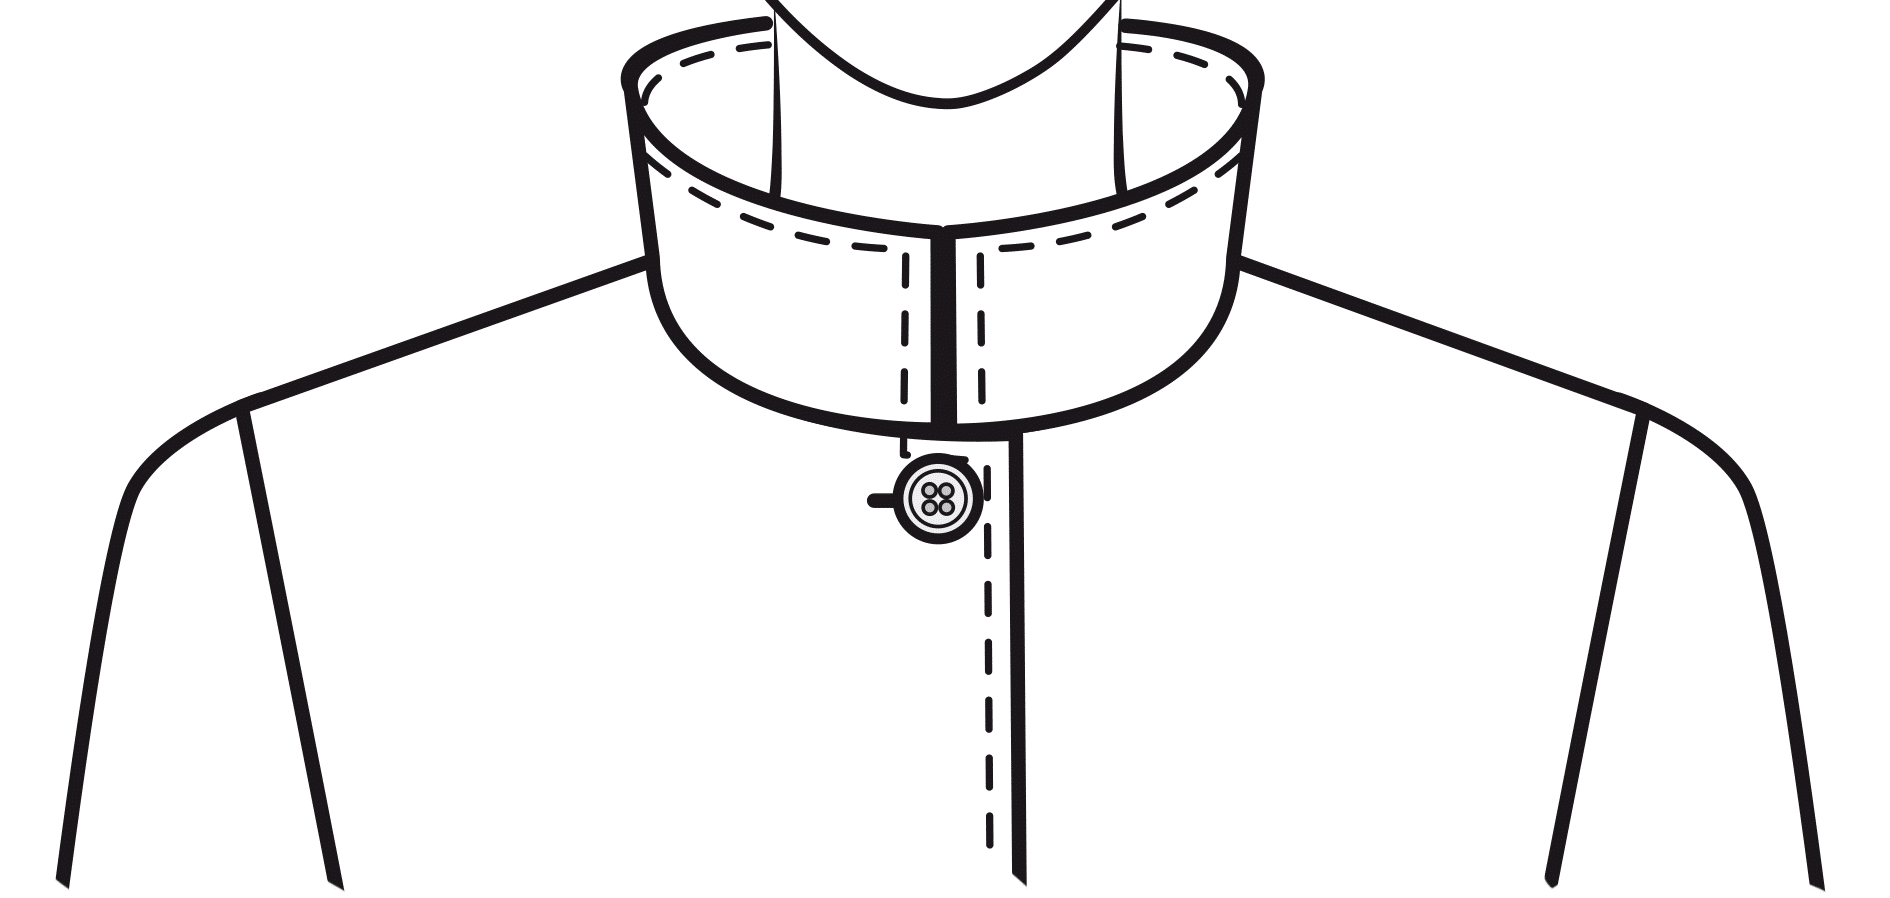
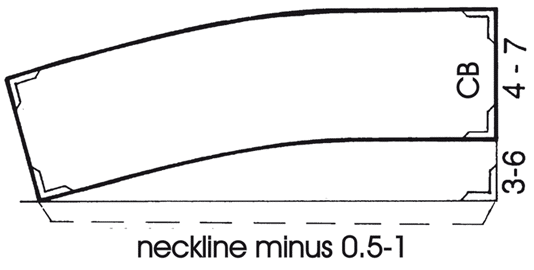
Depending on the amount of increase at the centre back, the length of the upper collar edge increases and the collar stands further away from the neck. Draw the curved collar line at right angles to the centre front and back.
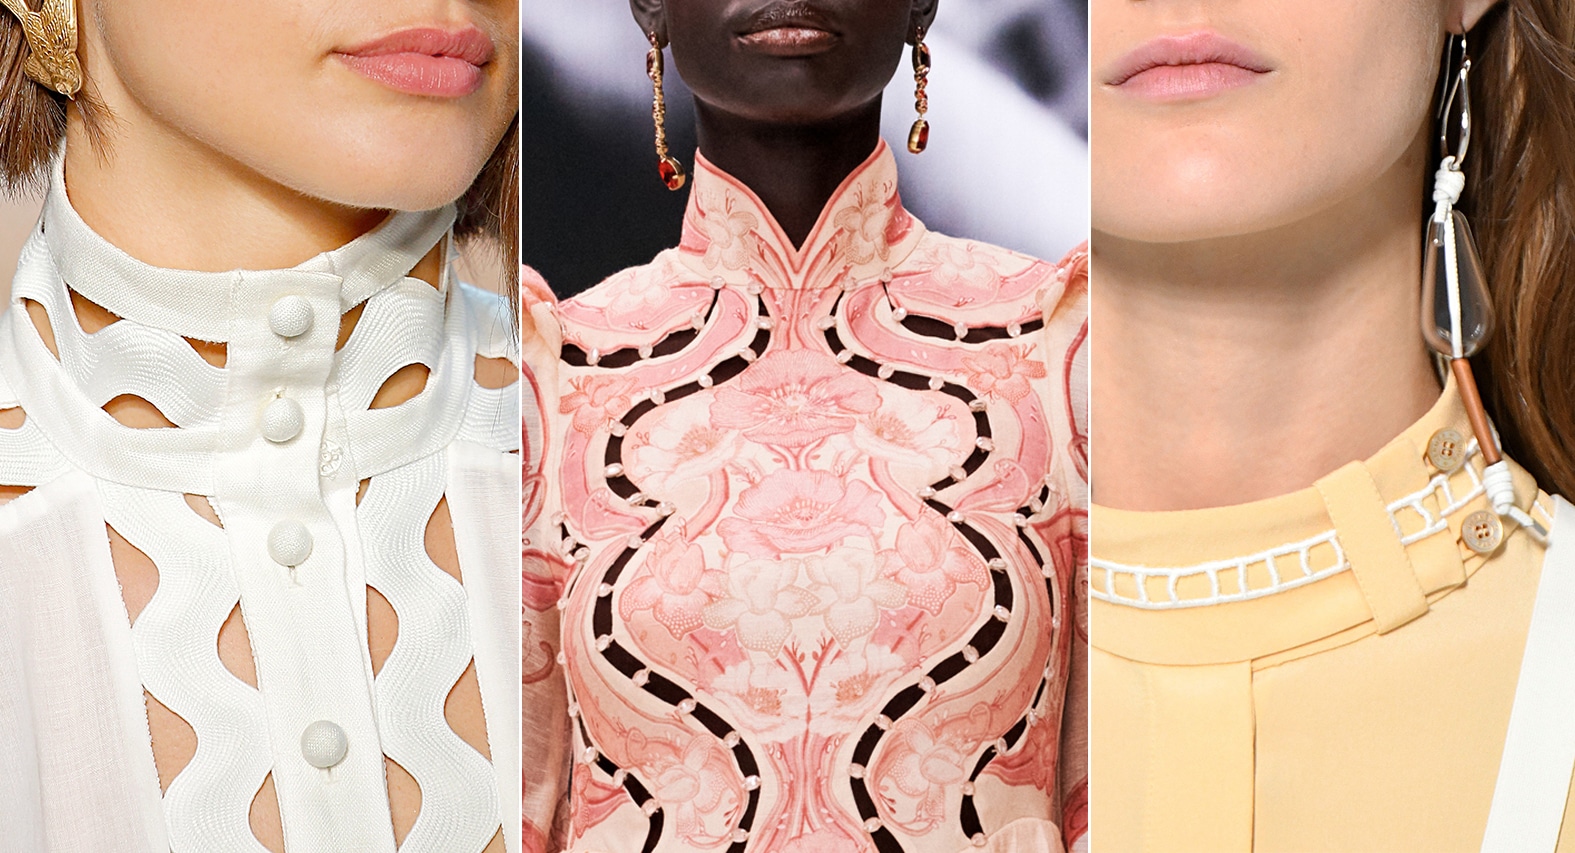
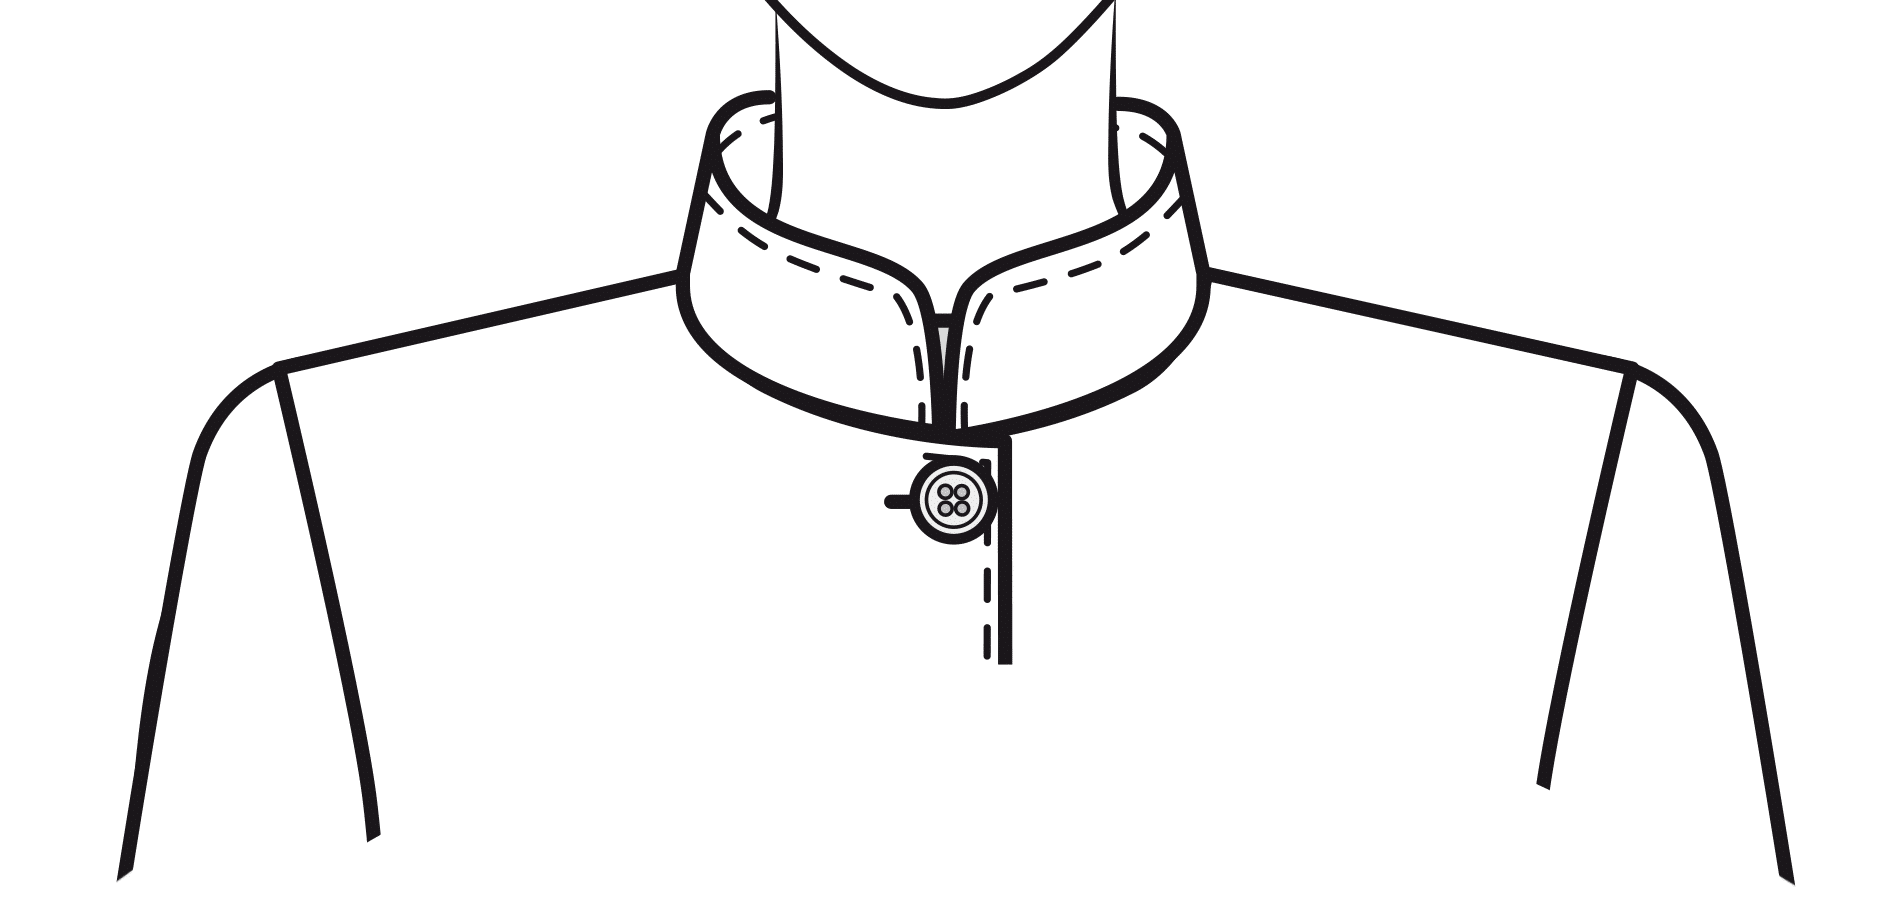
Collar 5 – Stand-Up Collar Drafted On The Front Pattern
Collar 6 – Built-Up Neckline – All In One With The Bodice
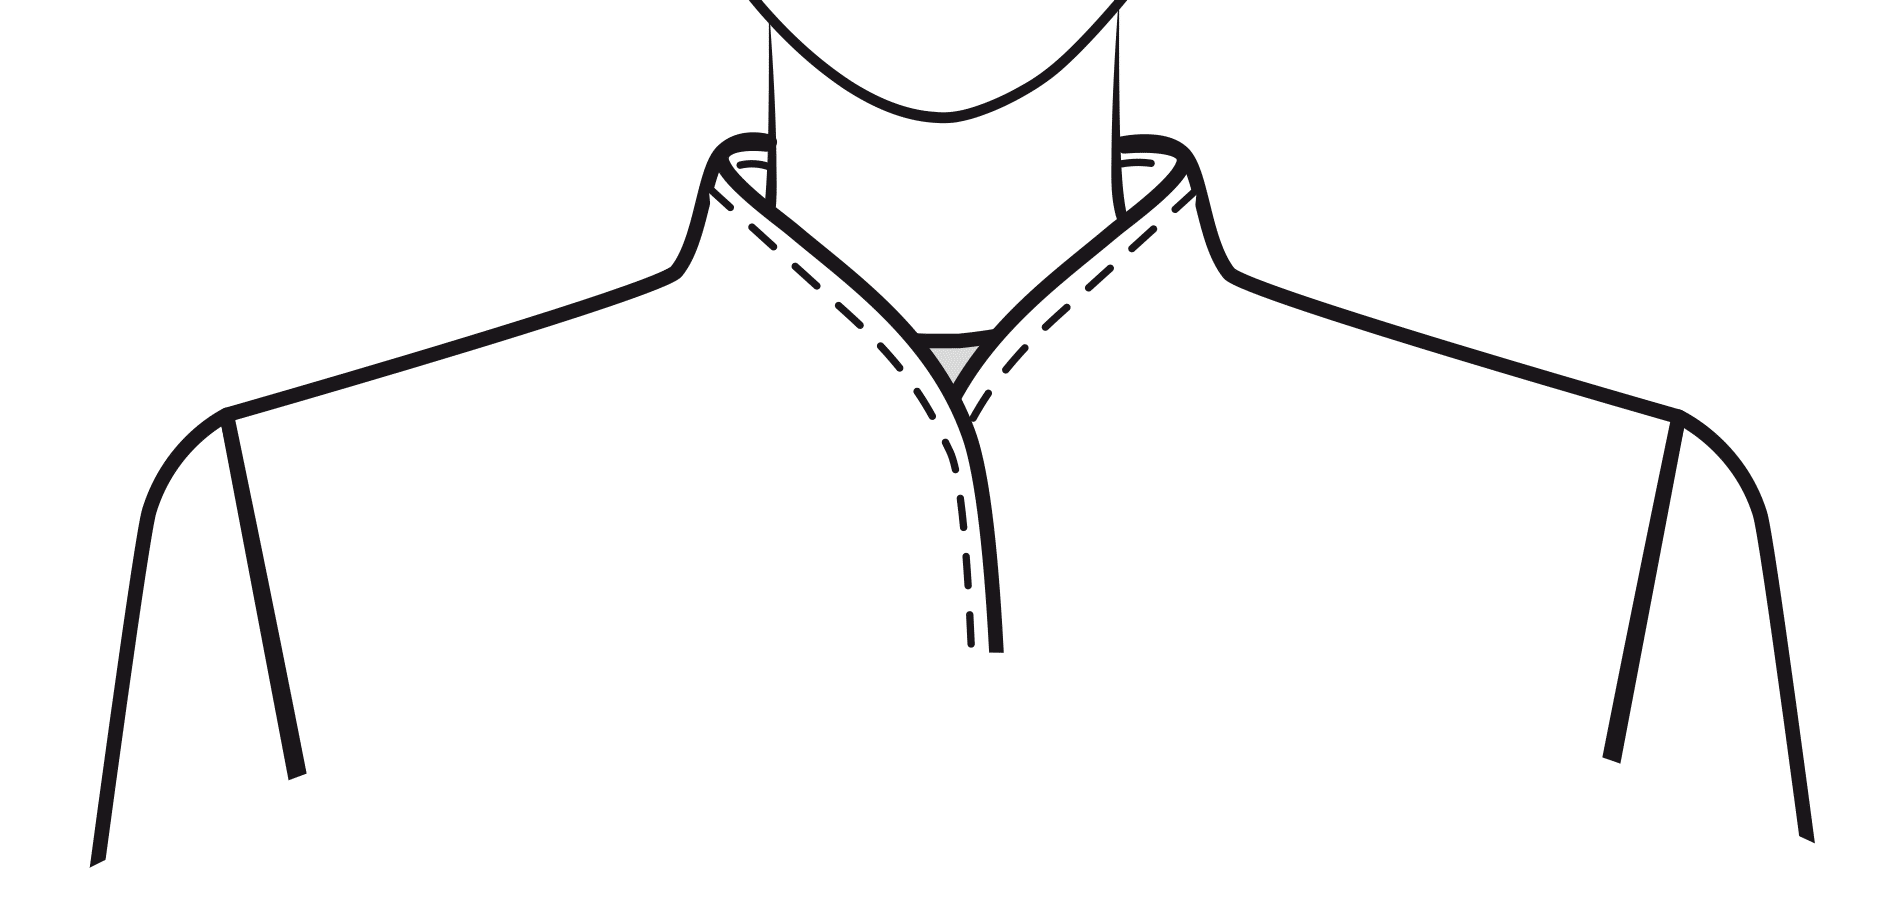
Collar 7 – Built-Up Neckline At The Front Pattern
