Pattern Construction for Vest
Read in:
Deutsch
Deutsch
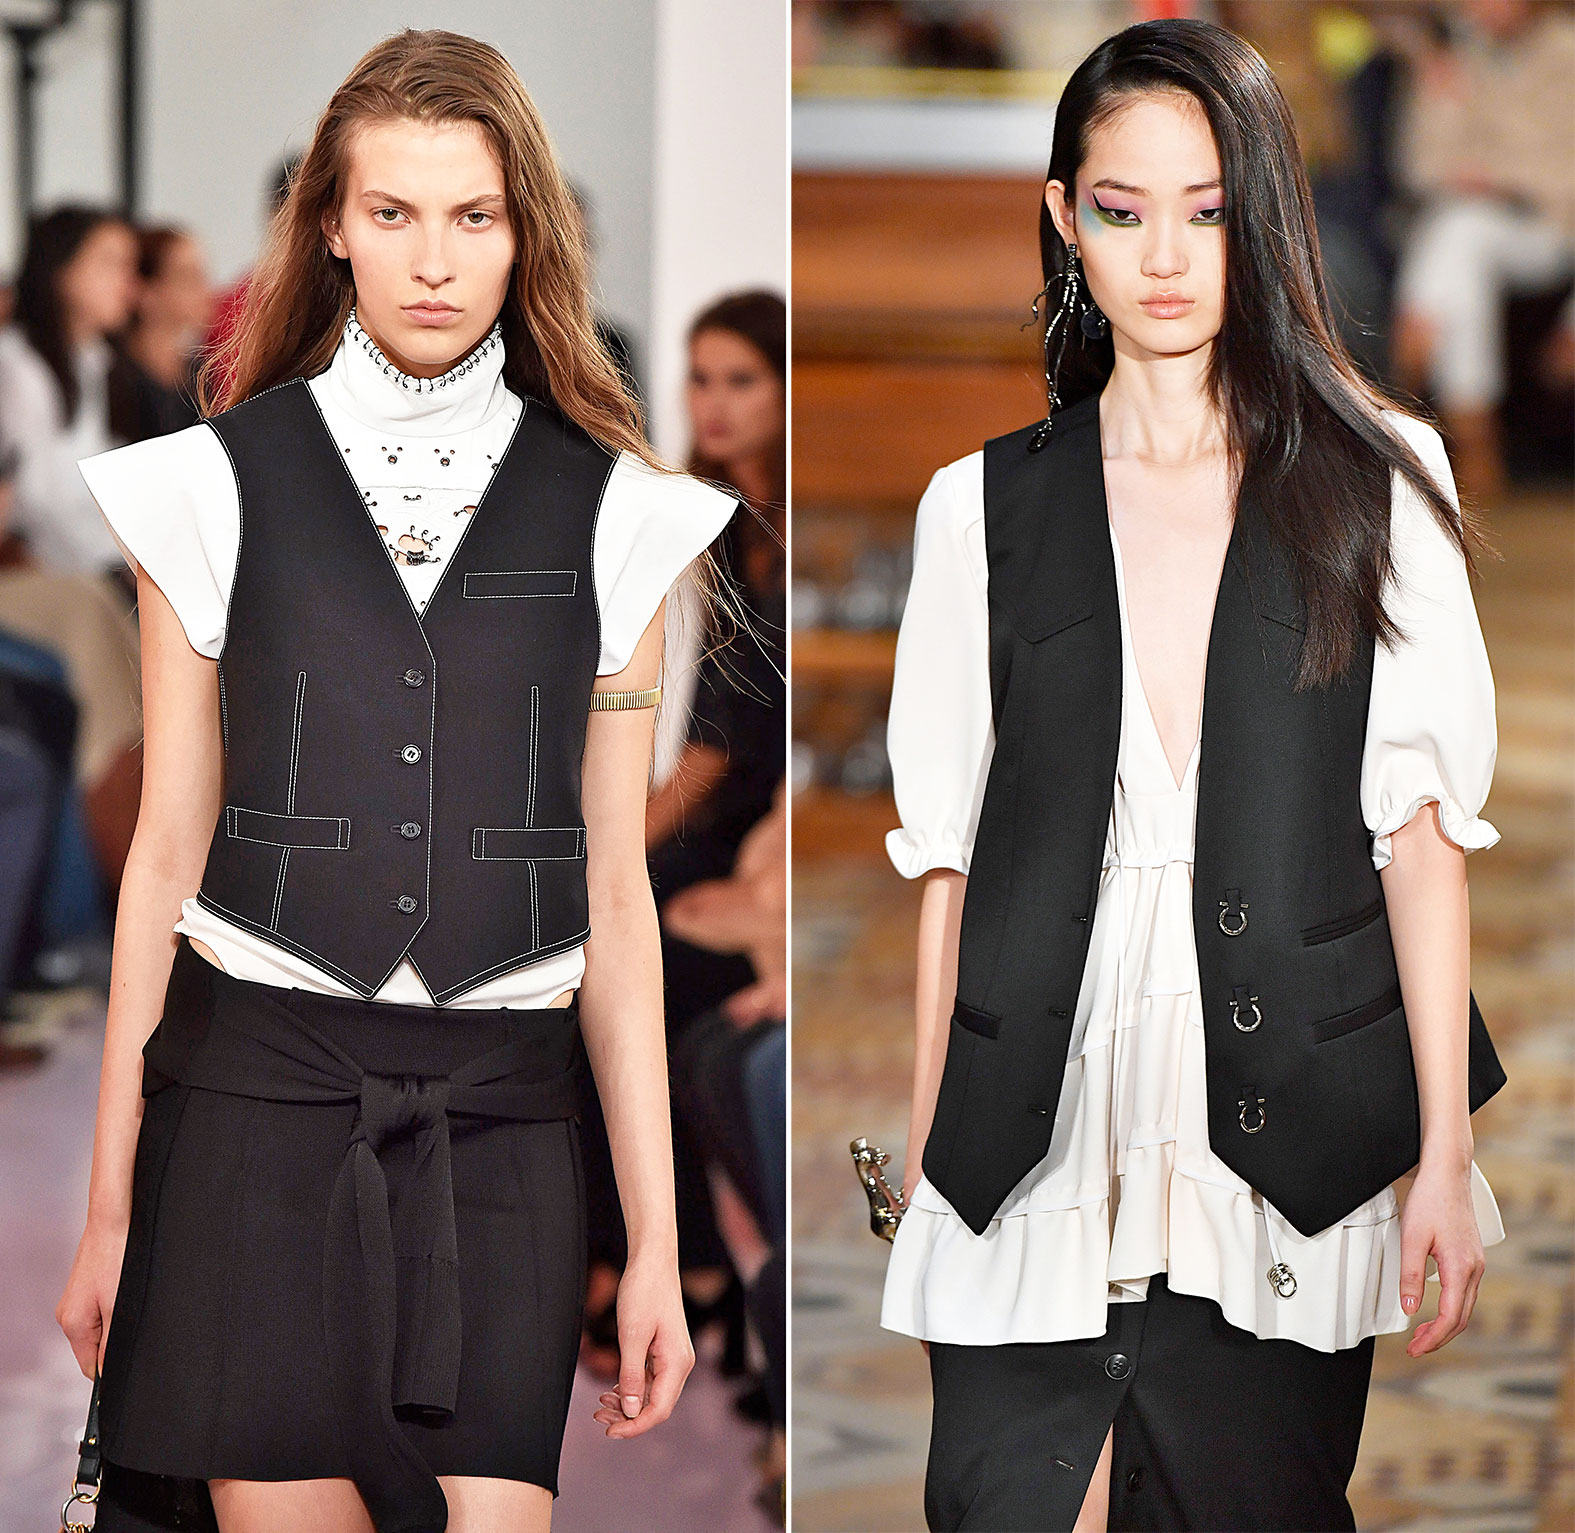
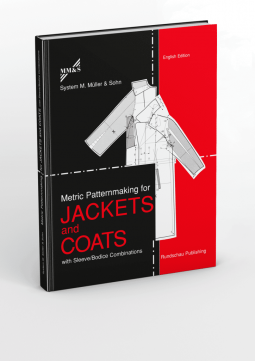
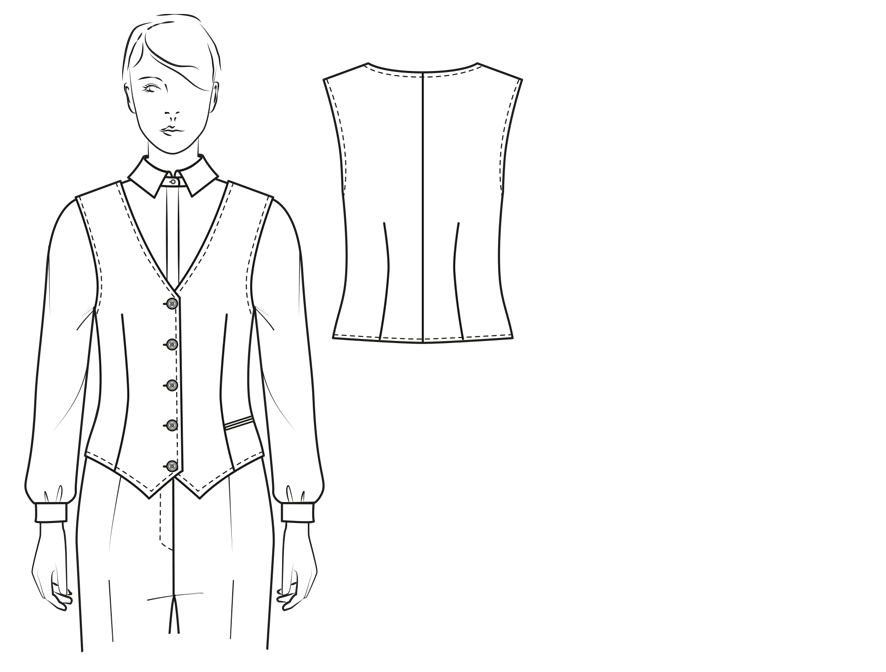
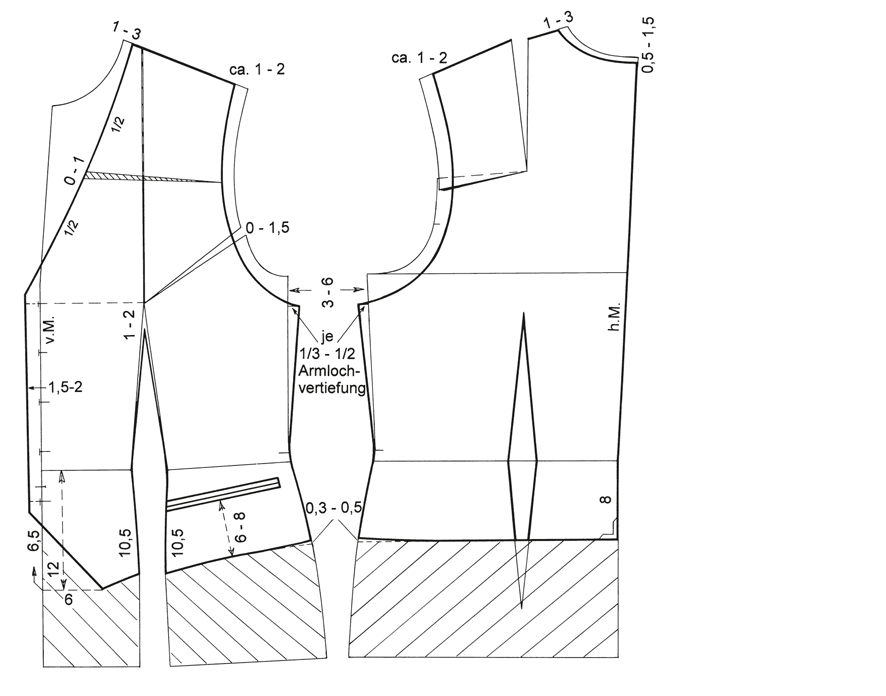
Here we show how to construct the pattern for a classic ladies vest. This is an excerpt from the book Patternmaking for Jackets and Coats. The complete tutoarial can be found on page 47.
Starting at the neck point (1) measure the following downward on a vertical line:
- 1–2 Scye depth plus ease (here: 22 cm)
- 1–3 Back waist length (here: 41 cm)
- 1–4 Hip depth (here: 60.9 cm)
- 1–5 Finished length Square out to the left from all points.
- 3–6 2 cm
- 4–7 2 cm
- 8 Draw the centre back join 1–6, 6–7 and 7–8
- 9 Mark point 9 at the intersection with the chest line
- 9–10 Back width plus ease (here: 18 cm)
- Divide the scye width plus ease (here: 12.5 cm) in 2/3 and 1/3 10–11 2/3 scye width (here: 8.3 cm)
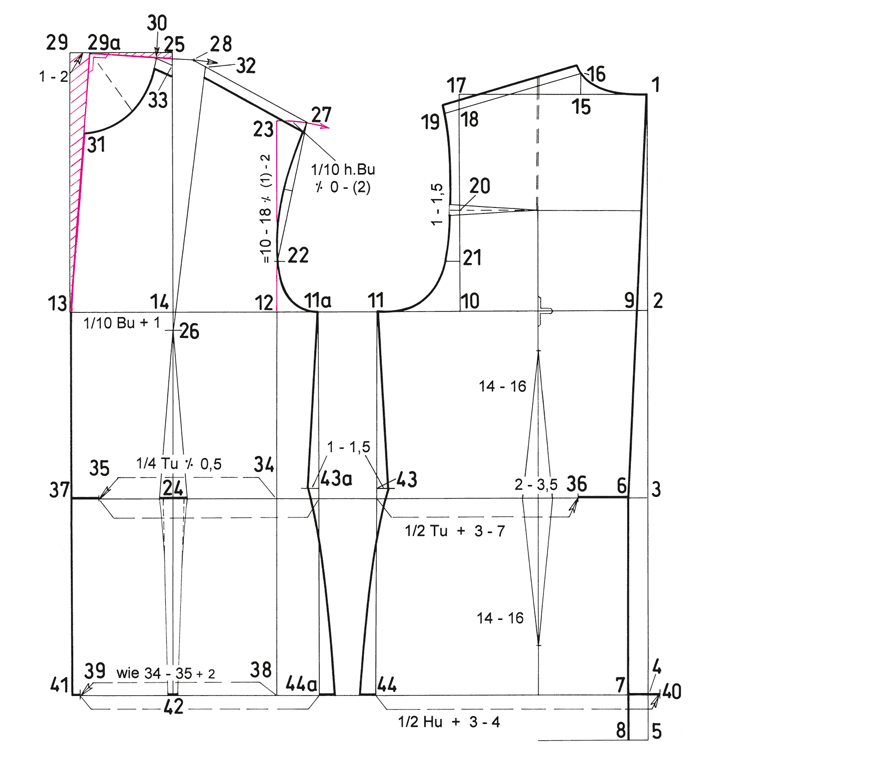
- 11–11a Gap between back and front panel 6–10 cm
- 11a–12 1/3 scye width (here: 4.2 cm)
- 12–13 Bust width plus ease (here: 21 cm) indicates the centre front
- 13–14 1/10 bust plus 1 cm (here: 10.4 cm)
- Measure and add the distances of 13-11a and 11-9.
- The sum of both distances should equal 1⁄2 bust circumference plus ease (here: 51.5 cm). Draw all vertical angled lines.
- 1–15 Neck width plus 0–0.5 cm (here: 6.7 cm)
- Add 0.5 cm ease to the neck width for a vest with a reduced bust dart because the bust dart is already smaller.
- 15–16 2 cm Draw the neckline in a slight curve from point 16 to point 1 .
- 17–18 1–1.5 cm Measure 1 cm for a straighter shoulder. This might be wanted for a more relaxed armhole or necessary for a figure with square shoulders.
- Draw the shoulder line from point 16 to point 18.
- 16–19 Back shoulder width (here: 14.25 cm)
- Always draft the basic pattern with the standard shoulder width. Adjustments, whether figure or design related, should be carried out afterwards. Otherwise, the front pattern would show a poor fit due to a larger bust dart.
- 20 Half the measurement 18–10
- 21 Half the measurement 20–10
- Draw a line from point 20 at a right angle to the centre back. Lengthen this line 1 cm from point 20 to the left.
- 12–22 same distance as 10–21 . From point 21 , measure 1.3 – 1.5 cm to the left for the back armhole.
- 12–23 same distance as 10–18 minus 1 – 2 cm. The armhole is close-fitting with 2 cm deduction.
- For a wider armhole subtract only 1 cm.
- 24 Intersection of waist and dart line
- 24–25 Front waist length II (here: 45.3 cm).
- 25–26 Bust length II (here: 28.3 cm)
- Draw a circular arc from point 23 with pivot point 12 to the right.
- 23–27 1/10 of half the bust measurement minus 0 – 2 cm (the deduction reduces the dart intake). The measurement must correspond with the deduction at the armhole height. The matching amounts are shown with and without brackets.
- 27–28 Length of the back shoulder 16–19 less 1 cm
- Draw an auxiliary line from 27 to 22. Divide this line in halve and measure 1 cm to the left.
- Plot the armhole according to the picture.
- 29 Draw an auxiliary line from the front center to point 25.
- Mark point 29. 29–29a 1–2 cm – depending on the desired bust dart reduction.
- 29a–13 Draw the new centre front.
- Draw a perpendicular line from point 29a to the bust dart. Draw a circular arc from this point with pivot point 26.
- Draw the front neckline at the shifted centre front 29a–30 Neck width plus 0 – 0.5 cm (see description of the back neckline.)
- 29a–31 Neck width plus 1.5–2 cm Draw an auxiliary line from point 12 to point 29a. Measure the neck width plus 0.5 – 1 cm at this diagonal line and draw the front neckline.
- 28–32 same distance as 30–25. Draw the right bust dart leg from 32 to 26.
- 26–33 same distance as 26–32.
- Join 33–30 with a line. Shift the shoulder seam 1 cm to the front.
- For this, add 1 cm to the back shoulder seam and take 1 cm away from the front shoulder seam. Lengthen the back armhole curve to the new shoulder seam.
- 34–35 . Waist measurement minus 0.5 cm (here: 18 cm)
- 35–36 . Waist measurement plus 3 – 7 cm ease (here: 5.5 cm ease
- 36–6 amount of intake
- 35–37 amount of intake
- 38–39 same distance as 34–35 plus 2 cm 1/4 waist minus 0.5 1/2 waist plus 3-7 1/2 hip plus 3-4 same as (34-35) + 2 1/10 of 1/2 B minus 0 – (2) (10-18) minus (1) – 2 1/10 bust plus 1

- 39–40 . hip measurement plus 3 – 4 cm (here: 3 cm)
- 7–40 amount of needed addition
- 39–41 amount of intake
- 42 Mark the amount of intake
- 39–41 at point 42. Mark the intake 35–37 at point 24. Draw the dart straight up to the bust point. Draw auxiliary lines for the dart below the waist and shape the dart as shown in the picture. Mark point 43 and point 43a 1 cm above the waistline for shaping the side seam. Taper the side seam up to 3 cm in total and draw the seam line above the waist.
- Add half the needed amount for the hip curve ( 7–40) at point 44 and point 44a and draw the hip curves.
- Measure 3 – 5 cm on the shoulder seam from the neckline to the left for the shoulder dart. Draw the cutting line at a right angle to the horizontal auxiliary line.
- Mark 1.5 cm intake for shaping the back armhole. (Mark 1 cm intake at the armhole for an enlarged front armhole.)
- The position of a back waist dart can be determined by extending the shoulder dart line. Mark the back waist dart with 2 – 3.5 cm dart intake (depending on the measured amount of intake at the centre back).
Many more pattern instructions and finished patterns for sewing can be found in our online shop.
Privacy Policy


