Sewing Instruction for Cargo Pocket
Deutsch

The origin of this utility look is military. But cargo pockets, latches and epaulettes have also long been an important part of the outdoor and trekking cloth. The influence of sport on fashion has brought a new kind of casual into fashion and one result is the cargo look. It is characterized by a variety of pockets that were originally designed specifically for useful utensils.
Content
The complete sewing instruction can be found in the Damen-Rundschau 11.2010.
You will find many more instructions on sewing for and textile processing in our books Atelier – Fachwissen aus der Praxis 1 und Atelier – Fachwissen aus der Praxis 2.
Instructions for Bellows Pocket
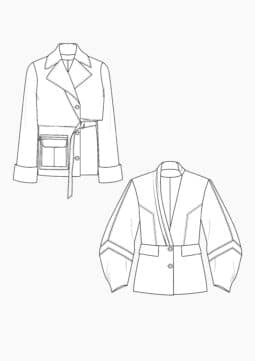
The bellows pocket consists of three parts: Pocket with springing pleat, slanted flap and longitudinal strip. As a special effect, two eyelets are tucked into the pocket. The flap closes with press-studs.
It can also be finished with a continuous stitched pleat. In the following example, the lengthwise strip has been processed in a different fabric.
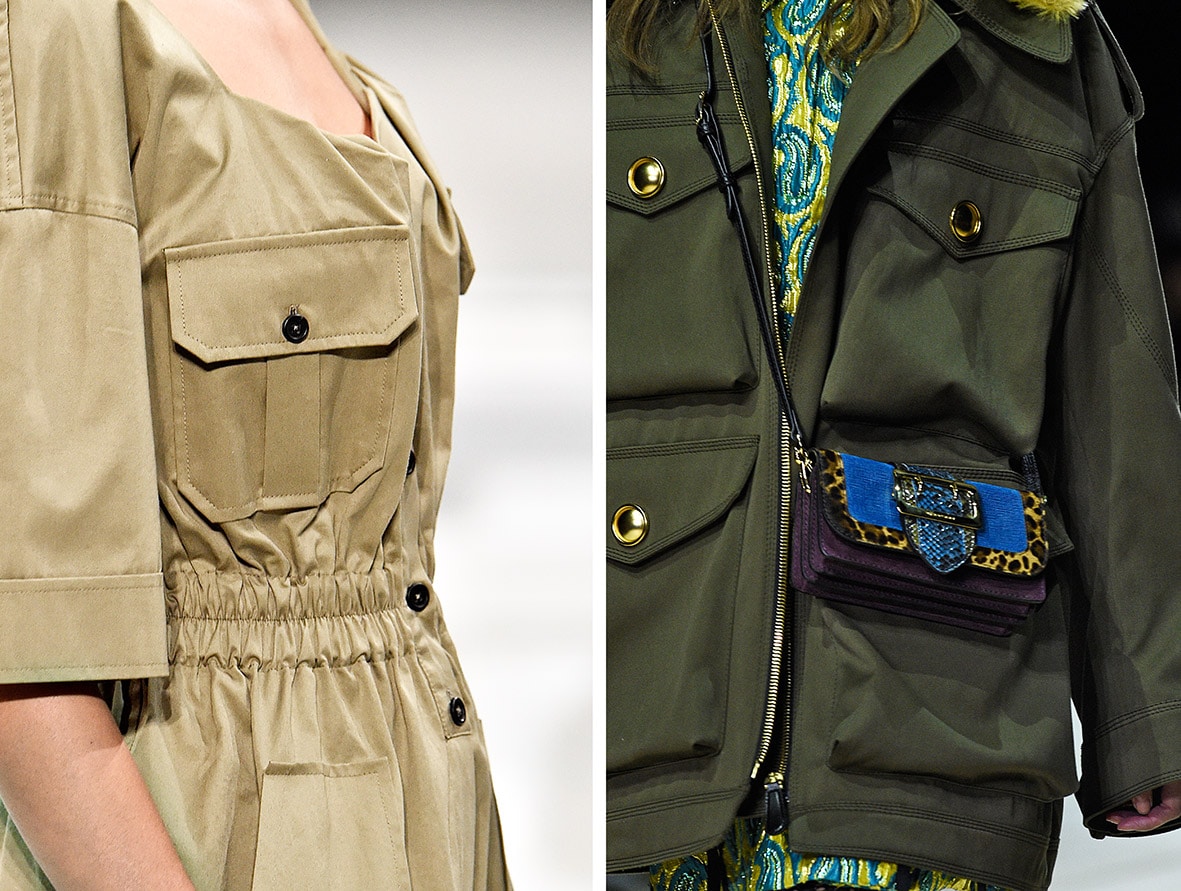 (Photo Credit: © CATWALKPIX.COM)
Pattern Construction
Pocket 13 cm ( 13 cm, corners strongly rounded, insert 3 cm fold depth in the middle.
Flap 13,5 cm long, front 5 cm, back 6 cm wide, round off corners.
Length of the strip like pocket outside form x 3 cm.
Cutting
Seam allowance flap: 2 ( fabric 1 cm, top 1st flap 0.5 cm, 2nd flap 0 cm.
Seam allowance longitudinal stripes: 1 cm, top pocket opening 0 cm.
Cardboard template for the bag.
Fixing
Pocket flaps
Denote
counterfold, pocket placement
Sewing Instruction
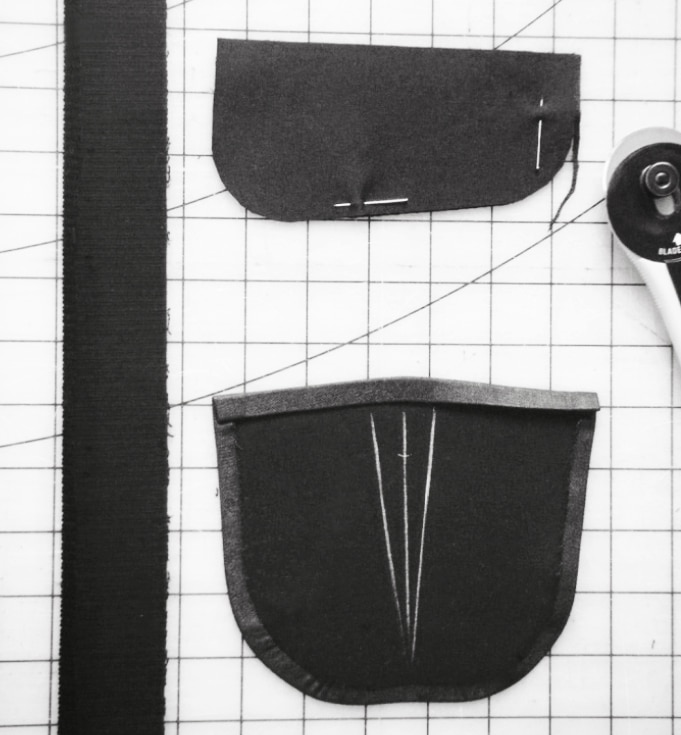
Place the larger flap on the smaller flap with an offset of approx. 3 mm, cut back the protruding part so that the inner flap is slightly less wide. Iron the pocket with the help of the template, iron 1.5 cm of cover and flap at the top.
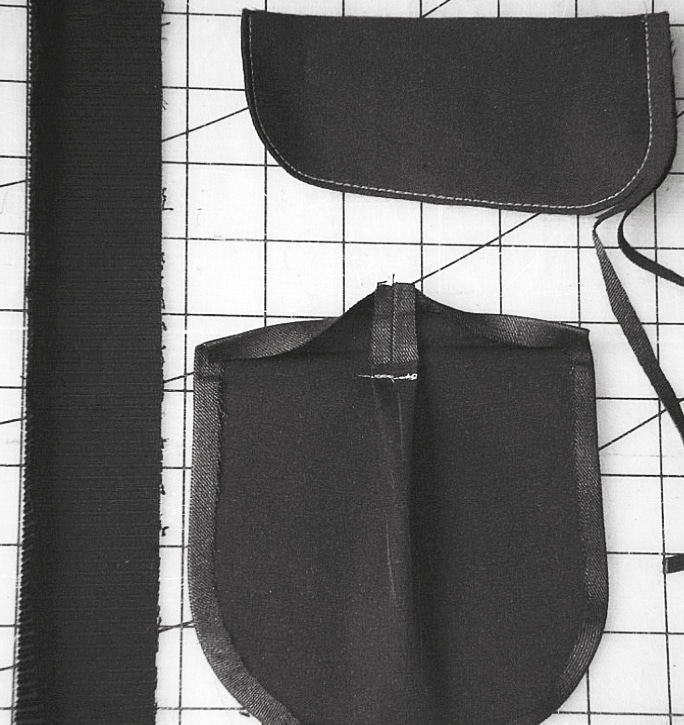
Pin flaps together, sew, compare the width of the flap with the width of the pocket, check the shape and sew a second time with a smaller stitch.
Trim the seam allowance back to 3-4 mm. Iron flap apart with the help of the edge wood, turn over and flatten.
Insert counter-fold into the pocket, iron on top and topstitch crosswise. Cut back the bottom of the pleat.
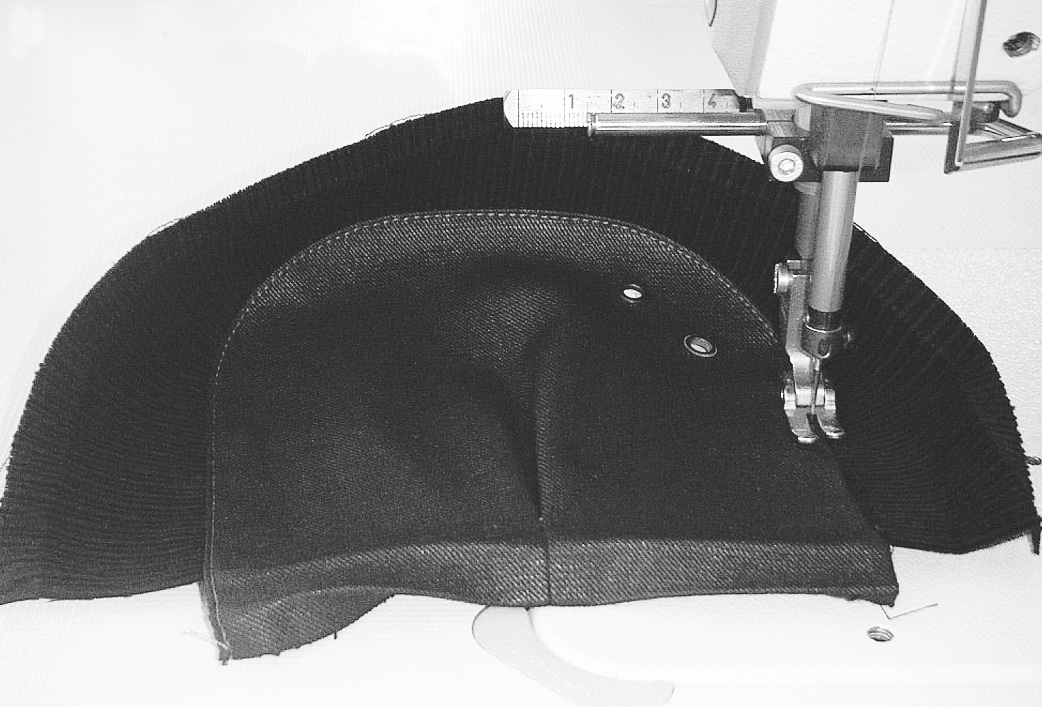
Pocket provided with two eyelets.
Put longitudinal stripes on the pocket up to the pocket opening, sew in the break edge of the ironed pocket.
Topstitch the bag with an angular stitching.
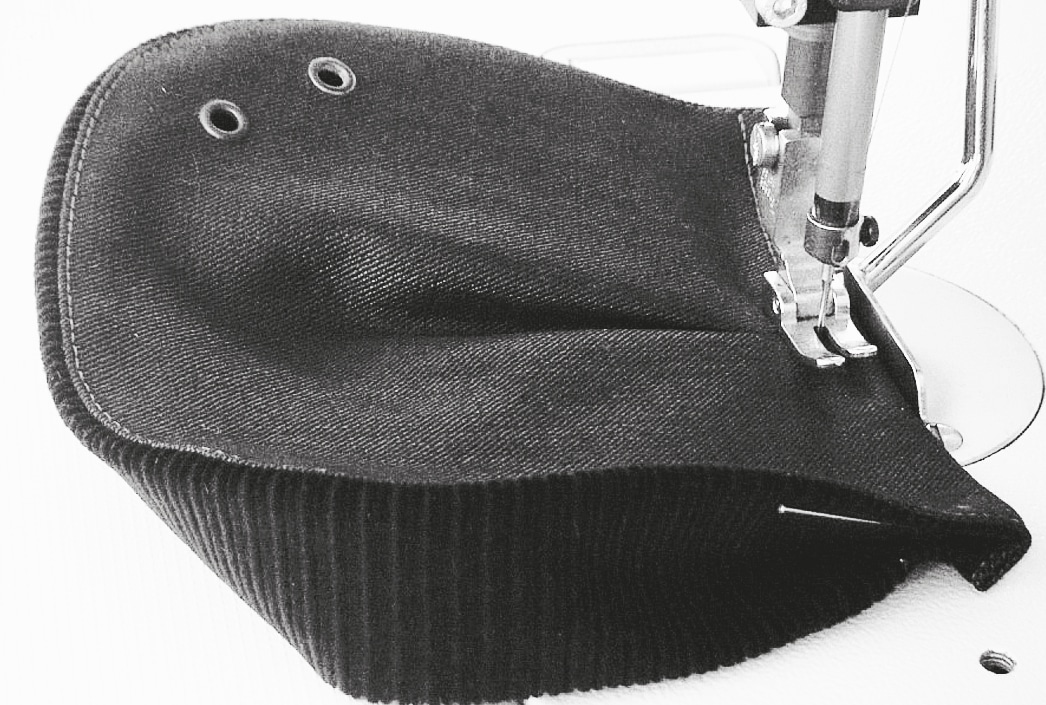
Tuck the lengthwise strip into a pleat at the top of the pocket opening. Place the cover over the pleat and topstitch the pocket opening at an angle.
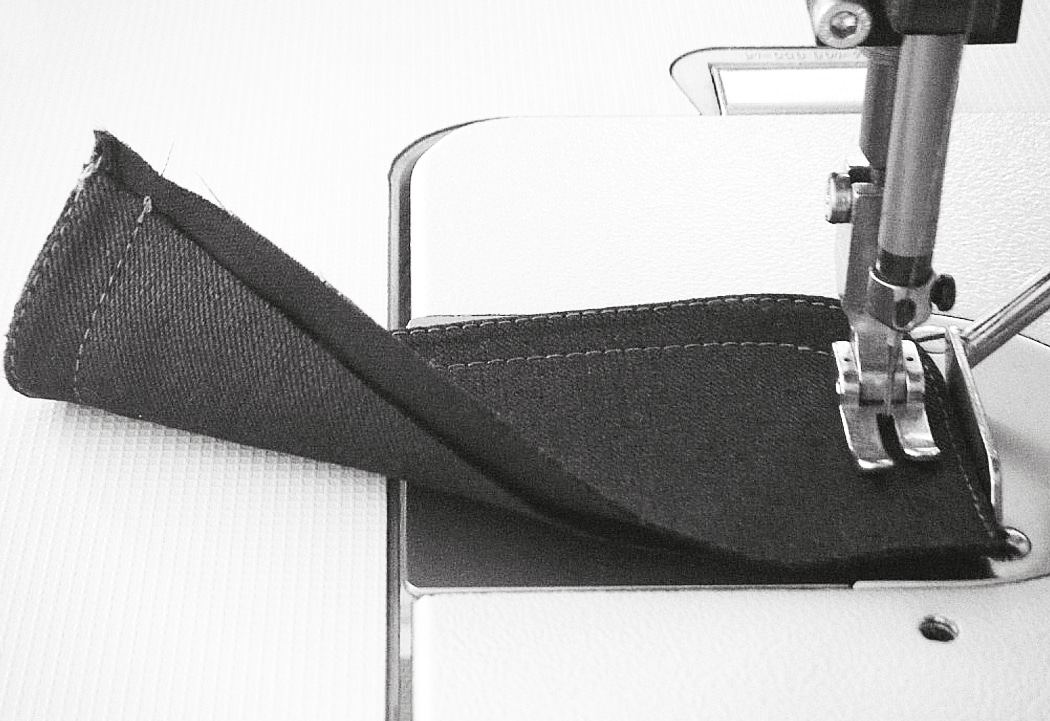
Stitch the flap on the right side angular and wide.
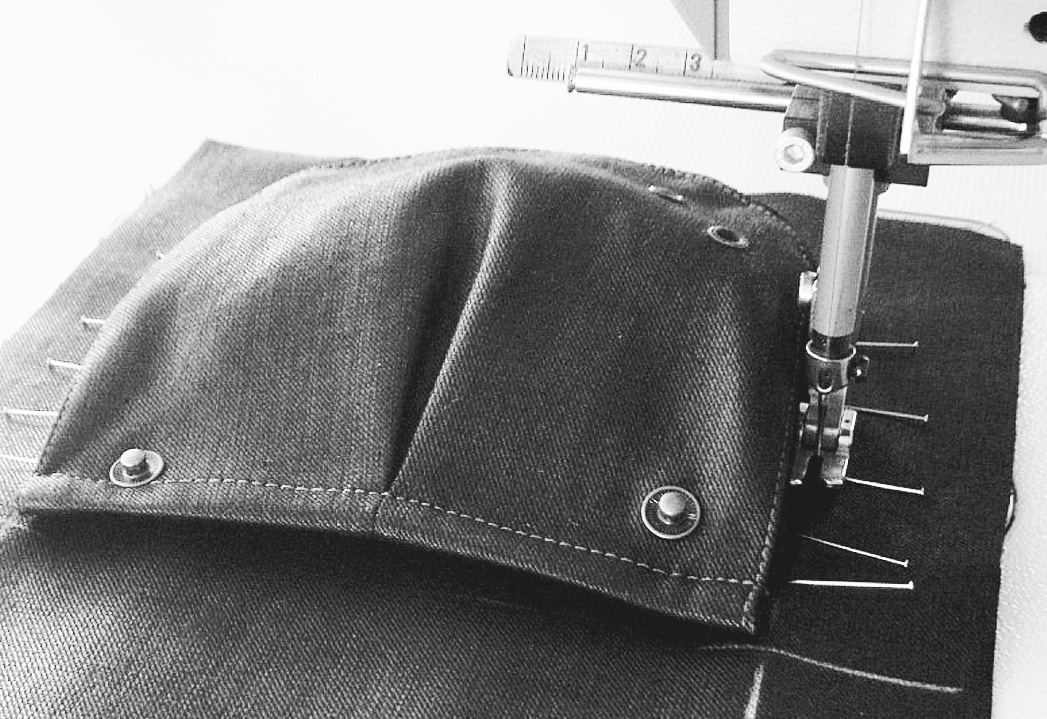
Place snap fasteners on the pocket and fold in. Place snap fasteners on the flap – which is 2 cm above the pocket at the end – and fold in. If necessary, fold in the flap press studs only at the end so that they are in exactly the right place. Place the pocket on the marked position with cross needles and topstitch angularly.
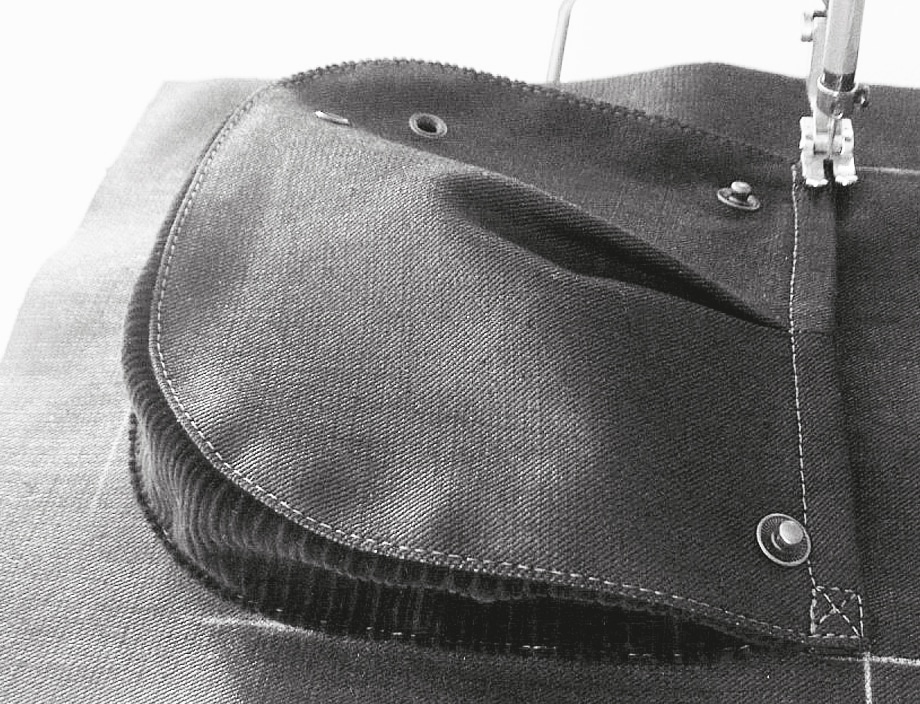
Sew a reinforcement in the form of a crossed square at the pocket opening.
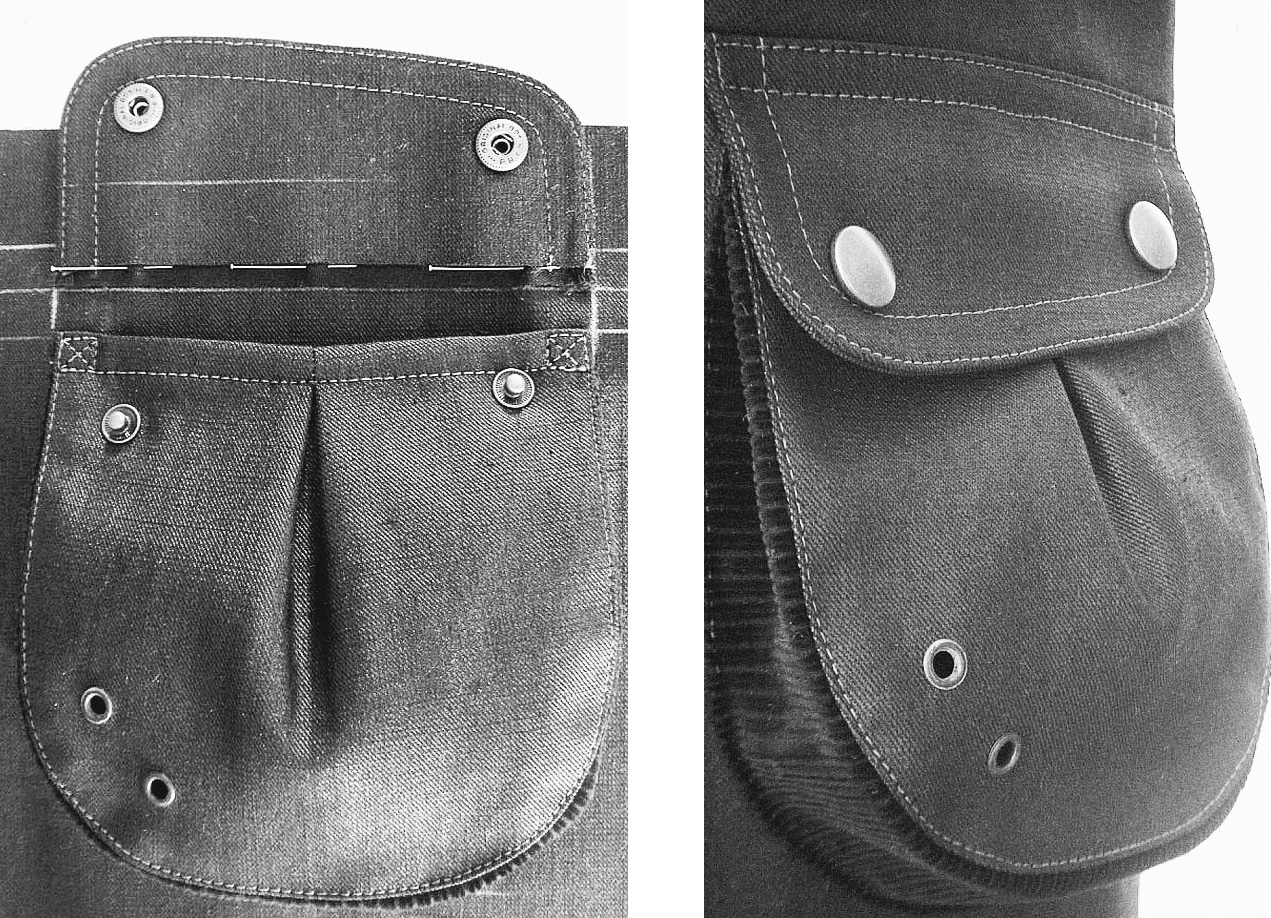
Place the cut edge of the wide flap 1.5 cm above the pocket opening and sew 2 cm above (exactly on the cut edge of the narrower flap).
Press the flap downwards and topstitch angular and wide. If the narrower flap is slightly too long, it can be cut back a little.
Instructions for Patch Pocket with Leather Belt Fastener
In the following model the pocket is closed with a leather belt and buckle. Also conceivable would be two folded snap fasteners in the flap or a concealed button closure in the inner flap.
Pattern Construction
Pocket 18.5 cm x 21 cm, round off corners.
Flap 17.5 cm long, 6.5 cm wide, round corners.
Transverse stripes 18.5 cm x 3 cm.
Leather belt approx. 40 cm x 3 cm.
Cutting
Seam allowance for patch pocket: 1 cm, pocket opening 3 cm.
Seam allowance flap: 2 x fabric 1 cm.
Seam allowance horizontal stripes: 1 cm
Leather belt: 1 x 1 cm, inner part without seam allowance.
Cardboard template for the pocket, the horizontal strip and the leather belt.
Fixing
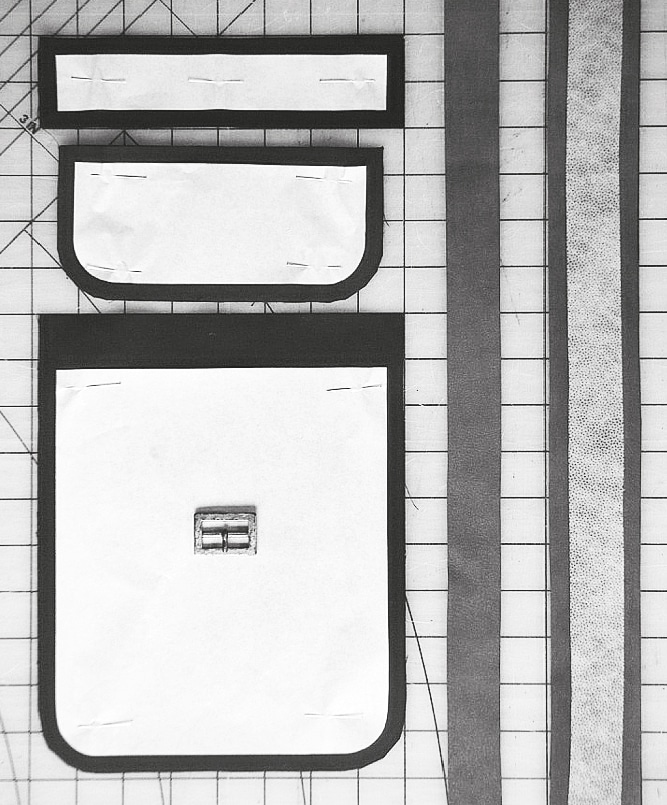
Fix pocket, pocket flaps, leather belt in the finished width of 3 cm with a leather adhesive insert.
Denote
Pocket placement
Sewing Instruction
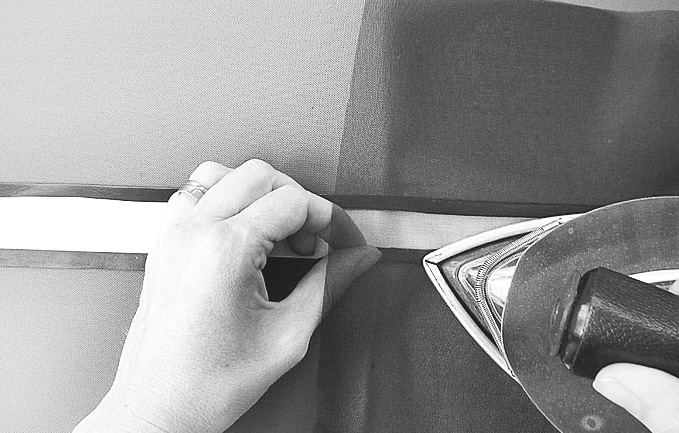
Iron the leather belt using the 3 cm template. Use a piece of organza to protect the leather, so you can still see what you are ironing.
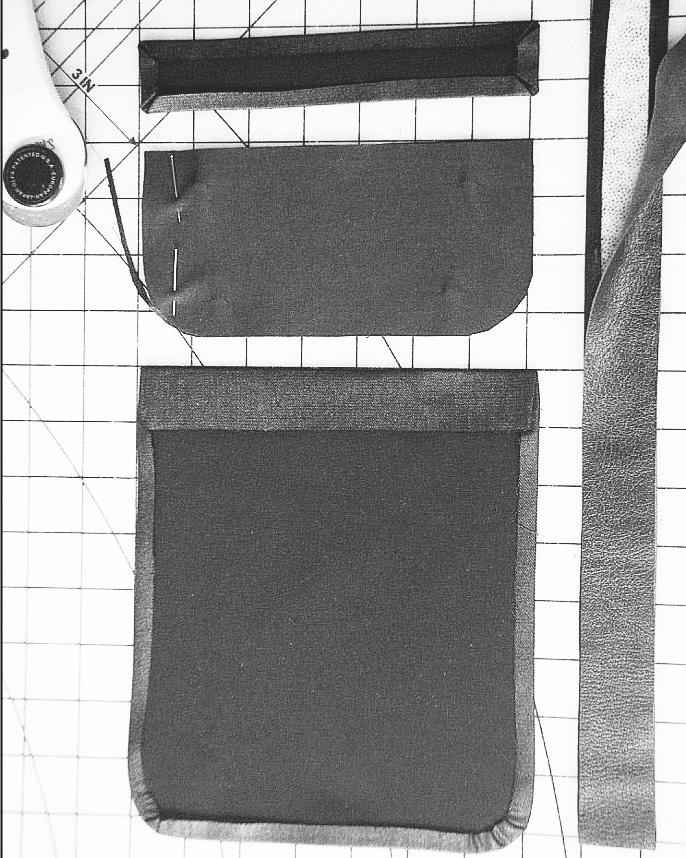
Iron the pocket and cross-strips also using the templates. Overlock the pocket opening. Put the flap on the second flap, shifted by approx. 3 mm, and cut back the protruding part so that the inner flap is slightly less wide. Sew the flaps together, check the width of the flap with the pocket width and the shape. Sew a second time with a smaller stitch. Cut back the seam allowance to 3-4 mm. Iron the flap apart with the help of the edge wood, turn it over and iron it flat.
Glue the leather strips to the ironed leather belt using leather glue.
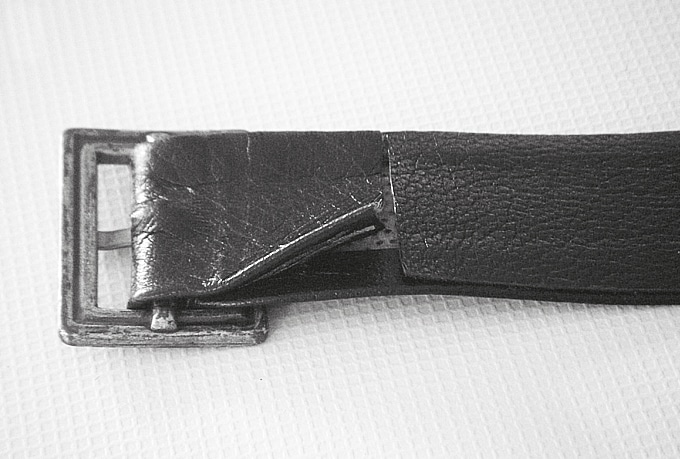
Punch a hole with pliers 3 cm before the end of the ironed leather strap. Insert the thorn of the buckle into the hole, pull the remaining 3 cm of the leather belt backwards and cut off the leather strip flush with the leather belt. Fix the ends with leather glue. Knock in the belt on the other side. Stitch the belt from the right side using the teflon foot. The lower leather strip must be topstitched as well. Cut off the belt measured from the buckle at 13 cm.
On the second belt part, make three eyelets at a distance of 3 cm.
You will find many more instructions and patterns for sewing fashion with pockets in our online shop.


